How to Properly Chill Dough for Better Cookies and Pies
Have you ever wondered why your homemade cookies or pies don’t quite match up to those amazing ones from your favorite bakery? It might just be because of a simple but crucial step you’re overlooking: chilling your dough. That’s right, popping that dough into the fridge or freezer before baking can make a world of difference. Let’s explore how to properly chill your dough for cookies and pies that will wow your taste buds.
Why Chill the Dough?
Chilling dough might seem like an extra step, but it’s a game-changer. First, it helps control the spread of cookies and keeps pie crusts from shrinking. Cold dough means the fat (like butter) inside stays solid longer when it hits the hot oven, which means better texture and flavor.
For cookies, chilling reduces spread, giving you thicker, more substantial bites. For pies, it means a flakier, more tender crust because those solid bits of fat create little pockets in the dough as they melt, adding to the magic.
How to Chill Cookie Dough
-
Make Your Dough: Mix up your cookie dough as the recipe directs. If the recipe doesn’t specify chilling, you can still do it.
-
Shape or Scoop the Dough: For easier handling later, form your cookie dough balls first. This step is optional, but it can save you some effort when it’s time to bake.
-
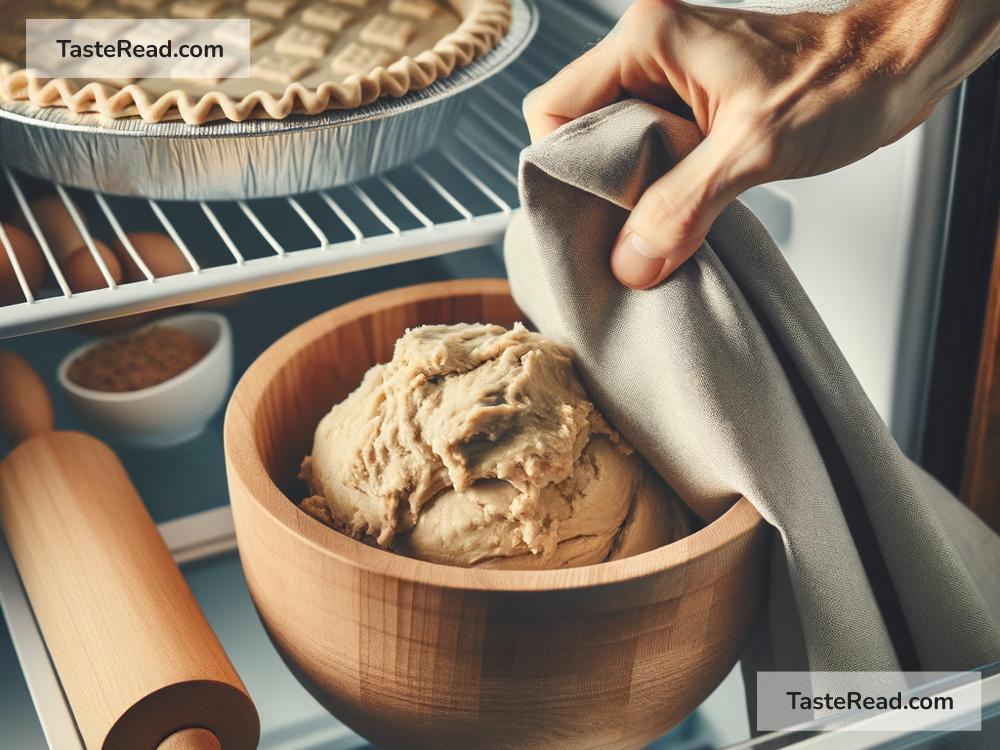
Chill Out: Place your shaped dough on a baking tray and cover it with plastic wrap to prevent drying out. Then, pop it into the fridge. How long? A minimum of 30 minutes can make a difference, but for the best results, try for an overnight chill. Got less time? Even chilling for as short as 15-20 minutes can help.
-
Time to Bake: When you’re ready, bake the dough straight from the fridge. You may need to add a minute or two to the baking time, but keep an eye on the cookies to avoid overbaking.
How to Chill Pie Dough
-
Make Your Dough: Follow your favorite pie crust recipe. Most pie doughs will benefit from chilling both before and after rolling them out.
-
Form a Disk: After mixing your dough, form it into a flat disk. This shape makes it easier to roll out later. Wrap it tightly in plastic wrap.
-
First Chill: Put the disk in the fridge for at least an hour, though for best results, letting it rest overnight is ideal. This step helps the dough relax, making it easier to roll out and resulting in a more tender pie crust.
-
Roll and Fit: After the dough is chilled, roll it out on a floured surface and fit it into your pie pan. Avoid stretching it to prevent shrinking during baking.
-
Chill Again: Yes, again. After fitting the dough into the pan, put it back in the fridge or even the freezer for about 30 minutes. This final chill firms up the fat once more, making for a perfect bake.
-
Bake It Right: Now your pie crust is ready to fill and bake as your recipe directs. Enjoy the magic of a beautifully flaky crust!
Extra Tips for Chilling Success
-
Plan Ahead: Since chilling requires extra time, think ahead. Deciding to bake cookies or a pie? Consider making your dough the day before.
-
Avoid Dryness: Always cover your dough before chilling to keep it from drying out. Dry, tough dough is no fun for anyone.
-
Batch Baking: If you love baking, make larger batches of dough and freeze them. This way, you’re always ready to bake. Just remember to label your dough with the date and type.
-
Temperature Matters: When baking with chilled dough, remember your oven might need a slight adjustment. Since the dough is cold, it might take slightly longer to bake.
Chill and Thrill
Whether you’re a cookie lover or a pie enthusiast (or both), mastering the chill is key to upgrading your baking game. Not only does it improve the texture and flavor of your baked goods, but it also gives you more control over the outcome. So, next time, don’t skip the chill. Embrace it, and get ready for some of the best cookies and pies you’ve ever made. Happy baking!