Shrimp is a popular and versatile seafood that many people enjoy all around the world. Whether it’s grilled, fried, or tossed in a salad, shrimp can add a delicious touch to a wide range of dishes. However, before you can cook your shrimp, there’s a bit of preparation involved, specifically peeling and deveining. While some might find this process a bit daunting, with the right technique, it can be quick and easy. In this blog, we’ll walk you through how to properly peel and devein shrimp, step by step.
Why Peel and Devein Shrimp?
First off, let’s talk about why we peel and devein shrimp. The shell of the shrimp, while edible, is often removed to make the shrimp easier to eat, especially in dishes where the shrimp is the main ingredient. Deveining, the process of removing the shrimp’s digestive tract, is largely done for aesthetic reasons. While it’s safe to eat, the vein can contain grit and can be visually unappealing to some.
Tools You’ll Need
- A paring knife or a deveining tool
- A bowl of cold water
And, of course, your shrimp.
Step 1: Rinse Your Shrimp
Start by rinsing your shrimp under cold running water. This helps to remove any debris or loose shell pieces. Pat them dry with paper towels to make handling easier.
Step 2: How to Peel Shrimp
To peel a shrimp, start by holding the shrimp in one hand and locating the legs. You’ll want to peel from the underside, where the legs are. Gently pull off the legs, then start peeling the shell away from the body. In most cases, the shell will come off in two or three easy pieces.
Leave the last segment of the shell, along with the tail, intact if your recipe calls for it. Some people prefer to leave the tail on for presentation purposes, especially in dishes where the shrimp are eaten with the hands, like shrimp cocktail.
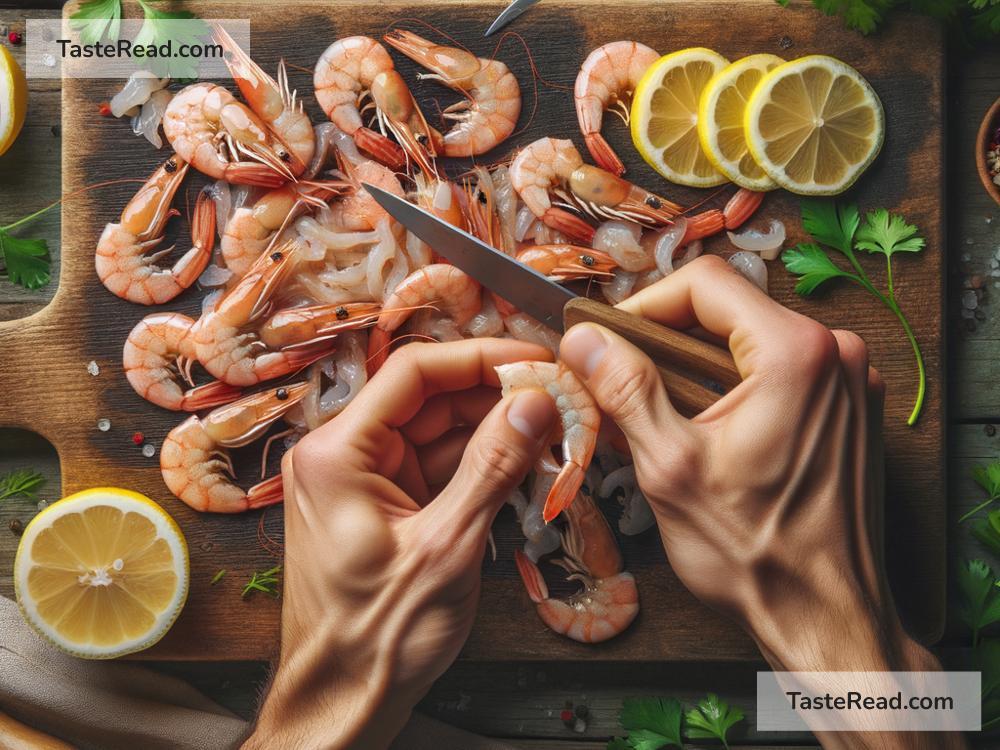
Step 3: Deveining the Shrimp
Once your shrimp is peeled, it’s time to devein. The “vein” is actually the shrimp’s digestive tract and runs along its back. To remove it, make a shallow cut along the top of the shrimp’s back with your knife or a deveining tool, from the head end to the tail. Be careful not to cut too deeply; you just want to expose the vein.
Then, use the tip of your knife or utensil to gently lift out the vein. It should come out in one piece, but if it breaks, just pull out any remaining bits. Alternatively, running the shrimp under a gentle stream of cold water while opening the cut can help rinse the vein out.
Step 4: Rinse the Shrimp Again
Once you’ve peeled and deveined your shrimp, give them another quick rinse under cold water to wash away any leftover bits of shell or vein. Pat the shrimp dry once more, and they’re ready to cook!
Tips for Success
- Buy Fresh or Frozen: Fresh shrimp should smell clean, salty, like the sea. If buying frozen, look for shrimp that’s been individually quick frozen (IQF) for the best quality.
- Save the Shells: Don’t throw away those shrimp shells! They’re packed with flavor and can be used to make a delicious seafood broth.
- Practice Makes Perfect: If you’re new to peeling and deveining shrimp, it might take you a bit of time to get the hang of it. Don’t worry! With a little practice, you’ll be able to prepare shrimp like a pro.
Peeling and deveining shrimp is an essential skill for any seafood lover. While it may seem like a bit of effort, the end result is well worth it. Freshly prepared shrimp not only looks better but can also absorb the flavors of your dish more effectively. Plus, once you’ve got the process down, it’s really quick and easy. So next time you’re planning a seafood feast, don’t shy away from buying shrimp in their shells—you’re now fully equipped to handle them like a chef!