Title: The Ultimate Guide to Wrapping and Storing Cheese Like a Pro!
If you’re anything like me, cheese is probably one of your most cherished delights. From a creamy Brie to a sharp Cheddar, each cheese brings its unique flavor to our table. But, have you ever opened your fridge only to find your once-delicious cheese has turned into a hard, dry, or moldy disappointment? I feel your pain! That’s why today we’re diving into the art of properly wrapping and storing cheese to keep it fresh and delicious for as long as possible. So, grab your cheese knives, friends, because we’re about to become cheese storage experts!
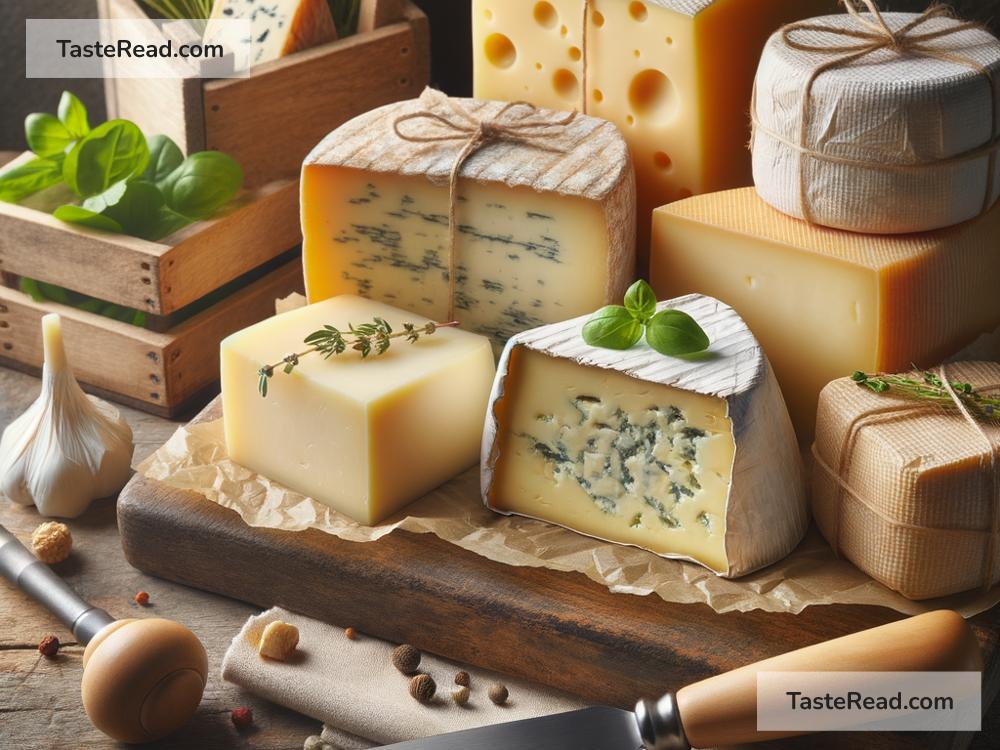
1. Understand Your Cheese:
First things first, it’s crucial to understand that not all cheeses are created equal. Soft cheeses like Mozzarella require different care than harder cheeses like Parmesan. Why? It’s all about moisture. Soft cheeses contain more moisture and are more prone to drying out or becoming too wet and moldy if not stored correctly. Harder cheeses, while less prone to these issues, still require proper care to maintain their flavor and texture.
2. Ditch the Plastic Wrap:
You might be tempted to wrap your cheese in plastic wrap, but here’s a pro tip: don’t. Plastic wrap suffocates cheese, trapping moisture that encourages mold growth and absorbing off-flavors from the plastic itself. Instead, reach for cheese paper, wax paper, or parchment paper. These materials allow the cheese to breathe while maintaining its optimal moisture level, keeping it fresher for longer.
3. How to Wrap Like a Pro:
-
For Soft Cheeses: Place your cheese in the center of a large piece of cheese or parchment paper. Fold the paper around the cheese, pleating as you go to create a snug fit. Secure it with a piece of tape or a rubber band. For an extra layer of protection, you can then loosely wrap it in aluminum foil, but ensure there’s still some room for the cheese to breathe.
-
For Hard Cheeses: Hard cheeses are less fussy but still deserve care. Wrap them similarly in cheese or parchment paper. Because they are less prone to drying out quickly, hard cheeses can tolerate a slightly tighter wrap. Again, securing with a piece of tape or rubber band works wonders.
4. Store Smart:
After wrapping your cheese diligently, it’s time to find the perfect spot in your fridge. Cheese loves cold and humid environments, but not too cold or too humid. The vegetable crisper drawer is often the ideal spot due to its ability to maintain a consistent humidity level, keeping your cheese in its prime state.
5. Don’t Forget to Label:
It might seem like a minor step, but labeling your cheese with its name and the date you stored it can save you a lot of headache (and stomachache) down the road. This small action helps keep track of how long each cheese has been stored, allowing you to enjoy it at its best and reducing waste.
6. Regular Check-ups:
Make it a habit to regularly check your cheeses. Look out for any signs of excessive mold (a little bit on hard cheeses can be trimmed off), unpleasant odors, or drying out. If a cheese seems past its prime, it might be best to bid farewell rather than risk a bad experience.
7. When In Doubt, Revive:
If your cheese has become a bit dry (but not moldy or spoiled), don’t throw it out just yet! For hard cheese, a brief stay in the fridge wrapped in a damp cloth can sometimes bring back a bit of moisture. Soft cheese, though, once dried out, is harder to save but can still be used in cooked dishes where its texture is less critical.
Remember, the goal of wrapping and storing cheese properly is not only to extend its shelf life but to maintain its quality. Cheese, after all, is more than just food—it’s an experience. By taking the time to care for your cheese, you ensure that each bite remains as delightful as the cheese maker intended.
So, there you have it, cheese lovers! With these simple yet effective tips, you’re now equipped to wrap and store your cheese like a true connoisseur. Say goodbye to the days of disappointing cheese encounters and hello to a world where your cheese stays fresh, flavorful, and ready for your next culinary adventure. Bon Appétit!