How to Repurpose Old Beans for Veggie Burgers
Are you staring at a can or bag of beans that’s been sitting at the back of your pantry for a while and wondering what to do with them? Or perhaps you cooked a big batch of beans, but now you’re out of ideas on how to use the leftovers. Before you consider tossing them out, let’s talk about a delicious and environmentally friendly way to give those beans a new lease on life: turning them into veggie burgers!
Beans are a fantastic source of protein, fiber, and nutrients, making them a superstar ingredient in many vegetarian and vegan dishes. Repurposing old beans into veggie burgers is not only a great way to reduce food waste but also an opportunity to explore your creativity in the kitchen. Here’s a simple guide on how to transform those beans into a meal your taste buds will thank you for.
Step 1: Assess Your Beans
First things first, make sure your beans are still good to use. If they’re canned, check the expiration date. For dried beans, ensure there’s no mold or a bad smell. Cooked beans can be stored in the fridge for about 3-5 days and can also be frozen – they’re generally safe to use if they smell and look okay. If they have an off smell, appearance, or texture, it’s best to compost them if possible.
Step 2: Prepare Your Beans
If you’re working with dried beans, they’ll need to be cooked first. Rinse them and soak them overnight, then drain and simmer in fresh water until tender. If you have canned beans, simply drain and rinse them well to remove any excess sodium or preservatives. For beans that were previously cooked and refrigerated or frozen, bring them to room temperature or gently reheat them so they’re easier to work with.
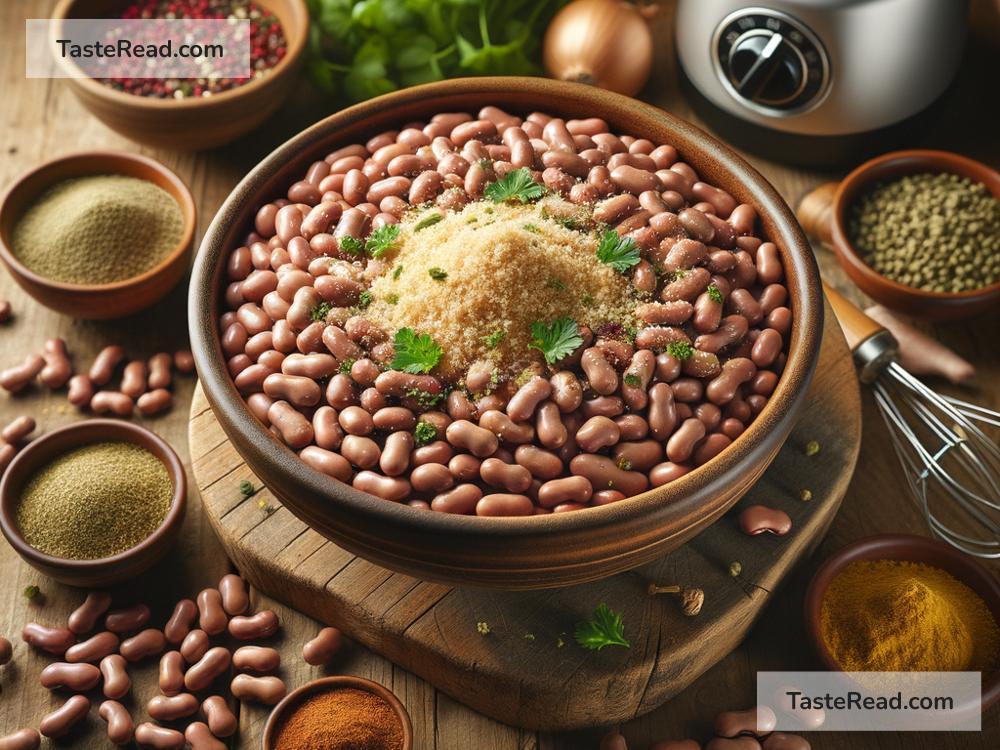
Step 3: Mash and Season
Once your beans are ready, it’s time to get mashing. You can use a fork, potato masher, or even your hands to break the beans down into a paste. Leaving some beans partially whole can add a nice texture to your burgers. Now, get creative with seasonings! Salt, pepper, garlic powder, onion powder, and smoked paprika are excellent for starters. Feel free to add any of your favorite herbs and spices to customize the flavor. A bit of barbecue sauce, tomato paste, or mustard can also add moisture and depth.
Step 4: Bind and Mix
To help your veggie burgers hold together, you’ll need a binding ingredient. Good options include breadcrumbs, oat flour, or ground flaxseed mixed with water. Stir your choice into the bean mixture until you have a moldable consistency. At this point, you can mix in finely chopped vegetables (like onions, bell peppers, or mushrooms), cooked grains (quinoa, rice), or even nuts and seeds for extra texture and nutrition.
Step 5: Shape and Cook
With your mixture ready, it’s time to shape your burgers. You can use your hands to form patties or employ cookie cutters or a burger press if you’re looking for uniformity. To cook, heat a pan over medium heat with a bit of oil, and cook each patty for about 4-5 minutes on each side until they’re nicely browned and heated through. You can also bake them in an oven preheated to 375°F (190°C) for about 10-15 minutes on each side.
Step 6: Serve and Enjoy
Serve your freshly made veggie burgers on buns with your choice of toppings: lettuce, tomato, onions, avocado, or any of your favorites. They’re also fantastic served over a bed of greens for a lower-carb option.
Tips for Success:
- Experiment with Blends: Try mixing different types of beans for unique flavor combinations. Black beans, chickpeas, and kidney beans all make excellent choices.
- Go Beyond Burgers: The same mixture can be used to make veggie meatballs or a “meat” loaf. Adjust the shape or size as needed.
- Store Extras: Formed but uncooked patties can be frozen for a quick and easy meal later. Just separate them with parchment paper and store in a freezer-safe container.
Repurposing old beans into veggie burgers is not only a testament to the versatility of beans but also an action towards more sustainable eating habits. Plus, crafting homemade veggie burgers allows you to control the ingredients, avoiding the preservatives and additives often found in store-bought versions. So, the next time you find old beans in your pantry or fridge, remember that they’re just a few steps away from being transformed into a delicious, nutritious meal. Bon Appétit!