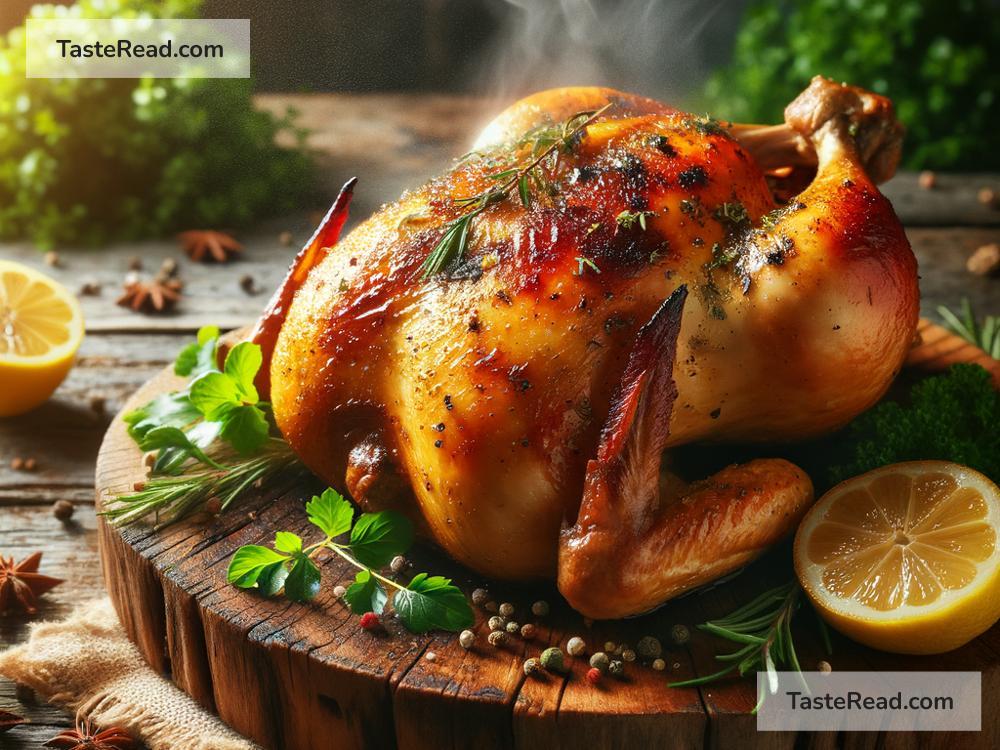
How to Roast a Whole Chicken for Juicy and Crispy Results
Roasting a whole chicken is a classic cooking skill that can yield deliciously juicy and crispy results. It can seem daunting at first, but it’s actually quite straightforward. Follow these steps, and you’ll have a mouth-watering, golden-brown chicken that’s sure to impress.
Preparing the Chicken
-
Get the Right Chicken: Start with a fresh or fully thawed chicken. Aim for one that weighs around 3-4 pounds; this size tends to cook evenly and fits well in most roasting pans.
-
Prep the Chicken: Remove the giblets and any excess fat from the chicken. Then, rinse the chicken under cold water and pat it completely dry with paper towels. Drying the chicken helps to ensure the skin will crisp up in the oven.
-
Season Generously: Season the cavity of the chicken with salt and pepper. Then rub the outside of the chicken with olive oil or melted butter — this will help the skin become crispy. Season the outside with more salt, pepper, and any other herbs or spices you love. Great options include rosemary, thyme, garlic powder, and paprika.
Roasting the Chicken
-
Preheat Your Oven: Begin by preheating your oven to 425°F (220°C). A high heat initially will help the skin get that golden color and crisp texture.
-
Position the Chicken: Place the chicken breast-side up in a roasting pan. You can use a rack inside the pan to elevate the chicken, allowing the heat to circulate around the entire bird for even cooking. Tucking the wing tips under the body and tying the legs together with kitchen twine can also help it cook evenly.
-
Add Aromatics (Optional): For extra flavor, you can stuff the cavity of the chicken with aromatics like lemon wedges, garlic cloves, and additional herbs. These ingredients will infuse the chicken with wonderful flavors as it cooks.
-
Begin Roasting: Put the chicken in the preheated oven. Cook at 425°F (220°C) for about 15 minutes, then lower the temperature to 375°F (190°C). This decrease in temperature prevents the outside from burning while ensuring the inside cooks through properly.
-
Baste for Moisture: While the chicken roasts, baste it 2-3 times with the juices collected in the pan. Basting helps keep the chicken moist by coating it in its flavorful juices.
-
Check for Doneness: After about 1 hour and 15 minutes of total cooking time, check the chicken’s internal temperature with a meat thermometer. Insert the thermometer into the thickest part of the thigh, avoiding the bone. The chicken is ready when it reaches 165°F (75°C). If you don’t have a thermometer, another method is to slice into the joint between the leg and body; if the juices run clear, the chicken is done.
Rest Before Carving
- Let it Rest: Once the chicken is cooked, remove it from the oven and let it rest for at least 10 minutes before carving. This resting period allows the juices to redistribute throughout the meat, ensuring it will be juicy and flavorful.
Time to Carve and Serve
-
Carving the Chicken: Start by removing the twine and any aromatics from the cavity. Then, use a sharp knife to slice through the skin between the leg and body, removing the legs first. Next, cut through the joint to separate the drumstick from the thigh. For the breast, slice downward from the center, following the breastbone, then angle the knife to cut the meat away from the rib cage.
-
Serve and Enjoy: Arrange the carved chicken on a platter and serve. Don’t forget to spoon some of the pan juices over the top for extra flavor.
Roasting a whole chicken might seem like a culinary challenge, but it’s actually quite simple. By following these step-by-step instructions, you’ll achieve juicy, flavorful meat with crispy, golden skin every time. It’s a delicious and satisfying meal that will bring everyone to the table. So why not give it a try? Your kitchen is about to smell amazing!

