Searing Meat 101: Lock In Juices and Create a Delicious Crust
When it comes to cooking meat, one word often comes up: sear. Sealing those juices inside and forming a tasty crust can take your steak, pork chop, or chicken breast from good to gourmet with just a few simple steps. But what does searing meat actually mean, and how can you master this method for mouthwatering meals every time? Let’s break it down.
What is Searing?
Searing is the process of cooking the exterior of meat at a high temperature until it forms a brown crust. This method isn’t just about aesthetics or texture; it’s also crucial for flavor. When the surface of the meat hits the hot pan, a reaction occurs that creates a rich, complex taste known as the Maillard reaction. This reaction makes that golden crust we all love while supposedly helping to “lock in” the meat’s juices.
However, it’s essential to note that searing doesn’t “seal” juices inside the meat, as commonly thought. Instead, it adds flavor and texture contrasts, enhancing the overall eating experience.
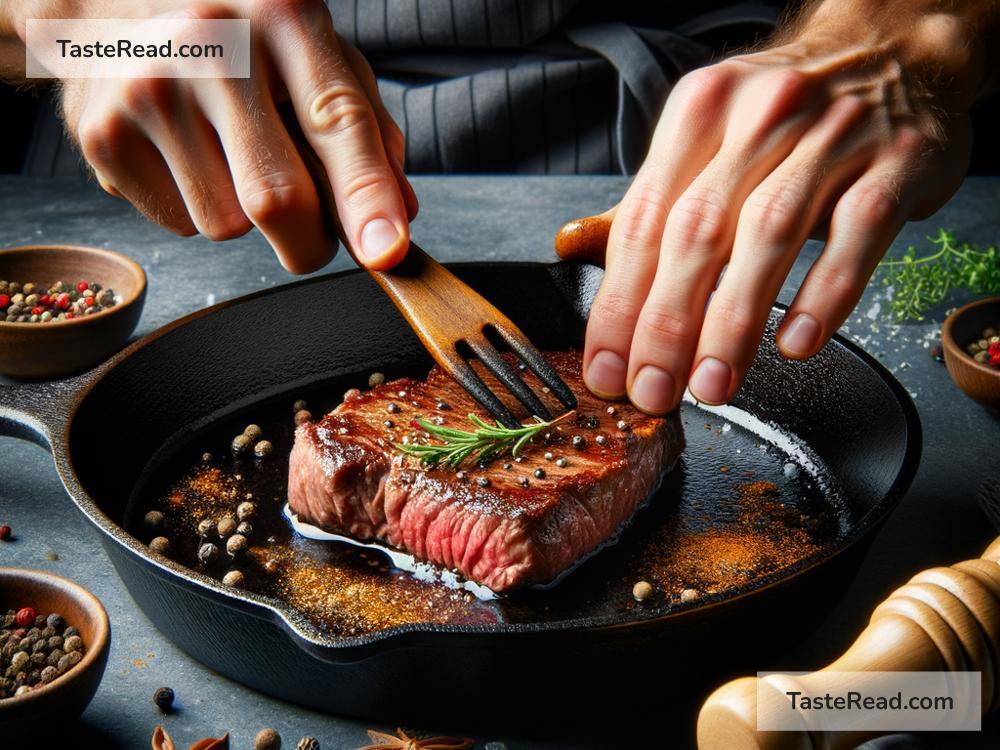
Step-by-Step Guide to Searing Meat:
1. Start with Room Temperature Meat:
Allow your meat to sit out and come to room temperature for about 30 minutes before cooking. This step is crucial because it helps the meat cook more evenly. Cold meat in a hot pan can cook unevenly, with the outside overcooking while the inside remains underdone.
2. Pat the Meat Dry:
Moisture is the enemy of a good sear. Before your meat goes anywhere near a pan, pat it dry with paper towels. This step will ensure you get that beautiful crust instead of steaming the meat.
3. Season Well:
Generously season your meat on both sides with salt and pepper or your favorite spice rub. Seasoning not only adds flavor but also aids the crust formation.
4. Get the Pan Hot:
Heat your pan (cast iron is ideal for searing) on medium-high to high heat for a few minutes. You want it hot, but not smoking, to start the searing process. You can add a small amount of high-smoke-point oil, like canola or vegetable oil, to the pan right before adding your meat.
5. Lay It Down and Don’t move It:
Place your meat in the hot pan and then let it be. Resist the temptation to move it around. Let the meat sear uninterrupted for about 3-5 minutes for a 1-inch thick piece. This patience will reward you with a perfectly formed crust.
6. Flip Once:
Flip your meat only once to sear the other side. Again, let it cook undisturbed for the best results.
7. Check the Temperature:
Especially for thicker cuts, it’s crucial to ensure that your meat is cooked to your desired doneness. Use a meat thermometer to check, aiming for the USDA-recommended internal temperatures for safety.
8. Rest Your Meat:
Once seared and cooked to perfection, let your meat rest on a cutting board for about five minutes per inch of thickness. Resting allows the juices to redistribute, ensuring your meat will be juicy and delicious when you cut into it.
Tips for Perfect Searing:
- Choose the Right Pan: Heavy-bottomed pans, especially cast iron, are best for searing because they retain heat well.
- Avoid Overcrowding: Cook in batches if needed. Overcrowding drops the pan’s temperature and causes steaming, preventing a good sear.
- Manage Your Heat: Depending on your stove, you may need to adjust the heat. If the pan starts smoking excessively or the oil burns, lower the heat a bit.
- Use the Oven: For thick cuts, consider finishing the meat in the oven after searing. This method helps achieve an even internal doneness without burning the exterior.
Final Thoughts:
Mastering the art of searing isn’t just for professional chefs. By following these simple steps, anyone can achieve a beautifully seared piece of meat, complete with those juicy flavors and a crust that’s to die for. Remember, practice makes perfect, so don’t be afraid to experiment with different meats and seasonings. Happy cooking!