How to Set Up a DIY Food Photography Studio at Home
Have you ever scrolled through Instagram or Pinterest and marveled at the mouth-watering food photos? Good news: you don’t need a professional studio to take those kinds of pictures. With a bit of creativity and some basic equipment, you can set up your very own food photography studio at home! Whether you’re a budding food blogger, a culinary enthusiast, or just looking to improve your food photography skills, this guide will help you get started.
1. Choosing the Right Space
The first step in setting up your DIY food photography studio is to find the perfect spot in your home. You need a space with plenty of natural light, as this will make your food look more appetizing. A spot near a large window is ideal. Ensure the area is big enough for you to move around comfortably and has room for a table to arrange your food on.
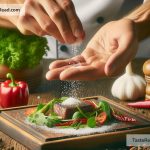
2. The Importance of Natural Light
Natural light is your best friend in food photography. It brings out the textures and colors of the food, making it look fresh and appealing. The best time to shoot is during the day, especially in the morning or late afternoon when the light is soft and indirect. To diffuse harsh sunlight, you can use sheer curtains or a white diffuser sheet. This will ensure the light spreads evenly over the food, avoiding harsh shadows.
3. Setting Up the Background and Surface
The background and surface on which you place your food are crucial for creating stunning photos. You want something that complements the food but doesn’t distract from it. Wooden tables, marble slabs, and plain fabric can all make great surfaces. As for backgrounds, you can use large pieces of cardboard covered with textured paper, fabric, or even painted to achieve the desired effect. Keep a few different options at hand so you can switch them up according to the food you’re photographing.
4. Using Props Effectively
Props can add context and depth to your food photos, but it’s important not to overdo it. Choose props that match the mood and theme of what you’re capturing. Utensils, ingredients, and napkins are all great for adding a touch of realism. Always remember, the food is the star of the show, so use props sparingly and purposefully.
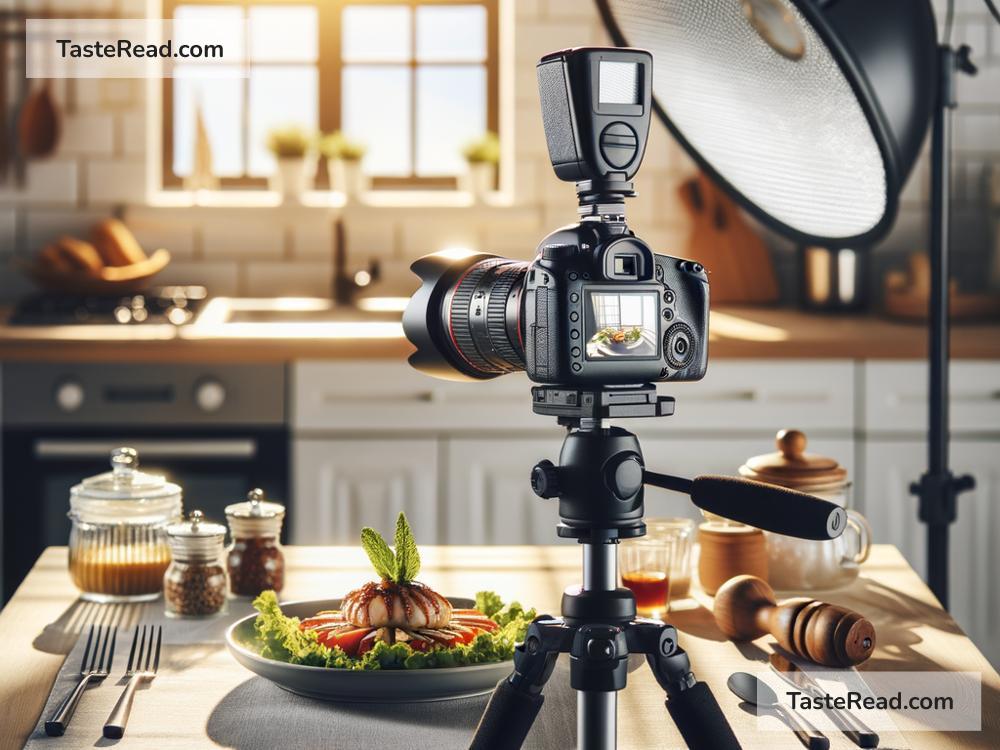
5. Getting the Right Equipment
You don’t need the fanciest camera to start with food photography. Many smartphones today have excellent cameras that can capture the detail and color of food beautifully. However, if you’re using a camera, a standard or macro lens is preferable for food photography. Besides the camera, invest in a tripod. It will keep your shots steady, especially in low light conditions, and allow you to experiment with different angles and compositions.
6. Play with Angles and Compositions
Experimenting with various shooting angles can dramatically change the look and feel of your food photos. Try shooting from above to capture all components of a dish, or get close to highlight textures and details. Don’t be afraid to move your setup around to see what looks best. Also, consider the rule of thirds, where you divide your shot into thirds horizontally and vertically, and place the food at the intersections. This technique often results in a more balanced and engaging composition.
7. The Magic of Editing
Post-processing can elevate your food photographs from good to great. Editing tools like Lightroom or Photoshop, or even free apps like Snapseed, can help you adjust the brightness, contrast, and saturation to make your food look even more delicious. Remember, the goal is to enhance the photo, not alter it completely, so use a light touch.
Conclusion
Creating a DIY food photography studio at home is easier than you might think. With the right space, some basic equipment, and a creative mindset, you can start capturing stunning food photographs. Don’t be discouraged if your first few attempts don’t turn out as expected. Practice is key. Experiment with different setups, angles, and lighting conditions to find what works best for you. Happy shooting!