Title: Mastering the Art of Pie Photography: Tips for a Golden Crust Masterpiece
A perfectly baked pie, with its golden crust and inviting aroma, isn’t just a treat for the taste buds—it’s a feast for the eyes too. Whether you’re a home baker proud of your pie creation or a food blogger keen on capturing the beauty of baked perfection, photographing a pie in all its glory requires a keen eye and a few tricks up your sleeve. If you’ve ever wondered how to shoot that perfectly baked pie so it looks as good in photos as it does in real life, here’s your guide to capturing its essence.
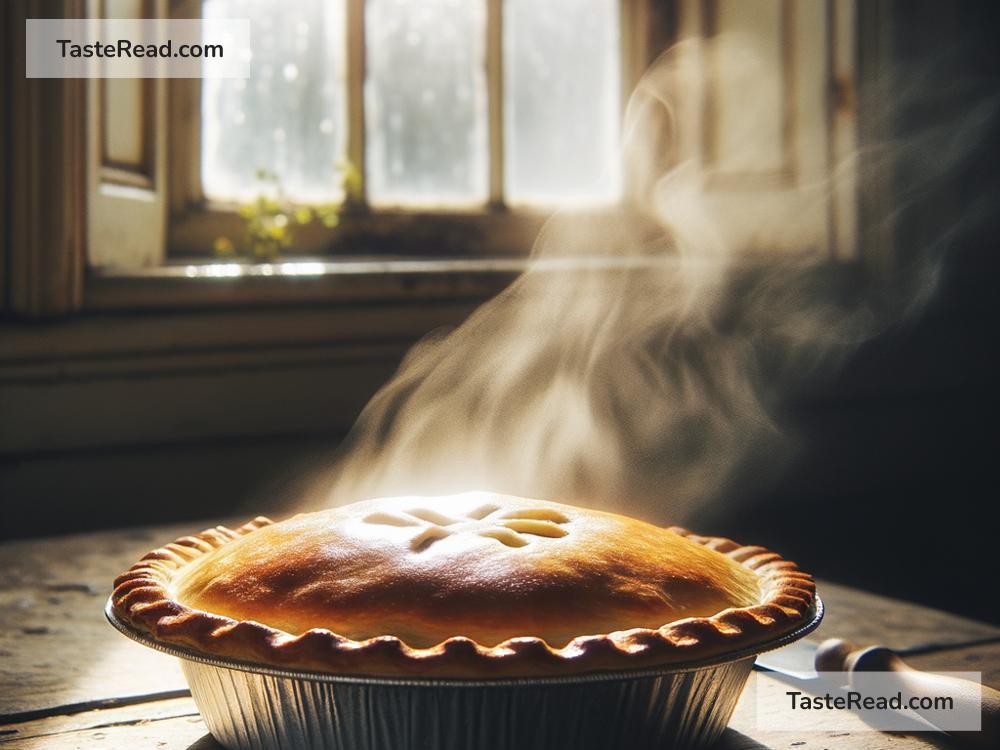
Start with the Star: A Perfect Pie
First and foremost, the key to a drool-worthy photo is a drool-worthy pie. Aim for that perfectly golden crust, which signifies it’s been baked to perfection. If you’re baking at home, follow recipes to the T, ensuring your oven is correctly preheated and your pie is placed on the right rack. The golden color doesn’t just signal deliciousness; it contrasts beautifully with a variety of backgrounds, making your pie stand out.
Light it Right
Natural light is a photographer’s best friend, especially when it comes to food photography. Position your pie near a window where it can bask in plenty of indirect natural light. This soft light will beautifully highlight the textures and colors of your pie, without the harsh shadows or overexposure that artificial lights might cause. Morning light tends to be softer, so consider timing your shoot accordingly.
Background and Composition
The background you choose can either elevate your pie to star status or distract from its beauty. Neutral backgrounds, like a simple wooden table or a plain fabric, are ideal because they don’t compete for attention. Once you’ve picked your spot, it’s time to focus on composition. Try different angles—shooting from above gives a neat view of the pie’s shape and detailing, while a side angle might highlight the crust’s flakiness. Remember, the rule of thirds is your friend; positioning your pie off-center can make for a more interesting composition.
Accessorize Your Shot
While the pie should be the focus, a few well-chosen accessories can add context and depth to your shot. Consider incorporating ingredients that went into the pie, like a scattering of fresh fruit or a sprinkling of sugar. Baking tools, like a rustic pie server or a flour-dusted rolling pin, can also add a storytelling element to your photo. Just be careful not to overcrowd your shot; the extras should compliment the pie, not overshadow it.
Focus on the Details
The details are what make your pie unique—the crimped edges of the crust, the bubbling filling peeking through a lattice top, or the beautiful browning that indicates it’s been baked just right. A close-up shot that captures these details can be mouthwatering. Ensure your camera’s focus is sharp where it matters most; sometimes, a slight blur in the background (bokeh) can make the details in the foreground stand out even more.
Edit with a Light Touch
Post-processing is where you can fine-tune your image to make it pop. However, the goal should be to enhance, not overhaul. Adjust the brightness and contrast to make the colors true to life, and perhaps sharpen the image slightly to highlight the textures. Avoid going overboard with filters or saturation—your pie should look appetizing and real, not like it’s jumped out of a cartoon.
Practical Application: Practice Makes Perfect
Like baking, photography is an art improved upon with practice. Don’t be disheartened if your first few attempts don’t quite meet your expectations. Experiment with different setups, lighting conditions, and compositions. Over time, you’ll develop an eye for what works best and a personal style that makes your pie photos unique.
To sum it up, shooting a perfectly baked pie with a golden crust is about more than just pointing and clicking—it’s about showcasing the pie in a way that does justice to your baking skills or the beauty of the subject. By paying attention to lighting, composition, and details, and by practicing and experimenting, you’ll be capturing mouthwatering pie photos in no time. Remember, the goal is to make the viewer wish they could reach through the screen for a slice, and with these tips, you’re well on your way to achieving just that. Happy shooting (and baking)!