How to Shoot Food for Recipe Blogs with Step-by-Step Photos
Capturing the deliciousness of food through photography is an art. For recipe bloggers, showcasing their culinary creations through vibrant, inviting photos isn’t just about snapping a picture; it’s about telling a story. Whether it’s a gooey chocolate cake or a salad bursting with colors, your photos can attract readers to try your recipes. Here’s a simple, step-by-step guide on how to photograph food for your recipe blog.
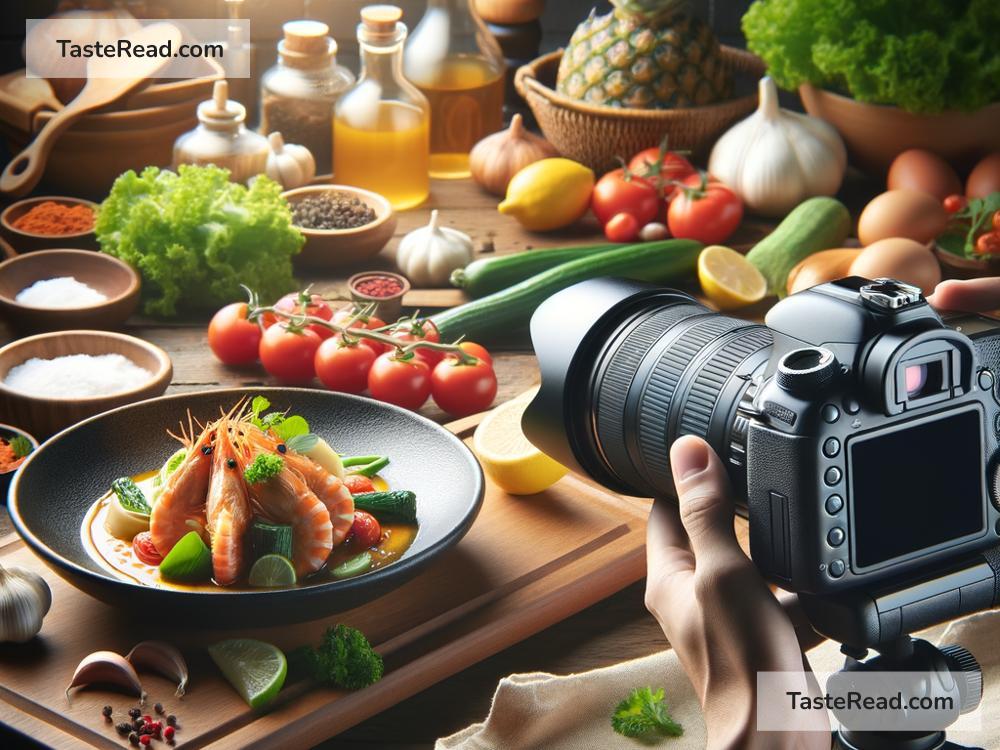
1. Gather Your Equipment
You don’t need fancy equipment to get started. A decent smartphone or a basic DSLR camera can do wonders if you know how to use them. Natural light is your best friend, so try to set up near a window. Reflectors can also help bounce light back onto the dish, and you can easily make one using aluminum foil over cardboard. A tripod can be handy to avoid blurry images, especially for those step-by-step shots where consistency is key.
2. Plan Your Shoot
Before cooking, think about the story you want to tell. Are you focusing on the freshness of the ingredients, the ease of making the dish, or the comfort it brings? This will guide your photo series. Planning also involves selecting the right props and background. Simple plates, utensils, and a neutral tabletop can help focus attention on the food. Keep a few ingredients or tools you used in cooking nearby to add to the story.
3. Prepare the Food
Presentation is crucial in food photography. Take your time to neatly prepare and arrange the food. If you’re showing a step-by-step process, make sure each step is clear and visually appealing. It’s often helpful to make a little more than what you need, so you have options to choose from for the final dish photo.
4. Utilize Natural Light
Lighting will make or break your photo. Aim for soft, natural light, avoiding direct sunlight as it can cause harsh shadows. The best light is found during the morning or late afternoon. Position your setup close to a window, and use reflectors to fill in any shadows. Always shoot with the light coming from the side or behind the food for the best texture and dimension.
5. Experiment with Angles
Different dishes look better from different angles. Shoot from above for dishes where you want to showcase the surface and arrangement, like pizzas or salads. A 45-degree angle works well for foods with height, like burgers or stacks of pancakes, while a straight-on shot can be great for showing the layers in a cake or a drink. Don’t hesitate to move around and try various angles until you find what looks best.
6. Capture the Details
Step-by-step photos don’t just show the process; they highlight the beauty of the ingredients and the joy of cooking. For these, zoom in on the action—whether it’s chopping, pouring, or stirring. These close-up shots can be very engaging and are an excellent opportunity to play with depth of field, focusing on one part of the image while softly blurring the background.
7. Edit Thoughtfully
Even the best shots can benefit from a bit of tweaking. Use editing software to adjust exposure, contrast, and saturation for vibrant yet natural-looking images. Avoid over-editing; your food should look appetizing and real. Remember, consistency in your editing style can help give your blog a professional and cohesive look.
8. Stay True to Your Style
Developing a unique style is essential for standing out. This can be through a consistent theme in your backgrounds, a specific color scheme, or a unique way of plating. Your photography style should complement your recipes, creating a recognisable brand that readers will come to know and trust.
9. Practice and Analyze
Like cooking, photography is a skill perfected over time. Regular practice will help you understand how to work with light, angle, and styling more effectively. Analyze your photos to see what works and what doesn’t, and don’t be afraid to experiment.
In the world of recipe blogging, your photos are as important as the recipes themselves. They not only entice readers but also convey your passion for food. By following these simple steps and putting your creativity to work, you can take stunning, appetite-arousing photos that make your blog a go-to destination for food lovers everywhere. Happy shooting!