How to Style and Photograph Food for the Perfect Instagram Post
We all know the feeling. You’ve just made or bought a dish so delicious-looking that you can’t resist sharing it with the world — or at least, with your Instagram followers. But capturing food in a way that does its taste justice is an art in itself. Whether you’re a professional chef showing off your latest creation, a foodie exploring new eateries, or someone who’s just really proud of their homemade sandwich, this guide is for you. Here’s how to style and photograph your food for that perfect Instagram post, broken down into simple, actionable tips.
1. Find the Perfect Light
Lighting is everything in photography, and this holds especially true for food photos. Soft, natural light is your best friend. Try to set up your dish near a window during the day but avoid direct sunlight, which can cause harsh shadows. If you’re dining out, try to get a seat by the window. Avoid using the flash on your camera or phone, as it can make the food look unappetizing.
2. Choose the Right Angle
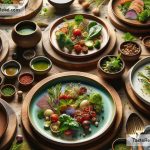
The angle at which you take your photo can make a world of difference. Some dishes look best when photographed from above, creating a stunning, graphical layout. This works great for pizzas, soups, and beautifully arranged plates. Other dishes, like burgers or a stack of pancakes, demand to be shot from the side to show off their layers. Play around and take several photos from different angles to find what showcases your dish best.
3. Style Your Shot
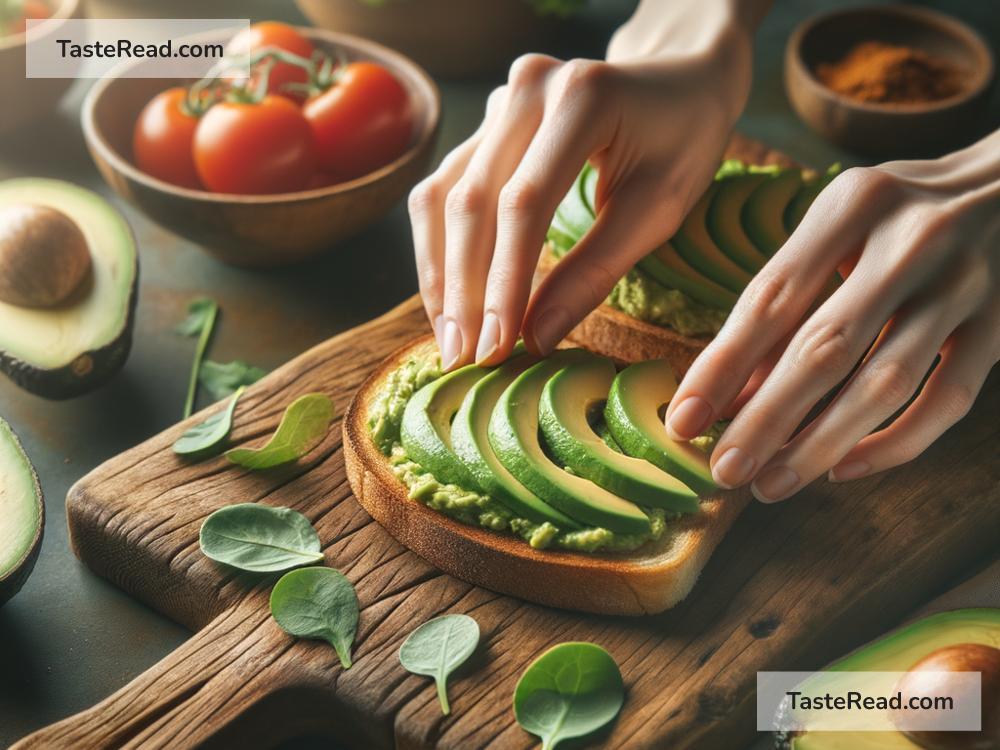
Styling is key to making your food look enticing. Think about the colors and textures in your dish and what might complement them. Adding utensils, ingredients, or even a glass of wine can add context and make the photo more interesting. But be careful not to clutter the shot; sometimes, less is more. If you’re photographing a homemade dish, consider incorporating some of the ingredients or tools you used to make it into the frame.
4. Pay Attention to Composition
Composition refers to how different elements are arranged in your photo. The most straightforward guideline is the rule of thirds: imagine your image is divided by two horizontal and two vertical lines into nine equal parts. The idea is to place the most important elements of your photo along these lines or at their intersections. Many smartphones have a grid feature that you can enable when taking photos to help with this.
5. Enhance with Editing
A little editing can go a long way, but it’s easy to overdo it. Use editing apps to adjust the brightness, contrast, and saturation to make your food look more vibrant. But remember, the goal is to make the food look tasty, not fake, so keep alterations minimal. Sometimes, all a photo needs are a slight brightness boost and a little contrast adjustment.
6. Be Mindful of the Background
The background of your photo can be just as important as the dish itself. A cluttered or unattractive background can distract from your beautiful food. If you’re at home, use a neutral-colored table or a simple tablecloth as your backdrop. When you’re out, try moving your plate to a spot with a cleaner background, or use napkins and cutlery to hide less desirable elements.
7. Get Creative
Finally, don’t be afraid to get creative and experiment. Try different arrangements, play with colors, and explore various photographic styles. The more you practice, the better you’ll become at seeing what works and what doesn’t. And remember, the objective is not just to snap a photo but to tell a story about the food and your experience with it.
Capturing the perfect food photo for Instagram doesn’t require professional equipment or skills. With a bit of patience and practice, anyone can create mouth-watering images that make their followers drool. So next time you’re about to dive into an appetizing dish, take a moment to style it, find the right lighting, and snap that perfect shot. Happy photographing!