Title: Mastering the Art of Food Photography: Tips for Bold Colors and Textures
In the world of Instagram, Pinterest, and countless food blogs, capturing the perfect photograph of a dish is almost as important as how it tastes. The colors, the textures, and the arrangement can turn an ordinary meal into a piece of art. Whether you’re a professional food blogger, a budding chef, or just someone who loves sharing their culinary creations online, knowing how to take pictures of food with bold colors and textures can significantly elevate your game. Let’s dive into some simple tips to help you showcase your dishes in the most appetizing way possible.
- Lighting is Key
The first rule of thumb in food photography, or any photography for that matter, is to ensure you have good lighting. Natural light is your best friend. It brings out the true colors of your food, highlighting the textures and making the image look more appealing. Whenever possible, take pictures during the day near a window. Avoid direct sunlight though, as it can create harsh shadows. If natural light isn’t an option, invest in a good quality artificial light that can mimic daylight.
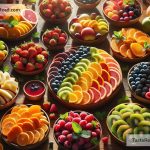
- Play with Colors
Bold colors make food look more enticing, but balance is crucial. If your dish is somewhat monochromatic, consider adding colorful garnishes or using a vibrant backdrop. Fresh herbs, edible flowers, or even a brightly colored napkin can add that pop of color your photo needs. On the other hand, if your dish is already colorful, choose a neutral background to let the food shine.
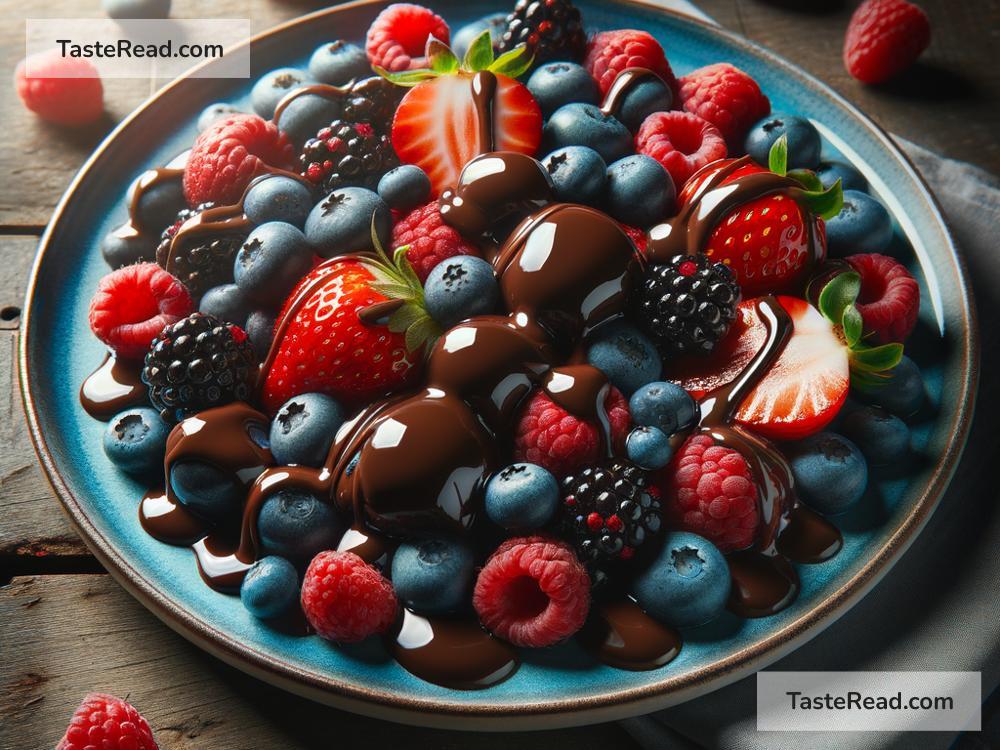
- Highlight Textures
Textures add depth and interest to food photography. The key is to emphasize the textures without overwhelming the viewer. For instance, the crispiness of fried chicken, the ooey-gooey cheese pull on a pizza, or the steam rising off a hot bowl of soup. Getting a close-up shot or using a macro lens can help capture these textures in detail. Playing around with the angle of your shot can also highlight different textures, so don’t be afraid to experiment.
- Use the Right Props
Props can make or break your food photography. The right plate, cutlery, or even a chopping board can enhance the look of your dish. However, the focus should always be on the food, so choose props that complement rather than overpower. Simple, neutral-colored dishes often work best as they don’t distract from the food. Remember, the props should tell a story and add context to your photo, not take away from the main attraction.
- Experiment with Composition
The composition is how you arrange the elements in your photo. It can greatly affect how your food looks. One popular technique is the rule of thirds, where you divide the image into three sections and place the focal point of your dish along those lines. Don’t be afraid to get creative, though. Play with different placements, angles, and distances. Sometimes, an off-centered dish or an up-close texture shot can be more engaging than a perfectly centered one.
- Post-Processing
Even with all the right techniques, sometimes a photo might need a little extra help. That’s where editing comes in. Simple adjustments like enhancing the brightness, contrast, or saturation can make the colors pop and the textures stand out more. However, it’s crucial to keep the editing minimal. The goal is to make the food look as natural and appealing as possible, not overly processed.
- Practice Makes Perfect
Lastly, practice, practice, practice! Like any other skill, getting better at food photography takes time and experimentation. Don’t be disheartened by initial failures. Each photograph is a learning opportunity. Try different foods, setups, and techniques, and soon you’ll find what works best for you.
In conclusion, capturing pictures of food with bold colors and textures might seem daunting at first, but with these simple tips, you’re well on your way to becoming a food photography pro. Remember to prioritize natural lighting, play with colors and textures, choose your props wisely, experiment with composition, do minimal post-processing, and practice regularly. Your culinary creations deserve to be showcased in all their glory, so go ahead and start snapping some mouthwatering photos!