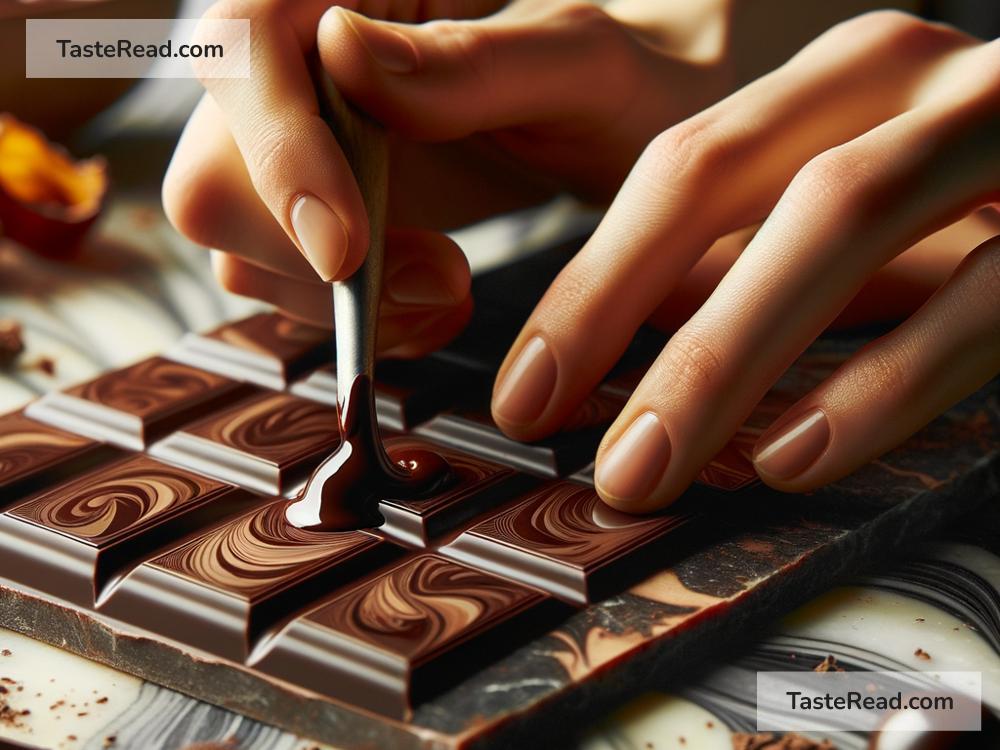
How to Temper Chocolate for Smooth and Shiny Results
Chocolate is more than just a treat; it’s a craft that involves precision and patience, especially when you embark on the journey of tempering chocolate. Tempering is a technique that might sound complex but is essentially a process that enables chocolate to have that satisfying snap, glossy finish, and smooth texture that we all love. Fear not, as I’m here to guide you through the steps to effortlessly temper chocolate, ensuring those shiny and smooth results.
Why Temper Chocolate?
Before diving into the “how,” let’s understand the “why.” Chocolate needs to be tempered because it contains cocoa butter, a fat that forms different types of crystals at different temperatures. The goal of tempering is to encourage the formation of stable crystals. These crystals ensure that the chocolate sets properly, doesn’t melt at room temperature, and has a smooth, shiny appearance. Without tempering, your chocolate might end up dull, with a white coating called bloom – this is perfectly safe to eat but not as appealing.
Getting Started: What You’ll Need
- High-quality chocolate: Choose a chocolate bar over chips, as chips often have stabilizers.
- A heat source: A microwave or a stovetop works perfectly.
- A heat-resistant bowl if using a stovetop or a microwave-safe bowl.
- A thermometer: A digital one is best for accuracy.
- A spatula for stirring.
Step by Step Guide to Tempering Chocolate
1. Chop the Chocolate
Start by chopping your chocolate into small, even pieces. This helps the chocolate melt evenly without burning. Aim for pea-sized pieces for the best result.
2. Melting the Chocolate
You have two options here: microwave or stovetop.
-
Microwave Method: Place the chocolate in a microwave-safe bowl. Microwave it in short bursts of about 20-30 seconds, stirring between each interval to ensure even melting. Be cautious not to overheat.
-
Stovetop Method: Set up a double boiler by simmering a small amount of water in a pot, then placing a heat-resistant bowl on top of the pot. The bottom of the bowl should not touch the water. Place the chocolate in the bowl and let it melt gradually, stirring occasionally.
Both methods are effective, but the key is to melt the chocolate without overheating it. The ideal temperature for dark chocolate is around 115°F (46°C), for milk chocolate 110°F (43°C), and for white chocolate 108°F (42°C).
3. Cool the Chocolate
Once melted, remove the chocolate from the heat source. For dark chocolate, cool it to about 82°F (28°C), for milk and white chocolates, cool to about 80°F (27°C). Stir frequently to promote uniform cooling.
4. Reheat the Chocolate Slightly
This step involves heating the chocolate slightly to get it into the perfect tempering zone. For dark chocolate, reheat it to 88-90°F (31-32°C), for milk chocolate 86-88°F (30-31°C), and for white chocolate 82-84°F (28-29°C). Be very careful not to exceed these temperatures; otherwise, you’ll have to start over.
5. Test the Temper
Before you start using the chocolate, it’s wise to test it. Dip a small piece of parchment paper into the chocolate and let it set at room temperature. If it hardens within a few minutes and is shiny and smooth, congratulations, you’ve successfully tempered your chocolate!
6. Using the Tempered Chocolate
Now that your chocolate is tempered, it’s ready to be used. You can pour it into molds, dip fruits or candies in it, or drizzle it over various desserts. Work quickly, as tempered chocolate sets fast.
7. Maintaining the Temperature
While using the tempered chocolate, keep an eye on its temperature. If it cools too much and thickens, gently reheat it following the guidelines in step 4.
Conclusion
Tempering chocolate might seem daunting at first, but once you get the hang of it, it’s a straightforward process that greatly enhances the quality of your chocolate desserts. Whether you’re making chocolates for a gift, a special occasion, or just as a treat for yourself, mastering the art of tempering chocolate will elevate your creations to a whole new level of professionalism and deliciousness. So, give it a try – practice makes perfect, and the results are definitely worth the effort!


