How to Turn Old Chocolate into Ganache: A Sweet Transformation
Do you have some old chocolate bars hiding in your cupboard, wondering what to do with them? Or perhaps you’ve received an excess of chocolate gifts? Before you think of throwing them away, how about transforming them into something irresistibly smooth, creamy, and versatile? Yes, I’m talking about turning that old chocolate into delectable ganache!
Ganache might sound fancy, but it’s actually super simple to make and requires just two essential ingredients. It’s a creamy mixture that can be used in a plethora of ways – think frosting for your cakes, a silky filling for your desserts, or even rolled into truffles for a bite-sized treat. Ready to give your old chocolate a magical makeover? Let’s dive in!
Step 1: Gather Your Ingredients & Tools
You’ll need:
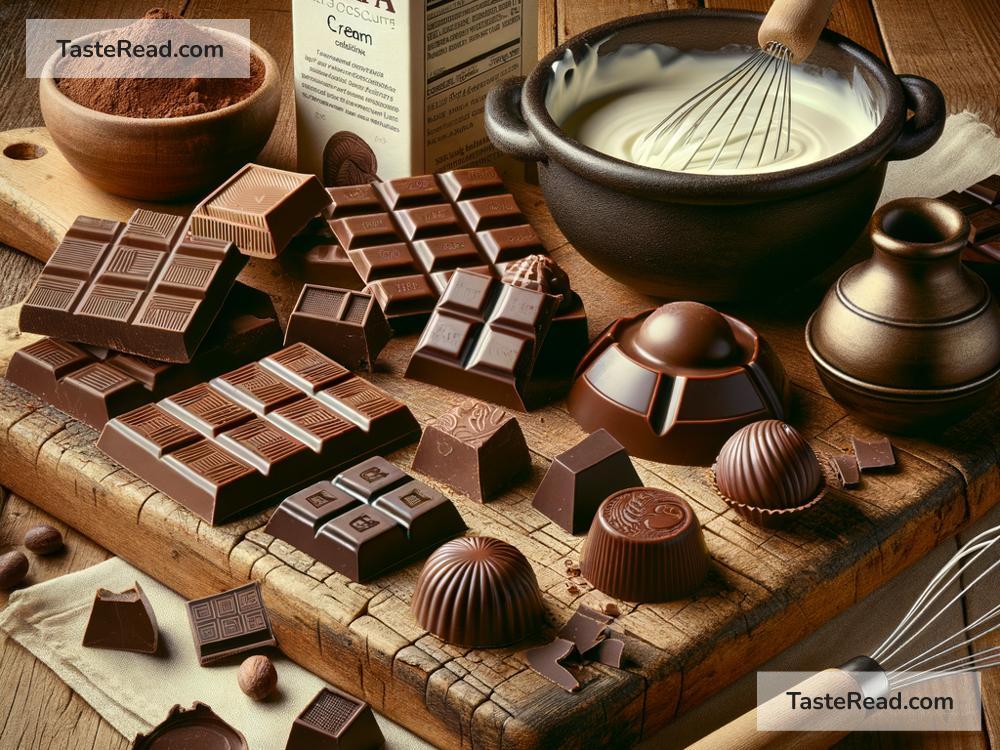
– Old chocolate (any kind will do – dark, milk, or white)
– Heavy cream
– A heatproof bowl
– A saucepan
– A spatula or whisk
Step 2: Chop Your Chocolate
Start by chopping your chocolate into small, even pieces. This will help it melt uniformly. If you’re using old chocolate bars that have developed a bit of a white film (known as ‘bloom’), don’t worry. This doesn’t mean your chocolate is spoiled. It’s just the fat or sugar coming to the surface, and it will not affect the taste of your ganache.
Step 3: Heat Your Cream
Pour your heavy cream into the saucepan and slowly heat it over a low flame. You don’t want the cream to boil, but you want it hot enough that it can melt the chocolate. When you see small bubbles starting to form around the edges, and it’s just about to simmer, it’s ready.
Step 4: Make The Magic Happen
Now, pour your hot cream over the chopped chocolate waiting in your heatproof bowl. Let this sit, untouched, for about 5 minutes. The heat from the cream will gently melt the chocolate. After waiting, grab your spatula or whisk and start stirring gently from the center, moving outwards. As you stir, you’ll see the mixture combining and turning glossy – that’s your ganache coming to life!
Step 5: Customizing Your Ganache
At this point, you have a basic ganache. But let’s not stop there – you can flavor it! Depending on your taste, you can add a pinch of sea salt to enhance the chocolate flavor, a splash of vanilla extract, or even a bit of liqueur for an adult twist. Just stir in your chosen flavoring after you’ve mixed the ganache together.
Step 6: Using Your Ganache
Your ganache is ready to use! But, how you use it depends on what you’re making:
- For a Pourable Ganache: Let it cool slightly, then pour over cakes or cupcakes for a smooth finish.
- For a Whipped Ganache (Frosting): Let it cool until it’s thick but still soft, then use a mixer to whip it until it’s fluffy. This makes a great frosting!
- For Truffles: Allow the ganache to cool and harden in the fridge. Once firm, use a melon baller or spoon to scoop portions and roll them into balls. You can then roll these in cocoa powder, chopped nuts, or sprinkles.
Step 7: Storing Your Ganache
If you’ve got leftover ganache or you’re making it ahead of time, no worries! You can store it in the refrigerator for up to two weeks. Just make sure it’s in a covered container. When you’re ready to use it, gently reheat it in the microwave, stirring at intervals, or place it over a pan of simmering water, stirring until it’s the right consistency.
Voila!
You’ve turned that old chocolate lurking in your cupboard into something truly spectacular. Not only did you save your chocolate from going to waste, but you also created a versatile and delicious treat that can enhance a wide variety of desserts. Whether you’re a novice baker or a dessert enthusiast, making ganache is a simple and satisfying way to elevate your sweet creations. So, the next time you find yourself with some leftover chocolate, remember this sweet transformation, and whip up some ganache!