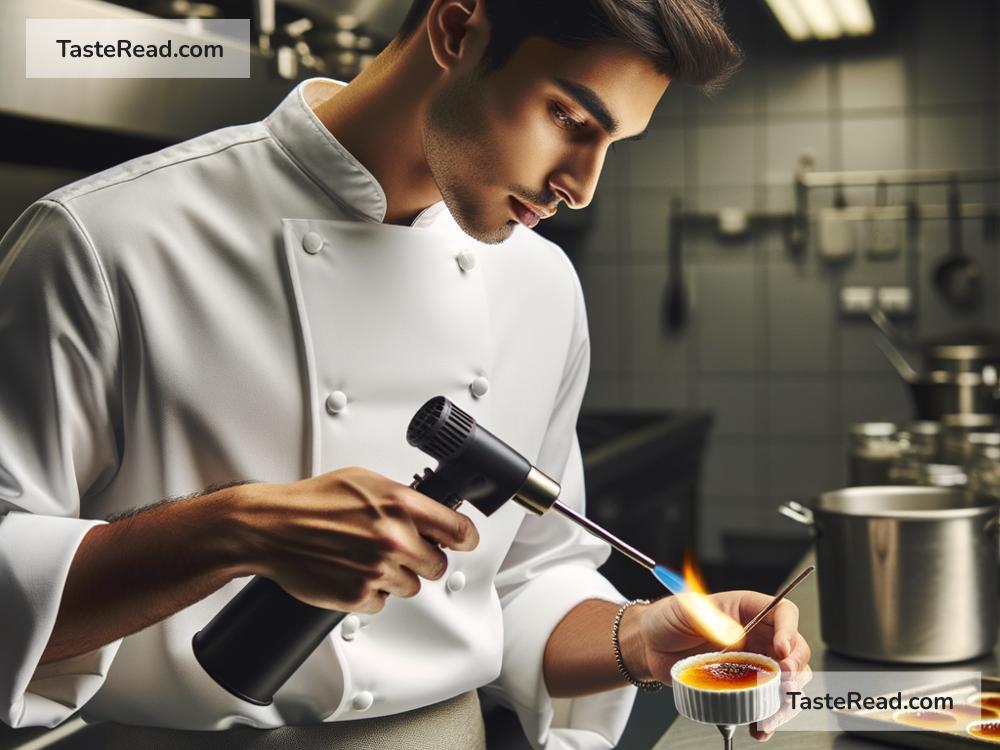
How to Use a Blowtorch for Finishing Dishes Like a Pro
You’ve seen it on cooking shows and in fancy restaurants – the chef whips out a blowtorch and adds the perfect finishing touch to a dish, leaving everyone in awe. It looks cool, somewhat daring, and the results are mouthwateringly perfect. Whether it’s caramelizing sugar atop a crème brûlée or giving a smoky char to a slice of meat, mastering the blowtorch can elevate your culinary creations from home-cooked to haute cuisine.
But hold on! Before you channel your inner chef-prodigy, let’s understand the essentials of using a blowtorch safely and effectively. Here’s how to wield this culinary flame like a pro, in simple English.
Choosing the Right Blowtorch
First things first, not all blowtorches are created equal when it comes to culinary use. You’ll want to get your hands on a kitchen or culinary torch, which is designed specifically for food use. These torches are smaller, more manageable, and allow you to control the intensity of the flame with ease.
Safety First
Before you light up, let’s talk safety. Always use the blowtorch in a well-ventilated area, keep it away from flammable materials and never leave it unattended while it’s on. Make sure the area around the dish you’ll be torching is clear of any packaging, paper towels, or anything that could catch fire unintentionally.
Getting Started
-
Check the Gas: Ensure your torch is filled with the appropriate culinary-grade butane. Running out of gas mid-caramelization is a no-no.
-
Ignition: Most modern kitchen torches have an ignition button, so simply press it to light up. Adjust the flame according to what you’re cooking – smaller for delicate items like meringue and larger for heartier things like meat.
-
Distance and Movement: Hold the torch about 3 to 6 inches away from the food. Start with the flame further away, then slowly move closer until you find the sweet spot. Keep the torch moving in a slow, steady motion to evenly distribute the heat and avoid burning any spots.
Finishing Dishes Like a Pro
Now that you’re all set, let’s explore the magic you can create with your blowtorch.
-
Crispy Skins: Want that perfectly crispy skin on your fish or chicken? Gently torch the skin side to achieve a tantalizing crunch that’s sure to impress.
-
Caramelized Fruits: Torching fruits like peaches, plums, or even grapefruit can heighten their natural sweetness. It’s a simple way to turn fresh fruit into a sophisticated dessert.
-
Melty Cheese: Getting cheese to melt just right can be tricky in the oven. A quick blast from a blowtorch can melt and slightly brown the cheese on dishes like French onion soup, without overcooking the rest of the dish.
-
The Perfect S’mores: No campfire? No problem. Toast your marshmallows with a blowtorch for that authentic campfire taste. Sandwich between graham crackers and a piece of chocolate, and you’ve got an instant treat.
-
Crème Brûlée: Ah, the quintessential torch dish. Sprinkle a thin, even layer of sugar over your prepared custards. Then, caramelize the sugar with your torch until it’s a warm, golden brown. The result? A crackly, glass-like top that gives way to creamy custard bliss.
Cleaning and Maintenance
After you’ve impressed your family and friends with your culinary prowess, remember to take good care of your blowtorch. Ensure it’s properly turned off and cool before storing. Wipe the nozzle clean to keep it free from food particles and debris that could block the flame.
Learning to use a blowtorch in the kitchen is like unlocking a new level in your culinary game. It’s not just about the visual flair or the theatrics; it’s about adding depth of flavor, texture, and an element of surprise to your dishes.
Start simple, practice safety, and soon, you’ll be finishing dishes with a flourish that only a blowtorch can provide. Happy torching!


