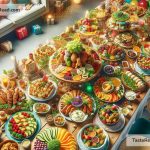
How to Use Overhead Shots to Showcase Food Plating: A Simple Guide
Are you keen on making your food look as delightful in photos as it does on the plate? You’re not alone! A lot of people, from cooking enthusiasts to professional chefs, enjoy showcasing their culinary creations. One effective way to highlight the beauty of your dishes is by mastering the art of overhead shots. So, let’s dive into how you can use this technique to make your food plating stand out.
1. Get the Right Gear
First things first, you don’t need the fanciest camera to start taking beautiful overhead shots. While a DSLR or mirrorless camera can give you fantastic quality, even a smartphone can do the job. The key is understanding how to use what you have effectively. Regardless of your camera choice, consider getting a tripod that allows for overhead shooting. This will help keep your shots stable and consistent.
2. Let There Be Light
Good lighting is crucial in photography, especially for food. Natural light works wonders for making your dishes look appetizing. Try to set up your shooting area near a window where plenty of natural light is coming in. However, avoid direct sunlight as it can create harsh shadows. If natural light isn’t an option, invest in some soft artificial lights. Remember, the goal is to make the food look as natural and appealing as possible.
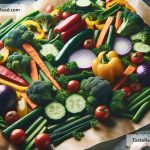
3. Consider the Background
The background can make or break your photo. For overhead shots, you want a background that complements the dish without overshadowing it. Neutral colors like white, black, or wooden surfaces are great options as they let the food be the star of the show. If you’re aiming for a more dynamic shot, a subtle pattern or texture can add depth without distraction.
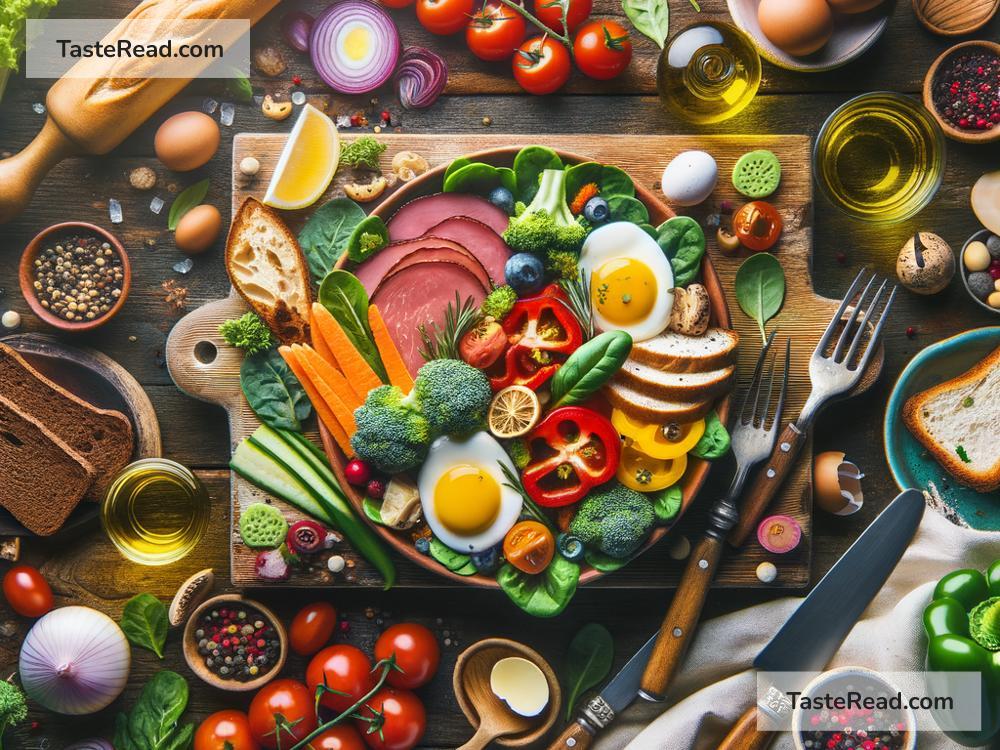
4. Play with Composition
Composition refers to how elements are arranged in your photo. When it comes to food, think about the balance between the dish, utensils, ingredients, and any other props. Experiment with different layouts to find what looks best. The rule of thirds, where you divide the frame into nine equal parts, is a helpful guideline for placing key elements. But don’t be afraid to break the rules for artistic reasons!
5. Focus on the Details
Food plating is an art, and every detail counts. Make sure the plate looks neat and the food is arranged beautifully. Before taking the shot, check for any smudges on the plate or misplaced garnishes. Sometimes, adjusting a small component can significantly enhance the overall look of the dish.
6. Experiment with Angles and Heights
While we’re focusing on overhead shots, playing with different angles and heights can give you a new perspective on what looks best. Sometimes, lifting the camera a few inches higher or lowering it can reveal a more compelling shot. Don’t hesitate to experiment until you find the perfect angle that showcases your dish in all its glory.
7. Edit with Care
Post-processing is like the seasoning in cooking; it enhances but can also overpower. Use editing software or apps to make minor adjustments to brightness, contrast, and saturation to make your dish pop. However, keep enhancements realistic – you want the food to look appetizing, not artificial.
Common Mistakes to Avoid
- Poor Lighting: This can make the food look unappealing. Always aim for well-lit conditions.
- Cluttered Composition: Too many elements can distract from the main subject. Keep it simple and focused on the food.
- Ignoring the Background: A messy or inappropriate background can ruin the shot. Choose wisely.
- Over-editing: Excessive editing can make the food look fake. Enhance gently.
Final Thoughts
Remember, the goal of using overhead shots to showcase food plating is to make the viewer wish they could reach into the photo and take a bite. It’s about capturing the essence and beauty of your culinary creations. With practice and patience, you’ll see significant improvements in your food photography. Happy shooting!