Title: Unlock the Secrets: Using Props and Backgrounds to Boost Your Food Photos
Have you ever scrolled through your social media feed and stopped dead in your tracks at a picture of food that looked so mouthwateringly good you could almost taste it? Ever wondered how those shots are so enticing, making you feel like reaching into the screen to grab a bite? The secret isn’t just in the dish itself but also in how it’s presented through careful selection of props and backgrounds. Whether you’re a budding food blogger, a restaurant owner looking to spice up your menu visuals, or simply a food enthusiast wanting to share your culinary adventures, learning how to effectively use props and backgrounds can significantly enhance your food photography. Here’s how to do it, broken down into simple, actionable tips.
Understand Your Dish
Before you start scattering random utensils or cloths around your food, take a moment to think about your dish. What story do you want to tell? Is it a summer berry tart that speaks of picnics and sunshine, or a hearty stew that evokes cozy winter nights by the fire? The background and props should complement the food, not distract from it. Use them to highlight the dish’s best features and context.
Choose the Right Background
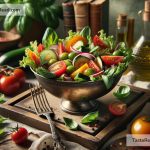
The background is like the stage for your culinary star. It sets the scene and mood. Keep it simple and uncluttered. Natural materials like wood, stone, or linen give a warm, rustic feel, while sleek metal or plain black or white backgrounds can lend a more modern, sophisticated look. Think about the color contrast too; a dark chocolate cake will pop against a light background, whereas a vibrant salad might shine better against a darker surface.
Props: Less Is More
When it comes to props, think quality over quantity. You don’t need to overcrowd your shot with every kitchen gadget you own. Instead, select a few items that enhance the feel of the meal you’re photographing. This could be a vintage spoon for a classic pudding, a sprig of fresh herbs beside a pasta dish, or a rustic loaf of bread with a bowl of soup. Props should be relevant and help tell the story of your food. Remember, the food is the star; the props are just the supporting cast.
Texture and Color
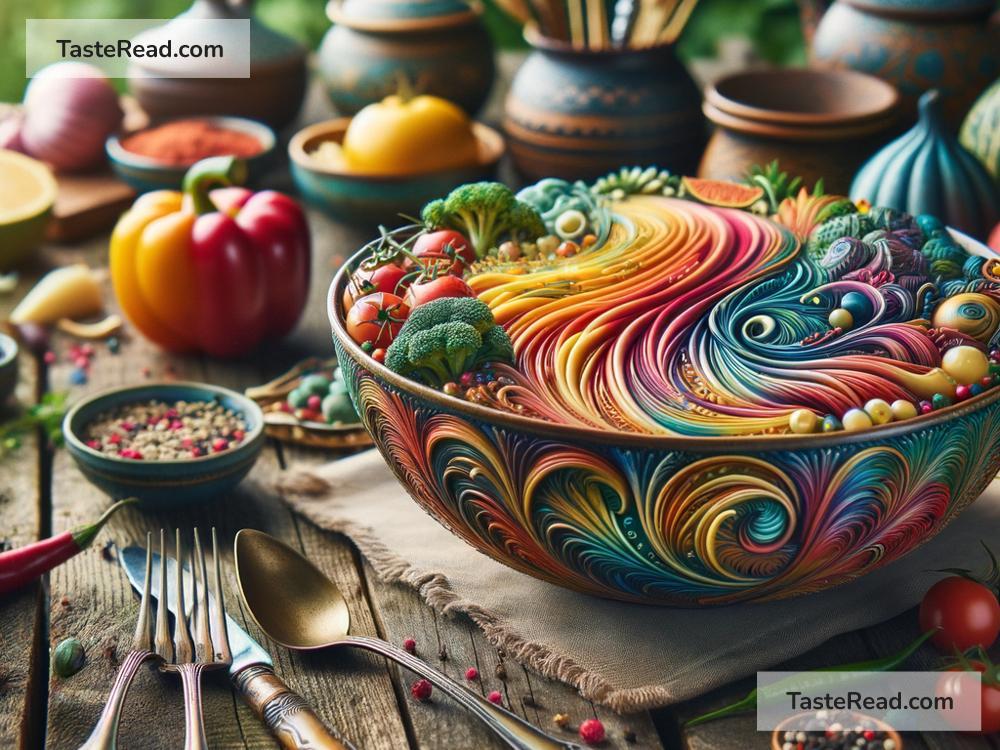
Playing with textures and colors can add depth to your food photography. A shiny, glazed doughnut might look stunning on a textured wooden board, while a sprinkle of powdered sugar on a dark slate can create a striking contrast. Use colorful napkins, plates, or cutlery to introduce or complement the colors in your food, but be cautious not to let them overpower the dish.
Light Is Key
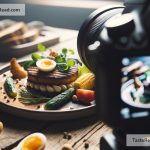
No matter how beautifully you’ve arranged your scene, poor lighting can ruin a potentially great food photo. Natural light is your best friend here, so try to set up your shoot near a window. The right lighting will not only make your food look appetizing but also highlight the textures of your props and background, creating a more dynamic and captivating image.
Composition Matters
Now that you have your background and props, it’s time to compose your shot. Don’t just plop your dish in the middle; play with the arrangement. Try the rule of thirds or position your main dish off-center for a more interesting composition. Think about the angles too – some dishes look best shot from above, while others might benefit from a side view. And remember, negative space (empty space in your photo) can be a powerful tool to make your food stand out.
Practice and Experiment
The best way to master the art of using props and backgrounds in food photography is through practice and experimentation. Don’t be afraid to try different arrangements, swap out props, or change your background entirely. Sometimes, what you thought wouldn’t work ends up giving you the most stunning shot.
Final Thoughts
Great food photography is about making your viewer’s stomach rumble and their mouth water. By thoughtfully choosing and using props and backgrounds, you can transform a simple photo of food into a compelling story that captivates your audience. Remember, you’re not just showing off a dish; you’re inviting viewers into an experience. So, grab your camera, play around with different setups, and watch as your food photography goes from good to drool-worthy.
Happy shooting!