How to Use Shadows and Highlights for Dramatic Food Photography
In the colorful world of food photography, mastering the play of shadows and highlights can transform a simple meal into a mouthwatering scene that beckons viewers right off their screens. Whether you’re a budding food blogger, a culinary artist, or just passionate about capturing your kitchen creations, understanding how to craft the perfect lighting can elevate your photos from good to unforgettable. Here’s a straightforward guide to using shadows and highlights to add drama and depth to your food photography.
Understanding Shadows and Highlights
First things first, let’s break down what we mean by shadows and highlights. Highlights are the brightest parts of your photo where light hits directly. They help define texture and emphasize certain areas. Shadows, on the other hand, are the darkest parts, where light is blocked. They create depth and shape, giving your subjects a three-dimensional feel.
The Role of Natural Light
The most accessible and arguably the best type of light for breathtaking food photography is natural light. It provides a softness and a level of detail that is hard to replicate with artificial sources. Try setting up your shoot near a window where you can harness the daylight. Pay attention to the time of day: early morning or late afternoon light is usually softer and warmer, which adds a cozy, inviting glow to your food.
Manipulating Light with Reflectors and Diffusers
Even with natural light, you may encounter too harsh shadows or overly bright highlights that drown out details. This is where reflectors and diffusers come into play. A reflector can be anything that bounces light back onto your subject, lightening shadows. It could be a piece of white card, foil, or a professional reflector. Position it opposite your light source to fill in the shadows gently.
A diffuser scatters light, making it softer and more even. If the sunlight through your window is too direct, hanging a sheer white curtain or placing a translucent white fabric in front of it can work wonders. This reduces harshness and creates a more balanced light.
Experiment with Angles and Directions
The direction from which light hits your food dramatically affects the mood and drama of your photo. Side lighting is excellent for emphasizing texture and depth, casting long, expressive shadows that sculpt your food. Backlighting, where the light source is behind the food, can create a luminous, almost halo-like effect around your subject, perfect for beverages and translucent foods. Playing with different angles helps you discover what works best for your specific dish.
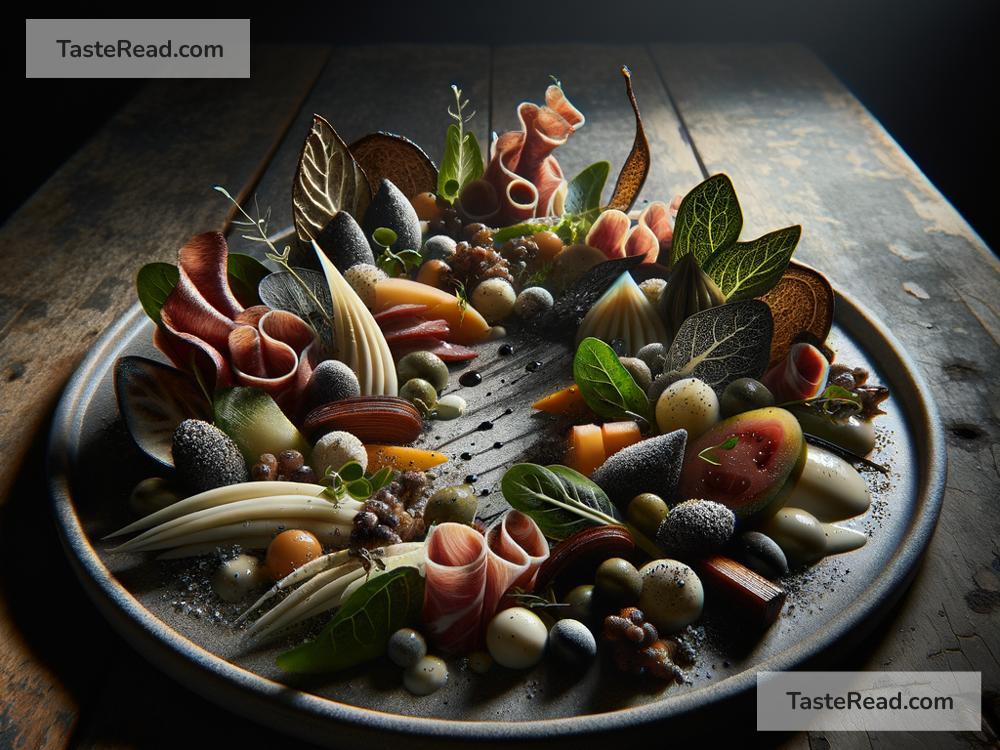
Creating Contrast with Shadows
Embracing shadows can add an unparalleled level of drama and intrigue to your photos. Allowing one side of your dish to fall into shadow creates a natural contrast that makes the lit parts pop even more. This doesn’t mean half of your photo should be pitch black, but rather, use shadows to frame and define the edges of your food. A darker background or surface can also aid in making your dish the undeniable star of the show.
Highlighting Highlights
While crafting your shadows, don’t forget to pay attention to the highlights. These will be your points of focus, drawing the viewer’s eye. Make sure they’re not blown out (overly bright to the point of losing detail). Highlights should complement your subject, adding life and vibrancy. You can manipulate them by adjusting the position of your light source, reflector, or even by moving the food itself to catch the light just right.
Post-Processing Polish
After you’ve taken your shots, a little post-processing can refine your lighting even further. Many photo editing apps and software offer tools to tweak the brightness, contrast, shadows, and highlights. Use these to enhance the natural interplay of light and shadow in your photos carefully. Remember, the goal is to accentuate that dramatic effect you’ve worked to create, not to overhaul the image entirely.
Practice and Patience
Like any art form, mastering the use of shadows and highlights in food photography takes practice and patience. Experiment with different setups, observe how light behaves at various times of the day, and take plenty of photos. Over time, you’ll develop an intuitive sense of how to sculpt your lighting for the most appetizing and dramatic effects.
Conclusion
Turning your food photographs into captivating works of art is within reach when you learn to harness the power of shadows and highlights. With these simple techniques and some creative experimentation, you’ll be capturing stunning, dramatic shots that not only showcase your culinary creations but tell a story that enchants and entices viewers. So grab your camera, play with the light, and let your food shine in the spotlight it deserves.