How to Turn Vegetable Skins into Delicious Chips and Snacks
Who says snacking can’t be healthy, delicious, and environmentally friendly all at the same time? Every year, tons of food waste are generated, with a significant portion being fruit and vegetable peels that many of us toss without a second thought. Yet, these skins are packed with nutrients and flavor, making them perfect for transforming into tasty chips and snacks. Today, we’ll take you through a simple guide on how to utilize those often-discarded vegetable skins to whip up some crunchy delights.
Start with the Right Vegetables
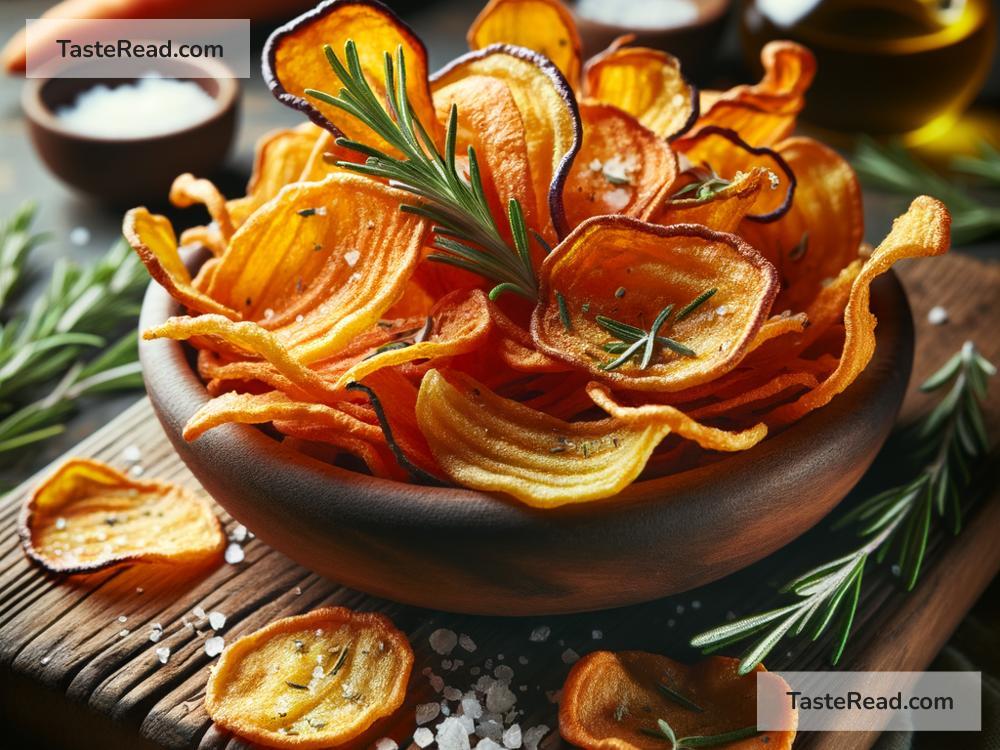
The best candidates for skin snacks are vegetables with edible peels. Potatoes, carrots, sweet potatoes, beets, and zucchinis top the list. Not only are their skins nutrient-dense, but they also crisp up nicely when baked or fried. Before you begin, remember to wash your vegetables thoroughly to remove any dirt or pesticides.
Preparing Your Skins
Once washed, peel your vegetables. You can use a regular vegetable peeler or a knife, aiming to keep the peels as intact as possible to make nice, big chips. But, don’t stress over perfection; unevenness can add to the rustic charm and crunchy texture. Instead of peeling them directly into the bin, collect them in a bowl.
If you’re preparing a meal that involves these vegetables, this method allows you to utilize every part of your produce—talk about a win-win!
Seasoning is Key
This is where the fun begins. Vegetable skins are like blank canvases waiting for a splash of flavor. Olive oil is a great start, helping the seasoning stick and contributing to the crispiness. From there, the sky’s the limit with seasonings. Salt is a must, but consider garlic powder, smoked paprika, cumin, or even a sprinkle of parmesan cheese for extra flavor. Mix your peels with your chosen oil and seasonings until everything is nicely coated.
Cooking Methods
Baking
Preheat your oven to around 375°F (190°C). Spread the seasoned peels on a baking sheet in a single layer, ensuring they don’t overlap. This allows them to crisp up evenly. Bake for 10-20 minutes, depending on the thickness of the peels and your oven. Flip them halfway through the cooking time for an even crunch. They’re done when they are crispy and have a nice golden-brown color.
Air Frying
If you have an air fryer, you’re in for a treat. Air frying is a quicker and even healthier option. Set your air fryer to 375°F (190°C), and cook the peels for about 10 minutes, shaking the basket halfway through. As air fryer sizes and models vary, keep an eye on them after the 5-minute mark to ensure they don’t burn.
Cooling and Storing
After cooking, let your chips cool on a wire rack. This helps maintain their crunchiness by allowing air to circulate around them. If they feel a bit soft after cooling, pop them back in the oven or air fryer for a few more minutes.
Store your chips in an airtight container to keep them crisp. They’re best enjoyed within a few days, making them a perfect snack for movie nights or as a crunchy topping on salads or soups.
Why Bother?
Beyond the obvious benefit of creating a delicious snack, using vegetable skins in this way has multiple advantages:
-
Nutritional Value: Many vitamins and minerals are found in the skins of vegetables. By consuming them, you’re getting a nutrient-packed snack.
-
Waste Reduction: Utilizing the skins contributes to a more sustainable kitchen by reducing food waste.
-
Creativity in the Kitchen: Experimenting with seasonings and cooking methods can be a fun way to spice up your cooking routine and discover new flavor combinations.
So, next time you’re about to throw away those vegetable skins, pause and consider turning them into a tasty, crunchy snack instead. Not only will you be doing something good for yourself, but you’ll also be doing something great for the planet. Happy snacking!