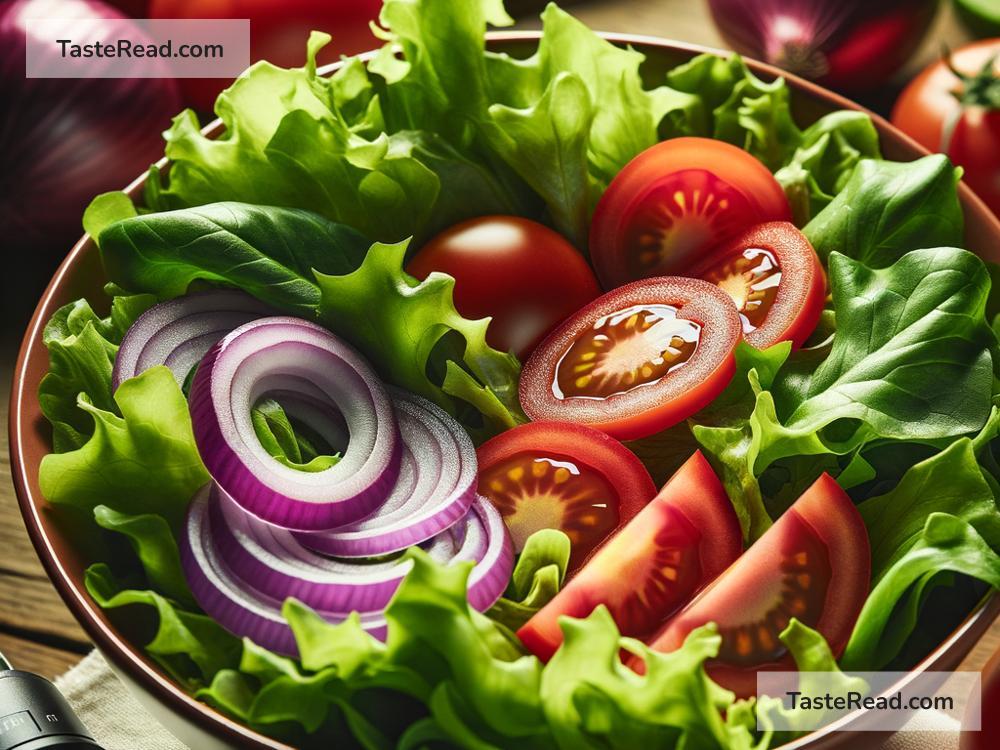
How to Use White Balance to Enhance the Look of Your Food Photos
In the world of food photography, capturing the perfect shot can sometimes be as intricate as cooking the dish itself. One of the key ingredients to a stunning food photo is the use of white balance. But wait, what’s white balance, you ask? In simple terms, white balance is about making the colors in your photo look accurate; ensuring that items which are white in the real world appear white in your photo. This can greatly affect the mood, appeal, and realism of your food shots. So, let’s dive into how you can use white balance to spice up your food photography game.
Understanding White Balance
Think of white balance like setting the right temperature for your photo. Just like how you adjust the heat when cooking, adjusting the white balance ensures your photo “feels” just right, making sure that pesky color casts (unwanted shades) don’t make your delicious dish look unappetizing. Cameras, whether it’s your professional DSLR or smartphone, often have an automatic white balance setting, but it’s not always spot on, especially under mixed or artificial lighting conditions. That’s where manually tweaking the white balance comes in handy!
Step 1: Know Your Light
The first step in mastering white balance is understanding the kind of light you’re working with. Different light sources (sunlight, LED lights, fluorescent lights) can make the same white object look differently colored—yellow, blue, or even green! Sunlight during sunrise or sunset provides a warm glow, while midday sunlight, cloudy skies, or shade will give a cooler tone to your photos.
Step 2: Setting the White Balance
Most cameras and many smartphones give you the option to adjust white balance. These settings might include icons like a sun (for daylight), clouds (for overcast), a light bulb (for tungsten lights), and a fluorescent strip (for fluorescent light). These presets adjust the colors to counteract the light conditions. Experiment with these to see which setting makes your food look the most appetizing.
For even more control, you can use the manual (custom) white balance setting. This usually involves taking a photo of something white or grey under the same light your dish is in so that the camera can understand what true white looks like in that particular setting. Then, it adjusts the rest of the colors based on this reference.
Step 3: Post-processing Adjustments
If you’re still finding the colors off, or you didn’t set the white balance at the time of the shoot, don’t fret! Most photo editing software and apps have tools to adjust white balance after the fact. Sliders for temperature can make your photo warmer or cooler, while tint sliders can help counteract green or magenta casts. This step can make a world of difference, transforming a good photo into a great one.
Tips for Using White Balance in Food Photography
-
Shoot in RAW: If possible, shoot your photos in RAW format. This contains all the image information captured by your camera sensor, giving you much more flexibility to adjust white balance in post-processing without losing quality.
-
Use a Gray Card: A gray card can help you set a precise white balance. Simply place it in the scene, take a reference photo, and set the custom white balance based on that image. This is particularly helpful in tricky lighting conditions.
-
Keep It Natural: While it’s tempting to add a warm glow to make your dish look more appetizing, stay true to the natural colors as much as possible. Overly warm or cool tones can make the food look unrealistic.
-
Practice and Experiment: The best way to learn what works for your style and your subjects is to experiment. Try different settings and adjustment techniques to see what enhances your food photos the best.
White balance is a powerful tool in your food photography toolbox. By mastering it, you can ensure your dishes look as mouthwatering on the screen or page as they do on your plate. Remember, photography, much like cooking, is an art form that requires a bit of experimentation, patience, and lots of practice. So, grab your camera, whip up some delicious dishes, and start practicing your white balance adjustments today. Your Instagram followers—and your taste buds—will thank you!


