Making Broths from Chicken Bones and Scraps: A Simple Guide
There’s something incredibly satisfying about turning leftovers into a delicious and nutritious broth. Not only does it make the most of your food, but it also brings a homemade touch that can’t be beaten. Making broth from chicken bones and scraps is easy, sustainable, and can elevate your cooking to the next level. Here’s a simple guide on how to do it.
What You Need to Know Before You Start
First things first, you’ll want to save your chicken bones and scraps. Whether it’s the carcass from your Sunday roast or the bones from chicken thighs, keep them. You can store these in a bag in the freezer until you have enough to make a broth. Additionally, vegetable scraps like carrot peels, onion ends, and celery leaves can also add flavor and nutrients to your broth, so feel free to save those too.
Ingredients:
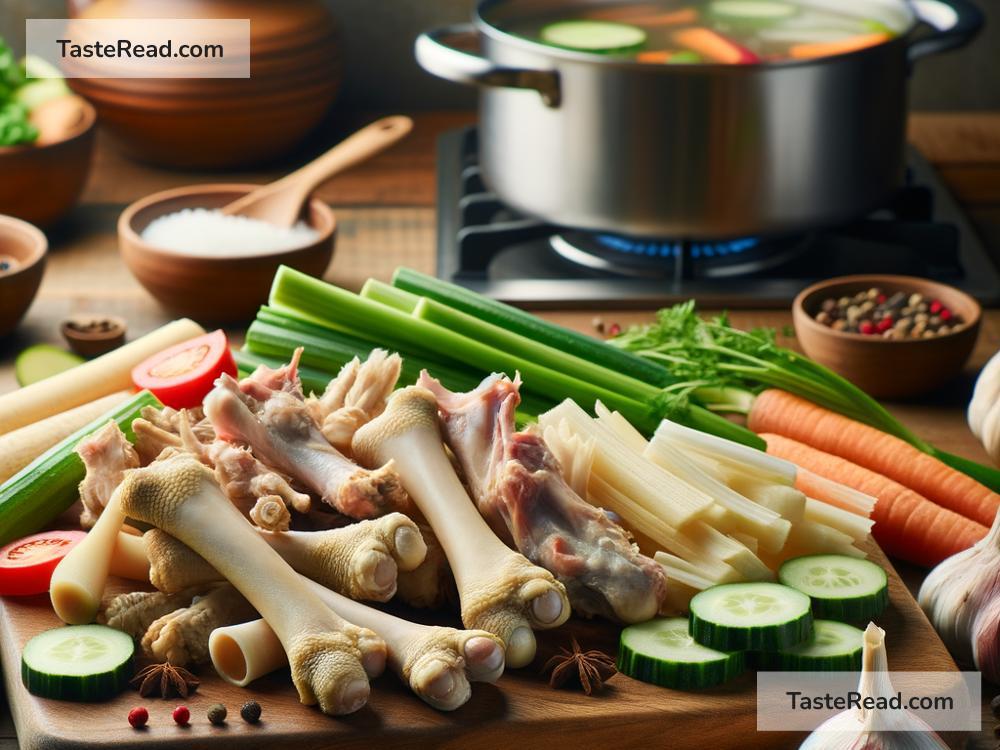
- Chicken bones and scraps (from about 1 whole chicken)
- Vegetable scraps (optional)
- 1-2 onions, quartered
- 2-3 carrots, roughly chopped
- 2-3 celery stalks, roughly chopped
- 1-2 bay leaves
- A couple of garlic cloves (optional)
- Salt and pepper to taste
- Water
Equipment:
- A large pot or a slow cooker
- A strainer
- A container for storing the broth
Step-by-Step Guide
-
Gather Your Ingredients: Begin by collecting your saved chicken bones and scraps, along with any vegetables and seasonings you’d like to include. If you’re pulling the bones from the freezer, there’s no need to thaw them first.
-
Prepare Your Vegetables: Give the onions, carrots, and celery a rough chop. You don’t need to peel the carrots or garlic (if using) since everything will be strained out in the end. This is about extracting flavor, not presentation.
-
Combine Everything in the Pot: Place your chicken bones, vegetable scraps, and any seasonings you’re using into a large pot. Then, cover everything with cold water. The water should rise about 1-2 inches above the contents of the pot.
-
Cook the Broth: Bring the pot to a gentle boil. You may notice some foam rising to the surface. Skim this off with a spoon. This helps achieve a clearer broth. Once you’ve skimmed the foam, reduce the heat, cover, and simmer. Allow your broth to simmer for at least 1 hour, but ideally 3-4 hours for more depth of flavor.
-
Strain and Store: After your broth has simmered and you’re happy with the taste, it’s time to strain it. Set a strainer over a large bowl or another pot and carefully pour your broth through it. This will separate the liquid gold – your broth – from the bones and vegetable pieces.
-
Cool It Down: Before you store your broth, it’s important to cool it down quickly. You can do this by placing the container of hot broth in a sink filled with cold water and ice. Stir occasionally to help it cool down more evenly.
-
Storing Your Broth: Once cooled, your broth can be stored in the fridge for up to a week or frozen for longer storage. Freezing in ice cube trays can be a great way to have small portions of broth ready to use whenever you need them.
Why Make Your Own Broth?
Making your own chicken broth isn’t just about saving money, though that is a great benefit. Homemade broth is healthier, containing no preservatives or artificial flavors commonly found in store-bought versions. Plus, making broth from scraps reduces food waste and gives you control over its seasoning and salt content.
Getting Creative
Feel free to get creative with your broth. Each batch can be a reflection of what you had on hand. Experiment with different herbs and spices or add a piece of ginger for an Asian-inspired twist. Your homemade broth can serve as the base for soups, stews, risottos, and much more, adding a layer of homemade goodness to every meal.
In conclusion, making broth from chicken bones and scraps is a rewarding process that’s good for your wallet, your health, and the planet. It’s a simple way to add a rich, comforting element to your home cooking. So the next time you find yourself with leftover chicken bones, give it a try. You may just discover your new favorite kitchen habit.