Making Crispy Onion Rings from Outer Layers: A Simple Guide
In the quest for snack-time perfection, few treats strike the balance between savory satisfaction and crunchy delight quite like onion rings. These golden-brown circles of joy have been a staple at diners and fast-food joints, but did you know that making them at home, especially utilizing those often-discarded outer layers, can be both simple and rewarding? This guide will walk you through an easy, fool-proof way to whip up crispy onion rings using the outer layers of onions, turning what might be waste into a delicious snack.
Why Use the Outer Layers?
Most recipes call for the inner, more tender parts of the onion, leaving the first few sturdy outer layers sidelined. These parts are slightly tougher and can have a more pronounced flavor, which actually makes them perfect for onion rings. They hold up better in the frying process, ensuring your rings don’t turn into mush. Plus, it’s a fantastic way to reduce kitchen waste, rounding out your eco-friendly cooking practices.
Ingredients You’ll Need
Creating magical onion rings doesn’t require a trip to a specialty store; everything you need is probably already in your kitchen. Here’s what to gather:
– 1-2 large onions (medium or sweet varieties work best)
– 1 cup all-purpose flour
– 1 tablespoon paprika (this adds a sweet and smoky flavor)
– 1 teaspoon garlic powder
– 1 teaspoon salt
– ½ teaspoon black pepper
– 1 cup milk (dairy or any plant-based alternative)
– 1 tablespoon vinegar (white or apple cider)
– Breadcrumbs or Panko for that extra crunch (around 1 cup)
– Oil for frying (vegetable, canola, or peanut are great choices)
Preparation: A Step-By-Step Guide
-
Peel and Slice the Onions: Start by peeling your onions and slicing them into approximately ½-inch thick rings. Carefully separate the rings, focusing on using the larger, outer ones. The smallest rings can be saved for another recipe.
-
Milk Bath: In a shallow bowl, whisk together the milk and vinegar, then soak the onion rings in the mixture. This not only adds flavor but also softens them slightly, ensuring they don’t just harden when fried. Let them sit for about 15 minutes.
-
Season the Flour: While the onion soaks, mix the flour, paprika, garlic powder, salt, and black pepper in another bowl. This mixture is what will adhere to the onions to create a flavorful outer layer.
-
Dredging and Breading: Take each onion ring out of the milk mixture, letting the excess drip off, and coat them in the seasoned flour. Ensure every nook is covered. Then, dip them once again briefly in the milk mixture, and finally into the breadcrumbs or Panko. This double-dipping creates a crisper end product.
-
Frying: Heat the oil in a deep fryer or a large, deep pan to 375°F (190°C). Fry the onion rings in batches, careful not to overcrowd the pan. Fry until they’re golden brown and crispy, which should take about 2-3 minutes. Use a slotted spoon to transfer them to a wire rack or plate lined with paper towels to drain excess oil.
-
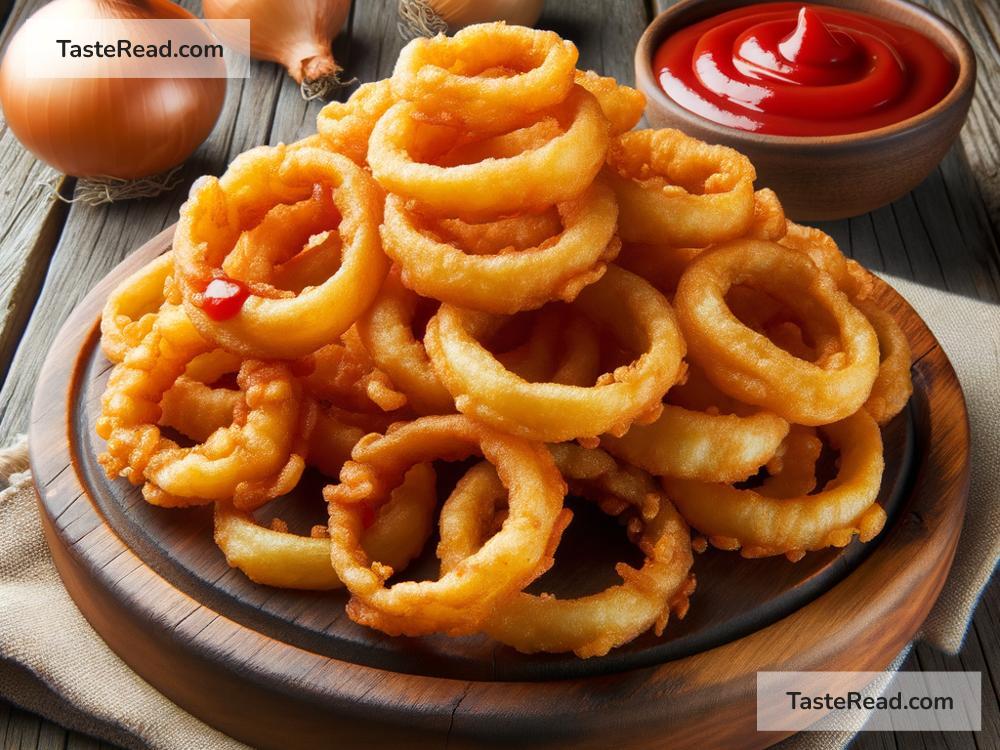
Serving: Best served hot, these crispy delights can be accompanied by your favorite dipping sauce, be it a classic ketchup, a spicy mayo, or a tangy barbecue sauce.
Tips for Perfect Onion Rings Every Time
- Uniformity is Key: Try to keep your onion slices uniformly thick. This ensures they cook evenly and turn out perfect.
- Avoid Overcrowding: When frying, give your onion rings plenty of space. Crowding can lower the oil’s temperature and result in soggy rings.
- Oil Temperature: Maintaining the right oil temperature is crucial. Too hot, and the coating will burn before the onion is cooked; too cool, and they’ll absorb too much oil and become greasy.
By following this simple guide, you’ll be well on your way to making delicious, crispy onion rings from the outer layers of onions. Not only is it a great way to utilize more of the onion, but it’s also an enjoyable cooking project that results in a snack everyone loves. So, next time you find yourself peeling onions, remember: Those outer layers are golden opportunities for culinary creativity.