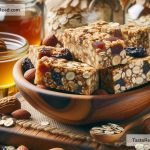
Making Granola Bars from Leftovers: A Guide to Delicious Recycling
You know the drill — every once in a while, you find yourself staring at a cupboard full of half-empty cereal boxes, each with just not enough left to fill a bowl. Instead of letting them sit there or, worse, throwing them away, why not transform them into something new and delicious? Enter homemade granola bars!
Granola bars are the Swiss Army knives of snacks: perfect for breakfast on-the-go, a mid-afternoon energy boost, or a sweet treat after dinner. Making them at home not only gives you control over the ingredients but also provides an excellent opportunity to use up leftover cereal. It’s a win-win: you reduce food waste and get to enjoy a batch of freshly made, customized granola bars. Let’s dive into how you can turn those leftovers into your next snack-time favorite.
Ingredients: The Base and Beyond
At its core, a granola bar consists of a few basic components — binders, sweeteners, and the star of the show, your cereal. You probably already have most of what you need in your kitchen, which makes this endeavor even more straightforward.
- Cereal: This can be anything you have on hand, from rice puffs to wheat flakes. Mixing different types can add texture and flavor complexity to your bars.
- Binders: These help hold your bars together. Nut butter (like peanut or almond butter) or melted butter works great.
- Sweeteners: Honey, maple syrup, or corn syrup can add that touch of sweetness and also contribute to binding the ingredients.
- Extras: Here’s where you can get creative. Toss in some nuts, dried fruit, chocolate chips, seeds, or spices to add texture and flavor.
The Simple Steps to Sweet Snacks
Making granola bars is more about method than exact measurement, which leaves room for creativity and adjustments based on what you have. Here’s a straightforward approach:
-
Prep: Start by preheating your oven to around 325°F (165°C) and lining a baking tray with parchment paper. This prevents sticking and makes clean-up a breeze.
-
Mix: In a large bowl, combine your cereal and any of the extras you’ve chosen. Aim for about 2 to 3 cups of dry ingredients in total.
-
Bind: In a separate bowl, mix your binders and sweeteners until smooth. If you’re using nut butter, warming it slightly can make it easier to mix. You’ll need about ½ to ¾ cup of this mixture, depending on how many dry ingredients you have. Pour this over your cereal mix and stir until everything is nicely coated.
-
Shape: Pour the mixture onto your prepared baking tray and press it down firmly. You want to compact it as much as possible to ensure the bars stick together. A piece of parchment paper can help press down evenly without sticking.
-
Bake: Bake in the oven for about 20 to 25 minutes, or until the edges start to turn golden brown. The baking step helps the bars set and become more cohesive.
-
Cool and Cut: This might be the most challenging step — waiting! Let your granola bars cool completely in the pan before attempting to slice them. This patience pays off with cleaner cuts and bars that hold together better.
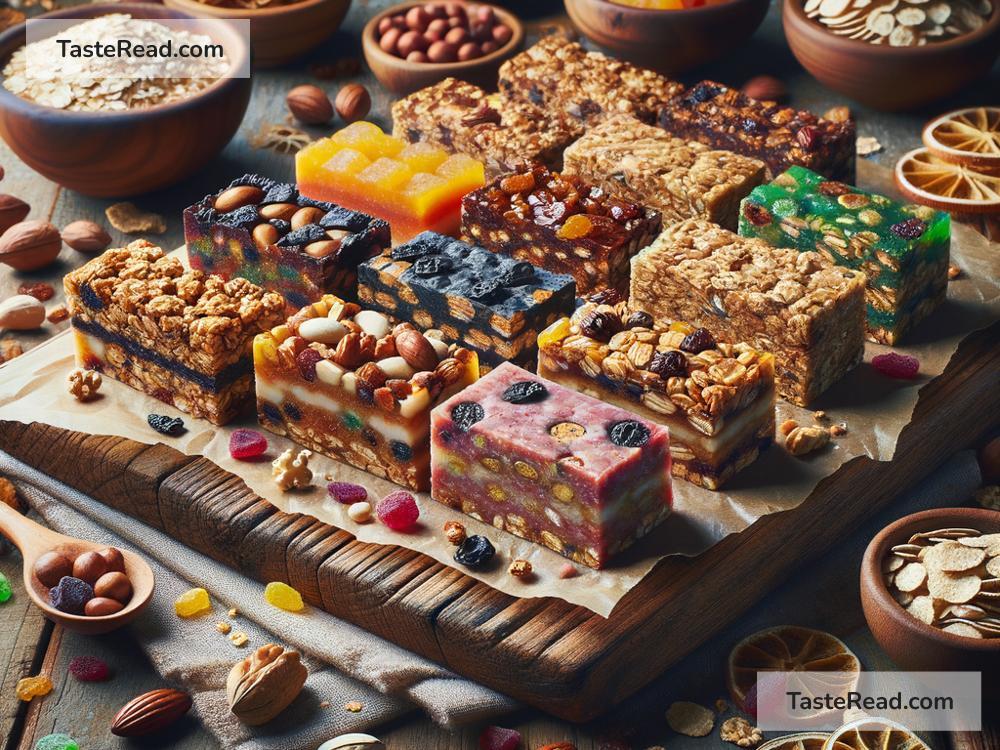
Customization and Creativity
One of the best parts about making your granola bars is the endless possibilities for customization. Here are a few ideas to spark your creativity:
– Chocolate Lover’s Dream: Mix in chocolate cereal, chocolate chips, and a drizzle of melted chocolate on top.
– Tropical Getaway: Use a coconut-based cereal, add dried pineapple and mango, and bind it together with coconut oil.
– Nutty for Nuts: Load up on various nuts and seeds for a crunchy, protein-packed snack.
Storage and Sharing
Once cut, store your granola bars in an airtight container at room temperature. They should keep for about a week, but let’s be honest — they’re so tasty, they probably won’t last that long. Wrapped individually, they also make a delightful, personalized gift for friends, family, or neighbors.
Making granola bars from leftover cereal is not just about creating a tasty treat. It’s a small, delicious step towards reducing food waste and making the most of what we have. So next time you’re about to retire that half-empty cereal box to the back of your cupboard, remember: It could be your next snack-time superstar. Happy baking!