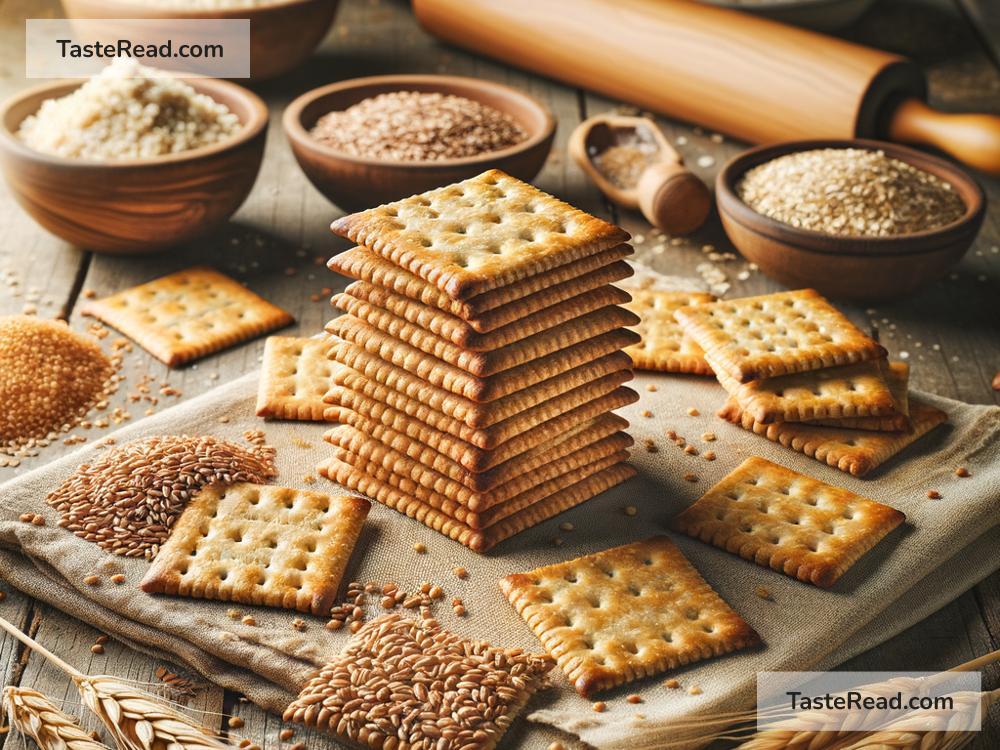
Making Homemade Crackers with Leftover Grains: A Simple and Sustainable Recipe!
Are you looking for a way to use up those bits of leftover grains sitting at the back of your pantry? Why not transform them into delicious homemade crackers! Not only is this an excellent way to minimize food waste, but it’s also a fantastic opportunity to get creative in the kitchen. In this post, I’ll guide you step-by-step on how to make your own crackers using leftover grains. It’s simpler than you might think, and the end result is both satisfying and super tasty!
Why Make Your Own Crackers?
Making crackers at home might seem daunting at first, but it’s surprisingly easy. Plus, it has a few notable benefits:
– Reduced Waste: Utilize those leftovers and reduce your kitchen waste.
– Healthier Options: Control what goes into your crackers, avoiding preservatives and additives.
– Customizable: Experiment with different flavors and ingredients based on what you like or have on hand.
Getting Started: What You’ll Need
Before we dive into the recipe, let’s talk about what you’ll need. The beauty of this recipe is its flexibility regarding the type of grains you can use. Rolled oats, quinoa, rice (both white and brown), barley, and wheat berries are all great options. You can even mix and match!
Basic Ingredients:
– 1 cup of cooked leftover grains (any type)
– 1 cup all-purpose flour (for a gluten-free option, use oat flour or any gluten-free blend)
– 2 tablespoons olive oil
– 1/2 teaspoon salt
– 1/4 cup water (you might need a little more or less, depending on the dough)
Optional Flavor Add-Ins:
– Herbs (rosemary, thyme, oregano)
– Spices (cumin, paprika, garlic powder)
– Seeds (sesame, poppy, flaxseed)
– Cheese (grated Parmesan, cheddar)
Feel free to get creative with the flavors. The possibilities are endless!
Step-by-Step Guide:
-
Preheat and Prep: First, get your oven ready by preheating it to 350°F (175°C). Line a baking sheet with parchment paper to prevent sticking.
-
Mix Dry Ingredients: In a large bowl, mix the flour, cooked grains, salt, and any dry herbs, spices, or seeds you’re using.
-
Add Wet Ingredients: Pour in the olive oil and gradually add water until the mixture comes together to form a dough. The dough should be firm but not sticky. Adjust with a bit more flour or water as needed.
-
Roll Out the Dough: On a lightly floured surface, roll the dough out as thin as you can without breaking it. A thin dough means crispier crackers! Aim for about 1/8 inch (3 mm) thickness.
-
Cut Into Shapes: Use a knife or a cookie cutter to cut the dough into your desired cracker shapes. Be creative! Traditional squares are fine, but you can also try circles, triangles, or even fun animal shapes for kids.
-
Bake: Carefully transfer the cutout crackers to your prepared baking sheet. If you like, sprinkle a bit of salt or any remaining herbs on top for extra flavor. Bake in the preheated oven for 15-20 minutes, or until the crackers are crisp and golden brown around the edges.
-
Cool and Enjoy: Let the crackers cool on the baking sheet for a few minutes before transferring them to a wire rack. Once cooled, they’re ready to eat!
Serving Suggestions:
These homemade crackers are perfect for snacking on their own, but they also pair wonderfully with cheese, hummus, or any dip you love. They’re a great addition to any meal, from soups and salads to charcuterie boards.
Storing Your Crackers:
To keep them crisp, store your cooled crackers in an airtight container. They’ll last for up to a week, but I bet they’ll be eaten long before then!
Conclusion:
Making homemade crackers with leftover grains is a simple, fun, and eco-friendly kitchen project. Not only does it help you cut down on food waste, but it also rewards you with a batch of delicious, customizable crackers that are sure to impress. So next time you find yourself with some leftover grains, give this recipe a try. Happy baking!


