Making Ice Cream with Leftover Coconut Milk: A Sweet Solution
Making ice cream at home might seem like a daunting task, but it’s a fun and creative way to use up ingredients you already have—like leftover coconut milk. If you find yourself with a can of coconut milk sitting in your fridge, you’re in luck! You can transform it into a delicious, creamy ice cream with just a few steps and ingredients. In this blog post, we’ll guide you through making your own coconut milk ice cream, a perfect treat for any season!
Why Use Coconut Milk?
Coconut milk is a fantastic alternative to traditional dairy products. It’s not only great for those who are lactose intolerant or following a vegan diet, but its rich and creamy texture makes it an excellent base for making ice cream. Plus, it adds a tropical twist to your desserts, bringing a refreshingly light coconut flavor that pairs well with a variety of mix-ins and toppings.
What You’ll Need:
Before you get started, make sure you have the following:
- Coconut Milk: One can of full-fat coconut milk provides the perfect creaminess for your ice cream.
- Sweetener: You can use sugar, honey, maple syrup, or any sweetener of your choice to taste.
- Vanilla Extract: A teaspoon of vanilla extract will enhance the flavor, giving your ice cream a classic taste.
- Mix-ins (Optional): Get creative with chocolate chips, chopped nuts, fruit pieces, or whatever your heart desires!
Making Your Coconut Milk Ice Cream: Step-by-Step
1. Mix Your Ingredients
In a mixing bowl, combine the coconut milk, your choice of sweetener, and vanilla extract. Whisk them together until the sweetener is fully dissolved, and you have a smooth mixture. This is your base ice cream mix.
2. Chill the Mixture
For the best results, cover your bowl and place the mixture in the refrigerator for an hour or two. This step is crucial because a colder base helps churn into ice cream more effectively, resulting in a smoother texture.
3. Churn the Ice Cream
If you have an ice cream maker, pour your chilled mixture into the machine and churn according to the manufacturer’s instructions. If you don’t have an ice cream maker, don’t worry! You can pour the mixture into a freezer-safe container and freeze it, giving it a good stir every 30 minutes to break up any ice crystals, until it reaches a creamy consistency—this could take about 2 to 4 hours.
4. Add Mix-ins and Freeze
Once your ice cream is nearly done, whether churned in a machine or by hand, now is the time to fold in any mix-ins you’d like. Then, transfer the ice cream into a freezer-safe container, smoothing the top with a spatula. Cover the container with a lid or plastic wrap, and freeze until the ice cream is solid enough to scoop, usually about 4 to 6 hours, but leaving it overnight is best for perfect scooping texture.
Serving Your Coconut Milk Ice Cream
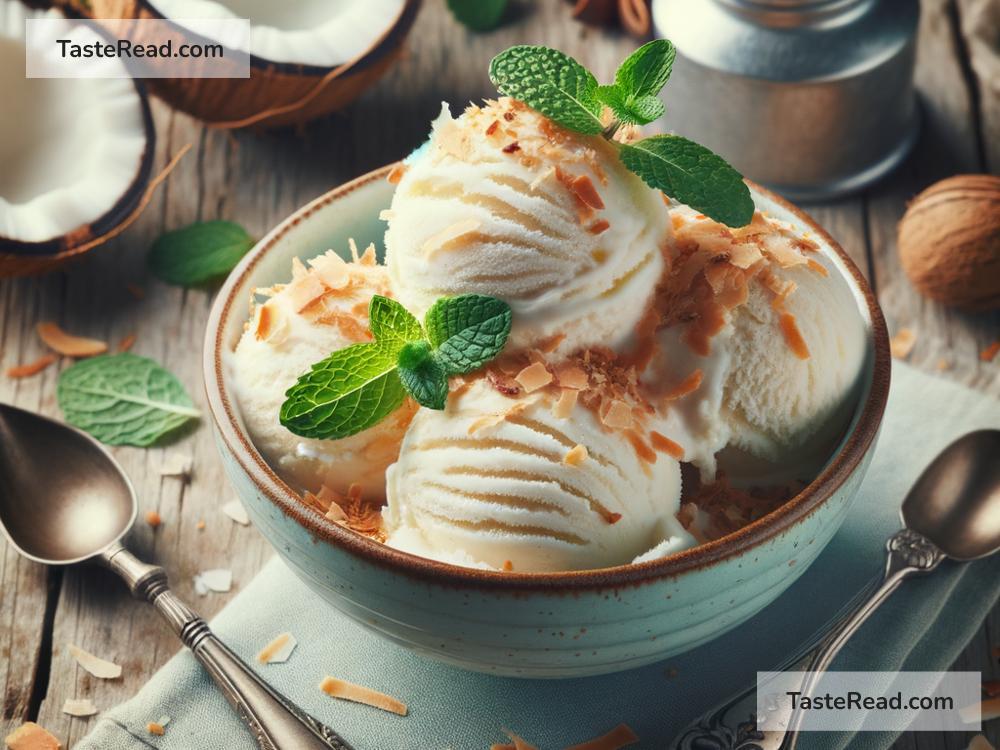
After your ice cream has set, it’s ready to enjoy! Take it out of the freezer, let it sit for a few minutes to soften slightly, and then scoop it into bowls or cones. Don’t hesitate to drizzle it with your favorite syrups, sprinkle it with toppings, or enjoy it plain to savor the creamy coconut flavor.
Why This is a Sweet Solution
Making ice cream from leftover coconut milk isn’t just about creating a tasty treat; it’s also an excellent way to reduce food waste. Instead of letting that opened can of coconut milk go bad in the back of your fridge, you’re turning it into a dessert that your friends and family will love. It’s a win-win!
Embracing this simple and enjoyable method not only helps you save money and minimize waste but also sparks joy in the kitchen. Plus, the customization options are endless, allowing anyone to tailor this recipe to their tastes and dietary needs.
Whether you’re a seasoned home cook or someone just beginning to explore the world of homemade desserts, making ice cream with leftover coconut milk is a delightful project. So, the next time you find yourself with some extra coconut milk, remember this easy recipe and treat yourself to a batch of homemade, creamy, coconut-y goodness. Enjoy!