Making Jelly from Overripe Strawberries: A Simple Guide
Have you ever come across strawberries in your kitchen that are just a tad too ripe to eat on their own? Perhaps they’re slightly squishy, or their bright red color has started to darken. Don’t throw them away! These overripe strawberries are perfect for making delicious homemade jelly. Not only is this a wonderful way to reduce food waste, but you’ll also get to enjoy a sweet, flavorful spread that’s perfect for toast, sandwiches, or even as a dessert topping. Here’s a simple guide to help you turn those overripe strawberries into a yummy jelly.
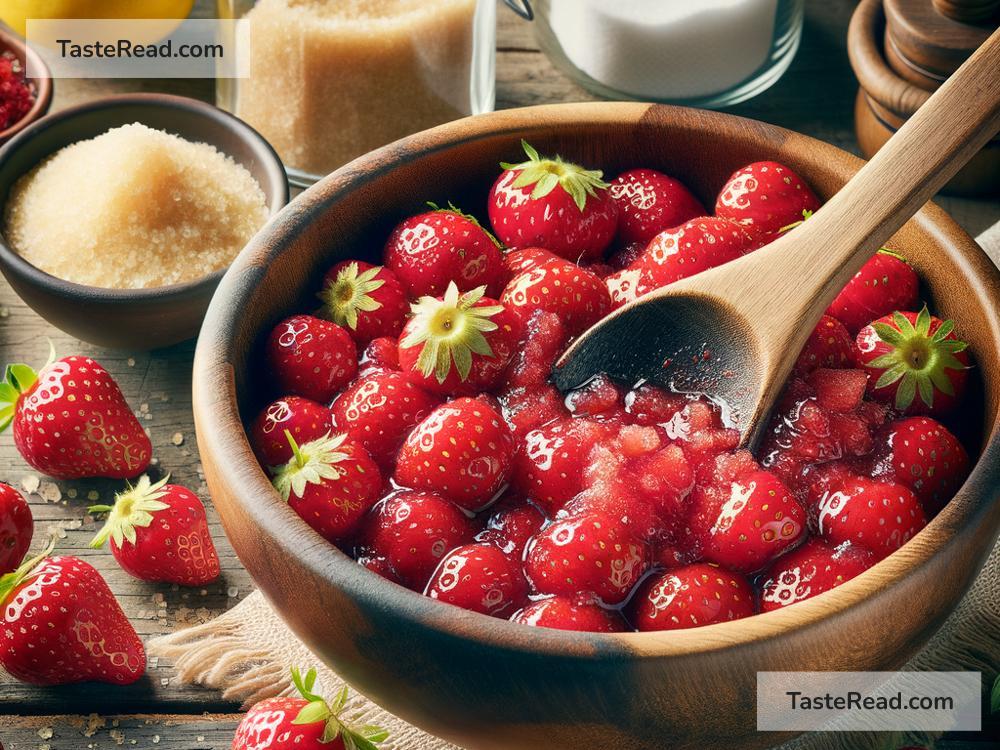
Ingredients You’ll Need:
- 4 cups of overripe strawberries
- 2-4 cups of sugar (adjust based on your sweetness preference)
- ¼ cup of lemon juice
- 1 package (or the equivalent) of pectin (this helps your jelly set)
Equipment You’ll Need:
- A large pot
- A spoon for stirring
- A fine mesh sieve or cheesecloth
- Jelly jars for storing your finished product
Step 1: Prepare Your Strawberries
Begin by rinsing your strawberries under cold water. It’s okay if they’re a bit squishy – that’s exactly what we’re looking for! However, make sure to remove any strawberries that show signs of mold. After rinsing, remove the stems and any bruised areas. You don’t need to chop them finely as we’ll be boiling them down anyway.
Step 2: Cook the Strawberries
Place your prepared strawberries into the large pot and add just enough water to cover the bottom of the pot. This will prevent the berries from sticking and burning. Bring the mixture to a simmer over medium heat, stirring occasionally. As the strawberries soften, use your spoon to mash them gently. This will release their natural juices and enhance the flavor of your jelly. After about 10 minutes, when your strawberries have turned into a pulpy mixture, remove the pot from the heat.
Step 3: Strain the Mixture
Now it’s time to remove the solid parts to make our jelly nice and smooth. Place the fine mesh sieve or cheesecloth over a bowl and carefully pour your strawberry mixture into it. If using cheesecloth, you might want to wear gloves to avoid getting burned. Gently press down with a spoon to extract as much juice as possible. The liquid you collect is what will become your jelly.
Step 4: Make the Jelly
Wash your pot, or get a clean one, and pour the strained strawberry juice back into it. Add the sugar and lemon juice to the pot and stir well. The sugar not only sweetens your jelly but also helps it set, while the lemon juice balances the flavors with a nice tang. Heat the mixture on low, stirring constantly until the sugar is completely dissolved.
Once the sugar is dissolved, bring your mixture to a boil and then add the pectin. Follow the package instructions for the exact amount and boiling time. Generally, this involves letting it boil hard for a minute or so while stirring constantly. After that, remove your pot from the heat.
Step 5: Jar Your Jelly
This step needs to be done quickly, as jelly starts to set as it cools. Have your clean jelly jars ready. Carefully ladle the hot jelly into the jars, leaving about a quarter-inch of space at the top. Wipe off any spills on the jar rims with a clean cloth, then seal the jars. If you plan to keep the jelly for a long time, you might want to process them in a water bath. However, if you’ll be eating the jelly within the next few weeks, simply let them cool and then store them in the fridge.
Enjoy!
Congratulations, you’ve just made homemade jelly from overripe strawberries! Once cooled, your jelly is ready to enjoy. Spread it on toast, add a dollop to your oatmeal, or swirl it into yogurt. It’s a delicious reminder that food waste can be transformed into something incredibly delicious with a little creativity.
Making jelly from overripe strawberries is not just a practical skill but also an enjoyable way to spend an afternoon. Plus, homemade strawberry jelly makes a thoughtful gift for friends and family. So the next time you find overripe strawberries in your kitchen, remember that they hold the sweet potential of becoming your next homemade jelly.
By following these simple steps, you’ll not only save food but also treat yourself to a delightful homemade treat that’s packed with the fresh flavors of strawberries. Happy jelly making!