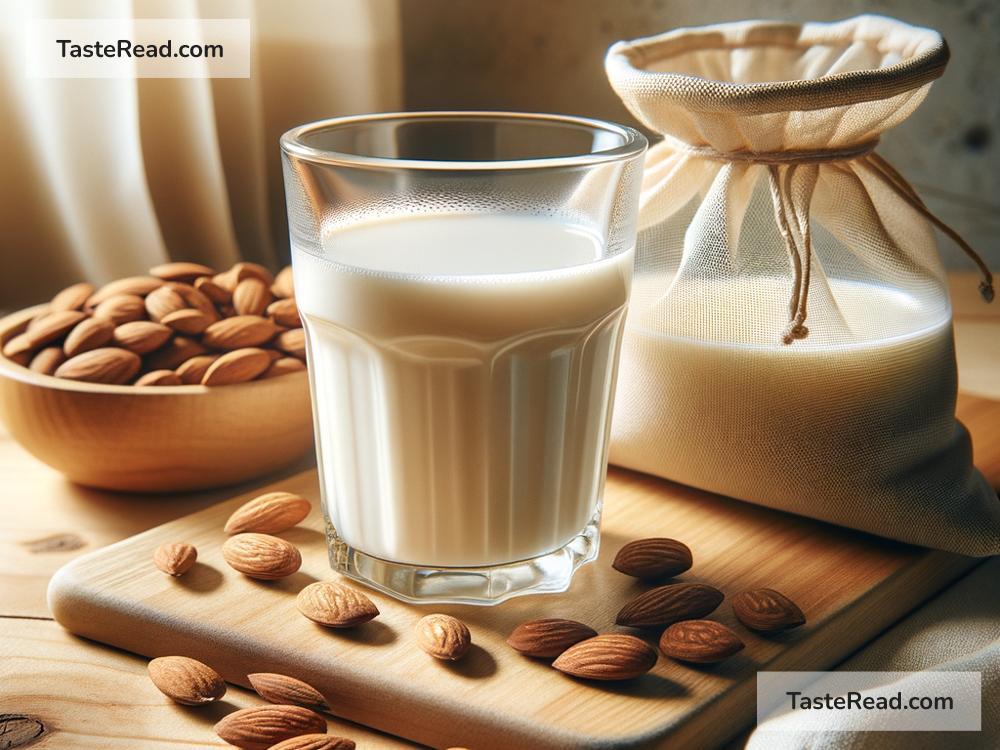
Title: A Zero-Waste Guide To Making Your Own Nut Milk
Are you a fan of nut milk but tired of the store-bought options that seem to hurt both your wallet and the planet? Well, how about creating your own delicious versions at home without contributing to waste? Yes, you read that right – making nut milk without creating pulp waste is not only possible, but it’s also easy and fun! Here’s how you can do it, step by step.
What You Need:
Before you dive in, you’ll need a few key ingredients and tools:
– 1 cup of your favorite nuts (almonds, cashews, hazelnuts, etc.)
– 4 cups of water (plus more for soaking)
– Sweetener of choice (optional, such as dates, maple syrup, or honey)
– A blender
– A nut milk bag or a fine mesh strainer
– A large bowl
Step 1: Pick and Prep Your Nuts
Select your favorite kind of nuts. Almonds and cashews are popular choices for making nut milk due to their creamy texture and neutral taste, but feel free to experiment. Soak your nuts in water overnight or for at least 4-6 hours. This step is crucial as it softens the nuts, making them easier to blend, and also helps in making your nut milk more nutritious.
Step 2: Blend Away
Once your nuts have soaked, drain and rinse them well. Add the nuts and the 4 cups of fresh water to your blender. If you want your nut milk a bit sweet, now is the time to add your choice of sweetener. Blend on high until the mixture looks creamy and smooth, which typically takes about 1-2 minutes.
Step 3: Strain with Care
Pour the blended mixture through a nut milk bag or a fine mesh strainer into a large bowl. Gently squeeze or press to get as much liquid out as possible. Now, here’s where we make this process zero-waste: instead of discarding the leftover nut pulp, we’re going to keep it. Yes, this pulp is the golden ticket to ensuring zero waste and it’s packed with flavor and nutrients.
Step 4: Repurpose the Pulp
Here’s where creativity kicks in. The nut pulp left after straining is too precious to be thrown away. Use it in baking recipes, like cookies, breads, or even as a natural thickener for smoothies. You can also stir it into oatmeal or yoghurt for an added fiber boost. Another great idea is making nut pulp hummus or adding it to your homemade granola mix. The possibilities are endless!
Who knew nut milk pulp could be so versatile? Not only did you make fresh, preservative-free nut milk, but you also managed to use every part of the ingredient, leaving behind zero waste.
Some Extra Tips for Success:
- Experiment with nut combinations for unique flavors. How about almond-cashew or hazelnut-pecan milk?
- Store your homemade nut milk in a clean, airtight bottle or jar in the refrigerator. It typically lasts about 3-5 days.
- Shake well before use as homemade nut milk can separate when stored.
- The nut milk’s water ratio can be adjusted according to your preference for thickness.
Why Make Your Own Nut Milk?
Making your own nut milk isn’t just about being eco-friendly and reducing waste. It’s about taking control of what goes into your body, avoiding unnecessary additives and preservatives found in commercial nut milks. Plus, it’s empowering to make something from scratch, and the homemade version often tastes fresher and richer.
Closing Thoughts:
Making nut milk at home without creating pulp waste is a simple, rewarding process that benefits your health, tastes buds, and the planet. With a little prep and creativity, you can turn a handful of nuts into a delicious, nutritious beverage and a variety of other tasty, pulp-based treats. So, next time you reach for that carton of store-bought nut milk, remember – making it yourself could be a more sustainable and satisfying choice.
Hopefully, this guide inspires you to give homemade, zero-waste nut milk a try. It’s a small step towards a more sustainable lifestyle that doesn’t compromise on taste or nutrition. Happy milking!


