Making Spiced Oils with Herb Stems: A Simple Guide
Have you ever found yourself with a bunch of herb stems left over after cooking and wondered what to do with them? Instead of throwing them away, why not make something delicious and useful? Spiced oils infused with herb stems are a great way to add extra flavor to your dishes and make the most out of your herbs. Below is a simple guide on how to do just that.
What You’ll Need
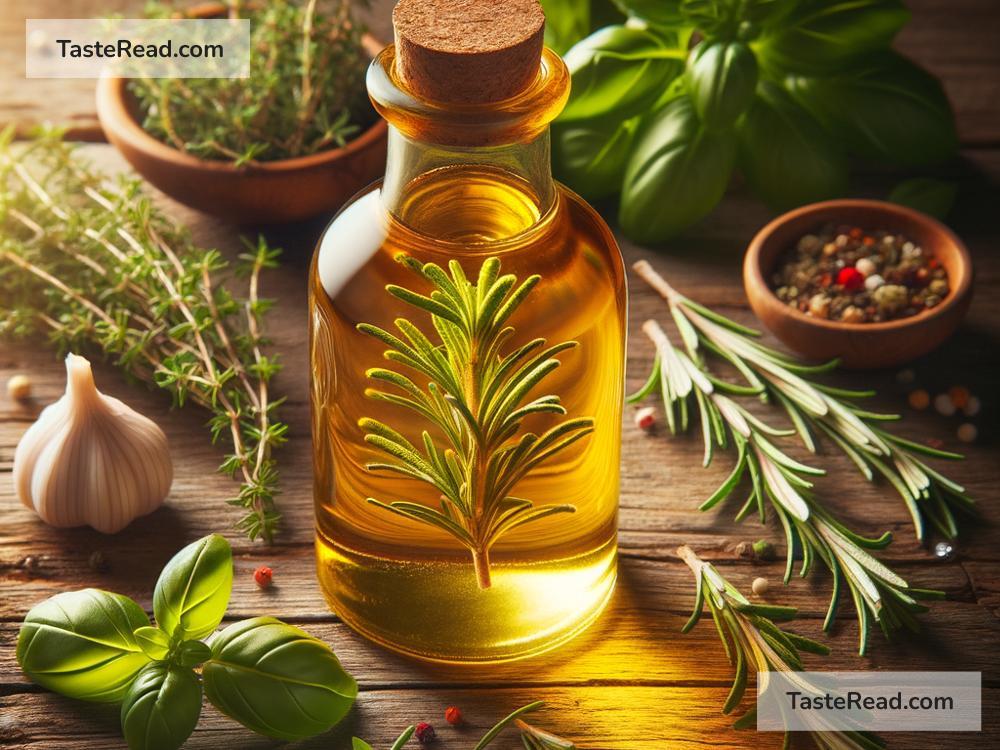
- Herb stems (rosemary, thyme, basil, etc.)
- Your choice of oil (olive oil, canola oil, or any other neutral oil)
- Spices (garlic, peppercorns, dried chilies, etc.)
- A clean bottle or jar for storing
- A saucepan
- A strainer
- Cheese cloth or a fine mesh sieve
Choosing Your Ingredients
Before you begin, decide on the flavor profile you want for your oil. If you’re seeking something Italian-inspired, opt for basil stems and garlic. For a more earthy and robust flavor, rosemary and black peppercorn might do the trick. The beauty of making spiced oils is that you can get creative with combinations.
Use fresh herb stems for the best results, as they retain more oils and flavors. As for the oil, choose one that complements your intended use. Olive oil is great for dressings and dipping, while canola or vegetable oil is better for cooking at higher temperatures.
Step-by-Step Guide
-
Prepare Your Herb Stems and Spices: Make sure your herb stems are clean and dry. This is crucial as any moisture can cause the oil to go rancid. Roughly chop them if they are too long. If you’re using spices, like garlic or peppercorns, you can lightly crush them to release more flavor.
-
Heat Your Oil: In a saucepan, gently heat the oil along with your herb stems and spices. You want it warm but not boiling, as high heat can destroy the delicate flavors of the herbs. A good rule of thumb is to keep it under 200°F. This process usually takes about 5-10 minutes.
-
Infuse the Oil: Once your oil is fragrant, take it off the heat and let it cool for a bit. Then, cover it and let it sit for at least a few hours, or better yet, overnight. This step allows the flavors to meld and deepen. The longer you let it sit, the stronger the flavor will be.
-
Strain and Store: After the oil has infused to your liking, strain it through a cheesecloth or fine mesh sieve to remove the solids. Pour the strained oil into your clean bottle or jar for storage. Make sure it’s sealed tightly.
-
Enjoy: Use your homemade spiced oil in salad dressings, for cooking, as a dipping oil for bread, or to drizzle over finished dishes for added flavor. It’s a simple way to elevate your cooking.
Tips for Success
-
Label Your Oils: It’s easy to forget what’s what, especially if you make multiple batches. Label each bottle with the ingredients and the date it was made.
-
Shelf Life: Homemade infused oils should be used within a month, especially if stored at room temperature. To extend their life, you can store them in the refrigerator, but some oils may become cloudy. This is perfectly normal and will clear up once returned to room temperature.
-
Safety First: While making spiced oils is generally safe, there is a risk of botulism when infusing garlic in oil. To minimize this risk, use dried spices or make sure your garlic is fresh and free from blemishes. Alternatively, refrigerate the oil and use it within a week.
Making spiced oils with herb stems is not only a fantastic way to reduce waste but also a creative avenue to explore new flavor combinations in your cooking. It’s simple, cost-effective, and you might find yourself preferring your homemade concoctions over store-bought versions. Happy cooking!
Conclusion
Creating spiced oils at home is an enjoyable and rewarding process. Whether you’re a cooking enthusiast looking to experiment with flavors or someone interested in minimizing kitchen waste, making your own spiced oils is a step in the right direction. So, the next time you find yourself with leftover herb stems, remember that they hold hidden potential waiting to be unlocked in your very own kitchen.