Mastering Advanced Techniques for Caramelizing Sugar: A Sweet Journey
Caramelizing sugar might seem like a simple task reserved for professional chefs and experienced bakers. However, with a bit of practice and understanding of advanced techniques, anyone can master this culinary art. This article will guide you through the process of caramelizing sugar, teaching you not just the basics but also advanced techniques that can elevate your dishes from good to great.
The Basics of Caramelization
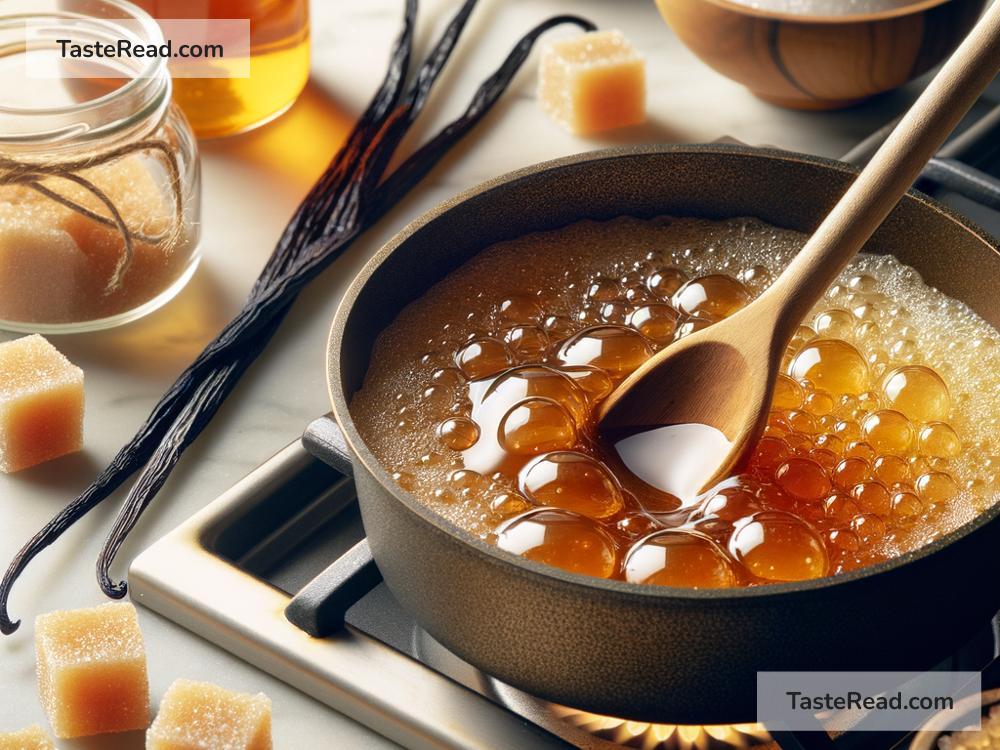
Before diving into the complexities, let’s cover the basics. Caramelization is the process of heating sugar until it becomes a deep amber liquid known for its rich flavor and color. This process happens at around 320°F (160°C), where the sugar molecules break down and re-form into compounds that give caramel its distinctive taste and smell.
Equipment: A Good Place to Start
- Heavy Bottomed Pan: Choose a pan with a heavy bottom for even heat distribution.
- Wooden Spoon: For stirring, a wooden spoon is preferable as it doesn’t conduct heat.
- Pastry Brush: A damp pastry brush can be used to brush down the sides of the pan to prevent crystallization.
- Candy Thermometer: Not mandatory, but very helpful for beginners to monitor the temperature.
The Wet and Dry Methods
There are two primary methods for caramelizing sugar: the wet method and the dry method.
- Wet Method: Sugar is mixed with water and heated. This method offers more control, reducing the risk of burning the sugar.
- Dry Method: Sugar is heated by itself. This method can be quicker but requires constant attention to prevent burning.
Advanced Techniques for Perfect Caramel
Now that you understand the basics, let’s move on to some advanced tips and techniques that can help you achieve perfect caramel every time.
1. Controlling the Heat
The key to perfect caramelization is heat control. Start with medium heat and then lower it once the sugar starts to melt and caramelize. This prevents burning and ensures even caramelization.
2. Managing Crystallization
Sugar crystals can form and make your caramel grainy. To prevent this, avoid stirring the sugar once it starts to melt. If you’re using the wet method, you can cover the pan for a few minutes to allow steam to dissolve any sugar crystals on the sides of the pan.
3. Adding Cream or Butter
Incorporating cream or butter once the caramel reaches the right color can create a rich and smooth sauce. However, be careful as the mixture will bubble vigorously. To avoid burns, ensure the cream or butter is at room temperature or warm.
4. Using a Water Bath for Even Cooling
After caramelization, placing the bottom of the pan in a cold water bath for a few seconds can stop the cooking process, preventing the caramel from overcooking. However, do this carefully to avoid splashing water into the hot caramel.
5. Experimenting with Flavors
Once you feel comfortable with the basic process, start experimenting with flavors. Adding a pinch of salt can balance the sweetness, creating a salted caramel. Spices, like cinnamon or vanilla, can be added for complexity.
Troubleshooting Common Issues
- Crystallization: If your sugar starts to crystallize, adding a few drops of lemon juice can help break down the crystals.
- Burning: If the caramel starts to smoke or develops a bitter taste, it’s best to start over. Burnt caramel can’t be salvaged.
- Hard Caramel: If your caramel hardens too quickly, reheat it gently with a small amount of water to bring it back to the desired consistency.
Practice Makes Perfect
The most important tip is to practice. Caramelizing sugar is as much an art as it is a science. The more you practice, the better you’ll understand how sugar changes under heat and how you can control the process to achieve the perfect caramel every time.
Wrapping Up
Caramelizing sugar can initially appear daunting, but with the right tools and some patience, it’s a technique you can master, adding a delicious touch to desserts, pastries, and even savory dishes. Remember to start with the basics, and as you grow more confident, experiment with advanced techniques and flavors. Happy caramelizing!