Mastering the Art of Preparing and Using Homemade Lard for Baking
In the world of baking, there is a secret ingredient that many overlook: lard. Yes, you read that right, lard! Before you scrunch up your nose, hear me out. Homemade lard, unlike the store-bought one, can elevate your baking to a whole new level. Don’t worry if you’ve never made or used it before; I’m here to guide you through mastering this old-timey baking secret.
What is lard, and why use it?
Lard is simply pig fat that’s been rendered or melted down and then cooled into a soft, spreadable form. It might not sound appealing at first, but it’s a game-changer in baking. Using lard in pastries, pies, and even bread creates an incredibly flaky texture that’s hard to achieve with just butter or oil. Plus, it adds a unique richness to your bakes without a porky taste.
Making Your Own Lard
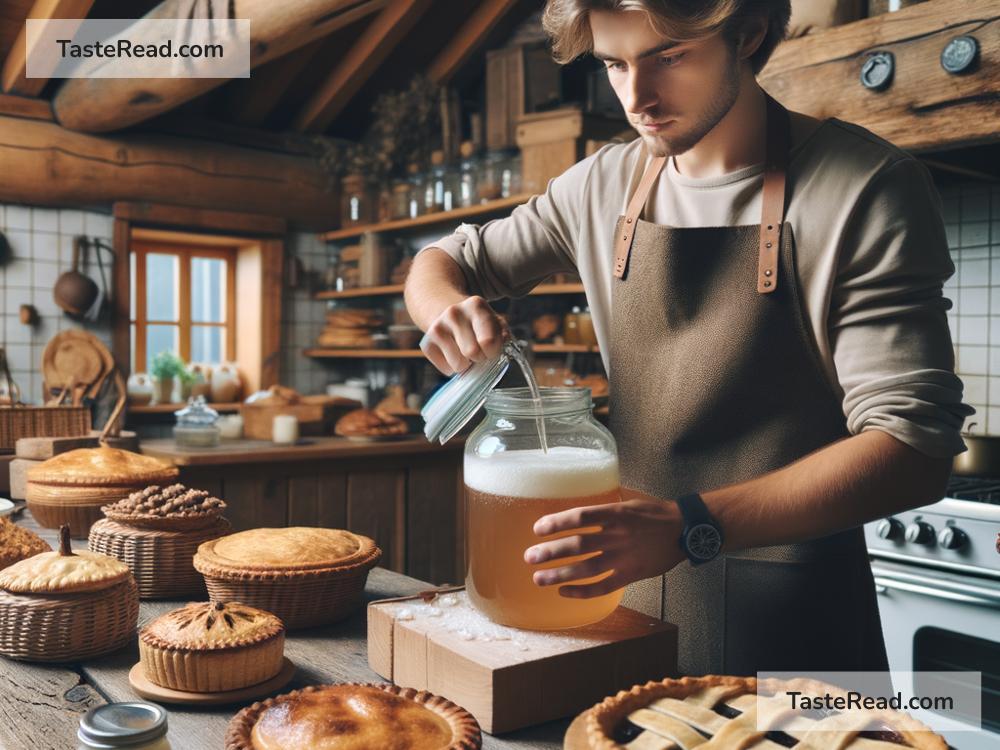
The process of making lard might seem intimidating, but it’s surprisingly easy and worth the effort. You’ll need to start with acquiring high-quality pork fat from your local butcher – ask for either leaf lard (from around the kidneys and is the highest quality) or fatback.
-
Chop it up: Begin by cutting the pork fat into small, uniform pieces. This helps it render evenly.
-
Start the melt: Place the fat pieces into a large, heavy-bottomed pot and add a little water – this prevents the fat from burning. Cook on low heat. You’re not frying the fat but slowly melting it.
-
Stir occasionally: As the fat melts, give it a gentle stir now and then. This process can take a few hours, so be patient.
-
Strain it: Once the fat is melted, and you’re left with crispy bits (called cracklings), it’s time to strain. Using a sieve or cheesecloth, strain the liquid lard into a heat-resistant container. The clearer the lard, the purer it is.
-
Cool down: Let the lard cool to room temperature, then transfer it to the fridge to solidify.
Congratulations! You’ve just made your own lard.
Using Lard in Baking
Now, for the fun part – using lard in your baking adventures. You might wonder where lard can fit into your regular baking recipes. Well, it’s quite versatile.
Pie Crusts: The most famous use of lard is in pie crusts. Replace half the amount of butter in your pie crust recipe with lard for an incredibly flaky texture that’s perfect for both savory pies and sweet desserts.
Biscuits and Pastries: Swap in lard for a portion of the butter in your recipes. You’ll notice your biscuits coming out lighter and your pastries flakier than ever.
Bread: Adding a small amount of lard to bread dough can enrich the flavor and texture.
A pro tip when baking with lard: because it has a higher melting point than butter, keep everything cold to achieve the best results. This means chilling the lard before use and even popping your mixing bowl and utensils in the fridge beforehand.
Why It’s Worth It
You might be wondering if going through the trouble of making and using lard is worth it. Beyond the baking benefits, there are a few other perks. Homemade lard is free from the additives and hydrogenation that often come with store-bought versions. Plus, it’s a nod to sustainable cooking practices, utilizing a part of the pig that might otherwise go to waste.
Moreover, embracing the tradition of making and using lard connects us to generations of bakers who relied on this ingredient to create mouthwatering pastries and pies.
In the end, mastering the art of preparing and using homemade lard is about more than just baking – it’s about tradition, sustainability, and pushing the boundaries of your culinary skills. So, the next time you plan a baking day, consider reaching for some homemade lard and discover the difference it can make in your creations. Happy baking!