Mastering the Craft of Baking the Perfect Sourdough Bread
Have you ever bitten into a slice of sourdough bread so perfect that it felt like a hug for your taste buds? That crisp crust breaking beneath your fingers, the soft, airy insides dotted with perfect holes, and the just-right tang tickling your palate – it’s an experience unsurpassed by any other bread. But here’s the thing: achieving that level of perfection in your sourdough bread is more attainable than you might think. We’re here to guide you through the steps, simplifying the journey toward mastering the craft of baking the perfect sourdough bread.
Ingredients: Simplicity is Key
At its heart, sourdough is the epitome of simplicity in the baking world. You only need three heroes to start your adventure: flour, water, and salt. The magic lies in the fermentation process, led by your very own wild yeast and bacteria from the environment. This team works tirelessly, giving your bread its unique flavor and texture.
The Starter: Your Sourdough’s Soul
The journey begins with creating or acquiring a sourdough starter. Think of the starter as your bread’s soul, imbuing it with life and character. If you’re starting from scratch, mix equal parts flour and water in a jar and let nature do its thing. Feed it daily with the same amount of flour and water, and within a week, you’ll have a bubbly, active starter ready to transform flour and water into bread.
Hydration: Finding the Perfect Balance
Hydration, or the water content in your dough compared to the flour, is key to the texture of your bread. Sourdoughs can range from stiff to ultra-wet, but for starters, aiming for a hydration level around 70% (that is, 70g of water for every 100g of flour) strikes a nice balance. It’s wet enough to foster those lovely air pockets but not so wet that it’s unmanageable.
Mixing and Autolyse: Gentle Beginnings
Mixing your ingredients should be a gentle affair. Start by mixing your starter, water, and flour until just combined, then let the mixture rest (autolyse) for about 30 minutes to 1 hour. This rest period allows the flour to fully hydrate and begins gluten development, leading to a dough that’s easier to work with and shapes better.
Salt: The Flavor Enhancer
After autolyse, add your salt. Salt is not just a flavor enhancer; it also tightens the gluten structure and regulates yeast activity, making your bread’s texture and rise more predictable.
Folding: Strength and Structure
Developing strength and structure in your dough is crucial, and this is where folding comes in. Rather than traditional kneading, sourdough benefits from a series of gentle folds during the bulk fermentation phase. Every 30 minutes to 1 hour, stretch a portion of the dough up and fold it over itself. Do this several times at regular intervals to build strength while maintaining the dough’s delicate structure.
Shaping: The Final Form
After bulk fermentation, it’s time to shape your dough into its final form. Lightly flour your work surface, shape your dough into a round or oval, then place it into a well-floured proofing basket or a bowl lined with a floured towel. This step is crucial for achieving the beautiful shape and structure of your final loaf.
Proofing: The Final Rise
The final proofing stage is when your dough undergoes its last rise before baking. This can take anywhere from a few hours at room temperature to an overnight rest in the refrigerator. Cooler, slower proofing helps develop more flavor and makes the dough easier to score and handle.
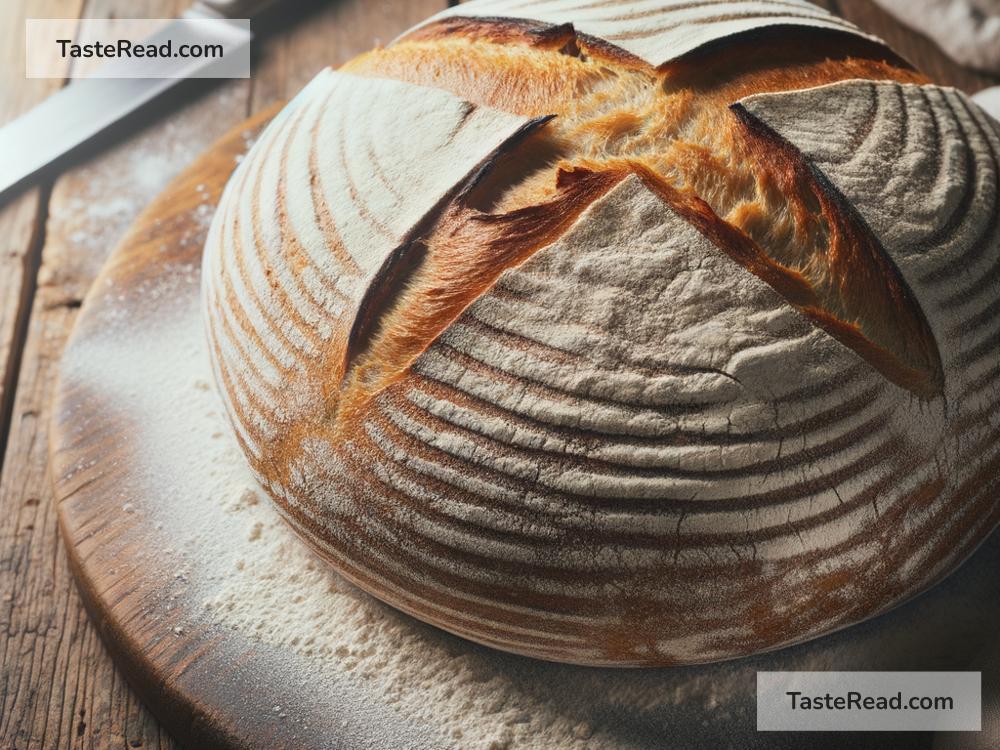
Scoring and Baking: The Moment of Truth
Before baking, score (cut) the top of your dough. This not only beautifies your loaf but also controls where it expands during baking. Then, bake your bread at a high temperature, preferably in a dutch oven or a preheated pot, to create a steamy environment that replicates professional ovens. This steam is crucial for achieving that delightful crust.
The baking process is a transformative one – what goes into the oven as a pale, unassuming dough comes out as a golden, aromatic masterpiece. Starting from 20 to 30 minutes with the lid on to trap steam, then another 20 to 25 minutes with the lid off will give your sourdough that perfect crust and soft interior.
Patience: The Secret Ingredient
Remember, sourdough is as much about patience and practice as it is about flour, water, and salt. Each loaf you bake is an opportunity to refine your technique, understand your ingredients better, and get closer to that perfect sourdough bread.
Embrace the journey, allow yourself to make mistakes, and enjoy every bite of your progress. Happy baking!