How to Bake a Traditional Italian Panettone for the Holidays
The holidays are a time to gather with loved ones, share memories, and enjoy delicious food. One treat that perfectly captures the festive spirit is Panettone, a rich, fluffy loaf of Italian bread filled with dried fruits and sometimes nuts or chocolate. Originally from Milan, Italy, Panettone is now enjoyed worldwide during Christmas and New Year’s celebrations. Baking this traditional holiday bread at home may seem intimidating, but with a bit of patience and love, you can make your very own Panettone to impress your family and friends.
Here’s a simple, step-by-step guide to baking a homemade Panettone that’s light, delicious, and perfect for the holiday season.
What is Panettone?
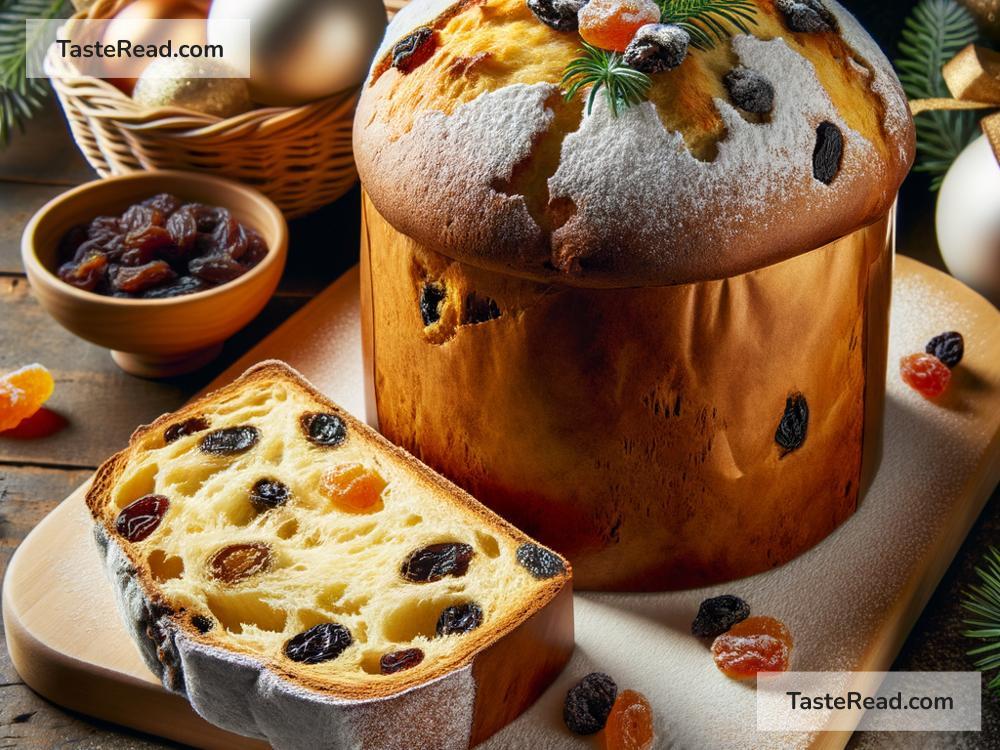
Panettone is a sweet bread made with eggs, butter, sugar, and enriched dough. Its airy texture comes from a slow, careful fermentation process that allows the yeast to work its magic. Inside, you’ll find a mix of dried fruits and candied peel, like raisins, orange, or lemon zest, that add bursts of flavor and sweetness. It’s traditionally baked in a tall, dome-shaped mold, which gives it its iconic appearance.
Ingredients You’ll Need
To bake a traditional Panettone, gather the following ingredients:
For the Dough:
- 4 cups (500 grams) all-purpose flour
- 1/2 cup (100 grams) granulated sugar
- 1/4 teaspoon salt
- 2 teaspoons active dry yeast
- 1/2 cup (120 milliliters) warm milk (not too hot, around 100°F/38°C)
- 5 tablespoons (75 grams) softened butter
- 3 large eggs
- Zest of 1 orange
- Zest of 1 lemon
- 1 teaspoon vanilla extract
For the Filling:
- 1/2 cup (80 grams) raisins
- 1/2 cup (80 grams) candied orange peel or mixed fruit peel
- 1 tablespoon rum (optional)
- 1 tablespoon orange juice
For Baking:
- Panettone paper mold or a tall, round baking pan lined with parchment paper
Step-by-Step Instructions
Let’s walk through how to bake your Panettone step by step.
Step 1: Prepare the Filling
Start by soaking the raisins and candied fruit peel in a tablespoon of rum or orange juice. This step makes the fruits soft and enhances their flavor. Set this mixture aside while you prepare the dough.
Step 2: Activate the Yeast
In a small bowl, combine the warm milk, 1 tablespoon of sugar, and active dry yeast. Let it sit for about 10 minutes until bubbles form, indicating the yeast is active. This is a crucial step, as good yeast ensures your Panettone will rise properly.
Step 3: Make the Dough
In a large mixing bowl, combine the flour, sugar, and salt. Create a small well in the center and pour in the yeast mixture, softened butter, eggs, orange zest, lemon zest, and vanilla extract. Mix everything together until it forms a sticky dough.
Transfer the dough onto a clean surface and knead it by hand for about 10 minutes until it becomes smooth and elastic. If the dough is too sticky, add a tablespoon of flour at a time until it’s manageable—but don’t add too much, as Panettone dough should remain soft and slightly pliable.
Step 4: Incorporate the Fruits
Drain the soaked raisins and candied peel, making sure they’re not wet. Gently knead them into the dough until evenly distributed. Be careful not to overwork the dough during this step.
Step 5: Let the Dough Rise
Place the dough in a lightly greased bowl and cover it with a clean kitchen towel or plastic wrap. Let it rise in a warm place (ideally around 80°F/27°C) for 2 to 3 hours until it doubles in size. This slow rise is key to developing the fluffy texture of Panettone.
Step 6: Shape and Second Rise
Once the dough has risen, punch it down gently to release air bubbles. Shape it into a ball and place it in your prepared Panettone mold. Cover it again and let it rest for another hour, allowing it to rise a second time. The dough should puff up to almost the top of the mold.
Step 7: Bake the Panettone
Preheat your oven to 350°F (175°C). Before baking, you can brush the top of the Panettone with a little beaten egg for a golden crust. Bake for about 35 to 45 minutes, or until the top is beautifully golden and a skewer inserted in the center comes out clean.
Tip: If the top of the Panettone starts browning too quickly, cover it loosely with aluminum foil for the remainder of the baking time.
Step 8: Cool Completely
Once the Panettone is baked, let it cool upside down if possible (use skewers to suspend it in a pot or between two surfaces). This trick helps maintain its lofty shape. If that’s too complicated, simply let it cool right-side-up on a rack.
Enjoy Your Homemade Panettone!
Congratulations! You’ve made a traditional Italian Panettone from scratch. Slice it up and serve it as a breakfast treat, dessert, or snack alongside coffee, hot chocolate, or even a glass of sweet wine. If you’ve made extras, Panettone can be stored in an airtight container for several days—or wrapped tightly and frozen for later.
Final Thoughts
Baking Panettone at home is a rewarding experience. While it takes time and effort, the joy of seeing your loved ones savoring each bite makes it all worth it. This holiday season, give yourself the gift of learning a new skill and spreading happiness through food.
Buon Appetito, and Happy Holidays!