How to Bake Rustic Artisan Bread at Home
Making rustic artisan bread at home may sound fancy, but it’s actually much simpler than you think! There’s something magical about creating your own bread. The smell that fills your kitchen, the crisp golden crust, and the fluffy inside are both satisfying and delicious. With only a few ingredients and some patience, you can make beautiful, bakery-style bread that your family and friends will love.
In this step-by-step guide, we’ll learn how to bake rustic artisan bread in an easy and approachable way. You don’t need a bread machine, special equipment, or even advanced baking skills—just a little time and a lot of love.
What Makes Artisan Bread Special?
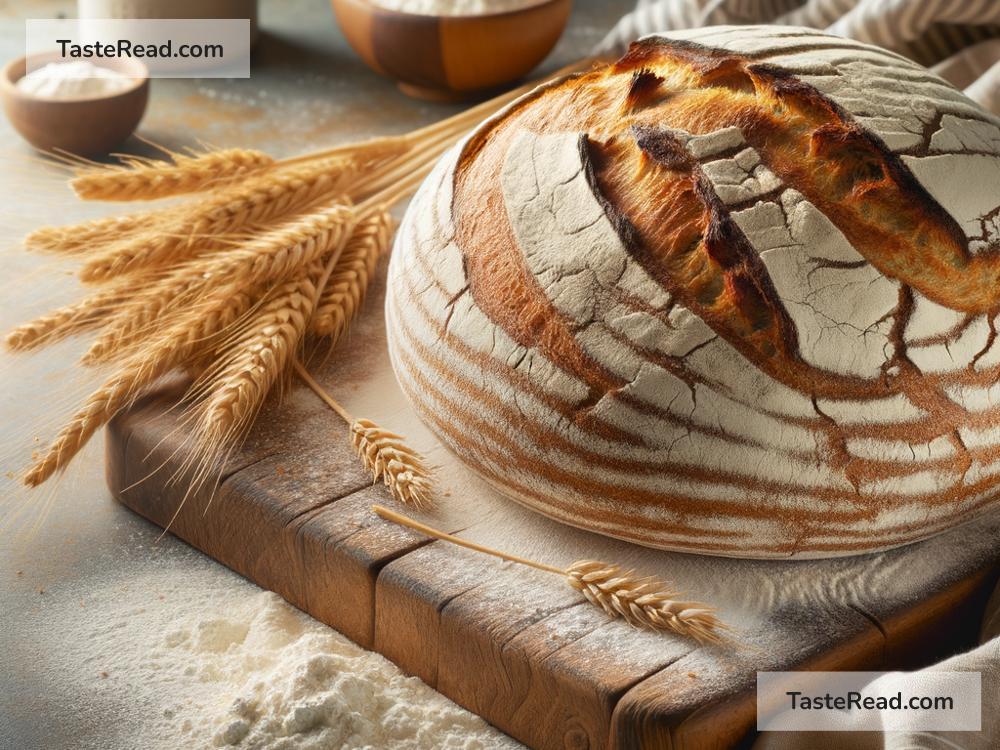
Artisan bread is known for its simple ingredients, chewy texture, and crunchy crust. Unlike store-bought loaves that may contain preservatives and additives, artisan bread celebrates the natural flavors of flour, water, yeast, and salt. It’s baked to perfection, often with beautiful, uneven shapes and a deep golden color.
The secret to artisan bread lies in the method: long fermentation and minimal handling of the dough. This helps develop the flavors and gives the bread its rustic, homemade charm!
Ingredients You’ll Need
Artisan bread requires only four basic ingredients:
1. 3 cups of all-purpose flour (or bread flour for extra chewiness)
2. 1½ teaspoons of salt
3. ½ teaspoon of instant yeast
4. 1½ cups of warm water (not too hot or it will kill the yeast)
That’s it! These pantry staples will combine into a beautiful loaf of bread.
Tools You’ll Need
While you don’t need any fancy equipment, these tools will make the process easier:
– A large mixing bowl
– A wooden spoon or spatula
– A kitchen towel or plastic wrap
– A Dutch oven or oven-safe pot with a lid (optional but highly recommended)
Step-by-Step Guide: How to Bake Rustic Artisan Bread
Step 1: Mix the Dough
In a large mixing bowl, combine the flour, salt, and yeast. Stir them together to evenly distribute the ingredients. Next, pour the warm water into the dry mixture. Use a wooden spoon or spatula to stir until it becomes a shaggy, sticky dough. Don’t worry—it won’t look neat at this stage, and that’s perfectly fine!
You don’t need to knead this dough! Artisan bread relies on long fermentation instead of heavy kneading.
Step 2: Let the Dough Rise (Fermentation)
Cover the bowl with a kitchen towel or plastic wrap, and let the dough sit at room temperature for 12–18 hours. Yes, you read that right—this is the key step for artisan bread! The yeast will slowly ferment the dough, developing its texture and flavor.
After 12–18 hours, the dough will look bubbly and very soft. It may have doubled in size and will smell slightly tangy due to the fermentation. This is a good sign!
Step 3: Shape the Dough
Once the dough has risen, sprinkle some flour onto a clean countertop or cutting board. Carefully turn the dough out onto the floured surface. Using your hands, gently fold the dough into a round or oval shape. Be gentle—you don’t want to deflate all those lovely air bubbles!
Place the shaped dough on a piece of parchment paper. Cover it loosely with a towel and let it rest for another 30 minutes while you prepare the oven.
Step 4: Preheat the Oven with a Dutch Oven
To get that authentic crust, you’ll need to create steam in your oven. Preheat your oven to 450°F (232°C). Place a Dutch oven or oven-safe pot (with its lid) inside as it preheats. The pot will become very hot and help mimic the steamy environment of a professional bakery.
Step 5: Bake the Bread
Carefully remove the hot Dutch oven from the oven (use oven mitts!). Lift the dough using the parchment paper and place it inside the pot. Cover it with the lid and bake for 30 minutes.
After 30 minutes, remove the lid and bake for another 10–15 minutes. This uncovered baking time will give your bread that golden-brown, crispy crust.
Step 6: Cool and Serve
Once your bread is done, remove it from the oven and let it cool on a wire rack for at least 30 minutes before slicing. Cooling allows the steam inside to settle and prevents your bread from becoming soggy.
Slice it up and enjoy your fresh, homemade rustic artisan bread! Pair it with butter, jam, soup, or use it for delicious sandwiches.
Tips for Success
- Don’t rush fermentation: Artisan bread thrives on a long, slow rise for the best flavor and texture.
- Experiment with flour: You can substitute some of the flour with whole wheat or rye for a heartier loaf.
- Store leftovers properly: Wrap your bread in a clean kitchen towel and store it at room temperature for up to 2 days. You can also freeze slices for longer storage.
Conclusion
Baking rustic artisan bread at home is an incredibly rewarding experience. With just four ingredients and a little patience, you can create a loaf that rivals any bakery. Whether you’re new to baking or a seasoned pro, this recipe brings the joy of homemade bread straight to your kitchen.
So, roll up your sleeves, mix some dough, and experience the magic of artisan bread today. Happy baking!