How to Create a Flavorful Balsamic Glaze: A Simple Guide
If you’ve ever tasted balsamic glaze drizzled over a salad, grilled vegetables, or even desserts, you know it’s a game-changer. This sweet and tangy sauce instantly transforms everyday dishes into something special. The best part? You can make it at home with just two ingredients! No complicated techniques or fancy equipment required—creating a delicious balsamic glaze is much easier than you might think. Let’s dive into the simple steps to make this versatile kitchen staple.
What Is Balsamic Glaze?
Before we get started, it’s helpful to know what balsamic glaze is. Balsamic glaze (also called balsamic reduction) is made by simmering balsamic vinegar until it thickens and develops a sweeter flavor. During the cooking process, the vinegar reduces in volume, leaving you with a rich, syrupy sauce. Some recipes also include a bit of sweetener, like honey or sugar, to enhance the flavor, but this step is optional.
The result? A glaze that’s perfect for drizzling over roasted vegetables, meats, cheeses, or even fresh fruit like strawberries and figs. Once you learn how to make it, you’ll wonder how you ever lived without this magical ingredient.
Ingredients You’ll Need
You only need two ingredients to make a balsamic glaze:
1. Balsamic Vinegar: Choose a good-quality balsamic vinegar for the best results. It doesn’t have to be expensive, but avoid using cheap balsamic labeled “imitation” or “acidic.” A mid-range option works perfectly.
2. Sweetener (optional): Depending on your taste, you can add honey, brown sugar, or maple syrup to balance the tartness of the vinegar. Start with a small amount; you don’t want the glaze to be overly sweet.
That’s it! Fully customizable, simple, and endlessly versatile.
Tools You’ll Need
To make a balsamic glaze, you won’t need anything fancy. Gather these basic kitchen items:
– A small saucepan (preferably with a heavy bottom to avoid scorching)
– A wooden spoon or silicone spatula for stirring
– Measuring cups or spoons
– Heatproof storage container (to store your glaze once it’s cooked)
Step-by-Step Instructions
Step 1: Measure the Balsamic Vinegar
Start by pouring about 1 cup of balsamic vinegar into a small saucepan. If you’re making a larger batch, you can adjust the quantity, but remember that the vinegar will reduce significantly—usually by half. For example, 1 cup of vinegar will yield about a ½ cup of glaze.
Step 2: Add Sweetener (Optional)
If you want a sweeter glaze, stir in 1-2 tablespoons of your preferred sweetener. Honey adds a warm flavor, brown sugar creates a deep caramel-like taste, and maple syrup brings a unique touch. This step is entirely optional, as balsamic vinegar naturally becomes sweeter as it cooks and reduces.
Step 3: Heat the Vinegar
Place the saucepan over medium heat and bring the vinegar to a gentle simmer. Stir occasionally to prevent it from sticking to the bottom of the pan or burning.
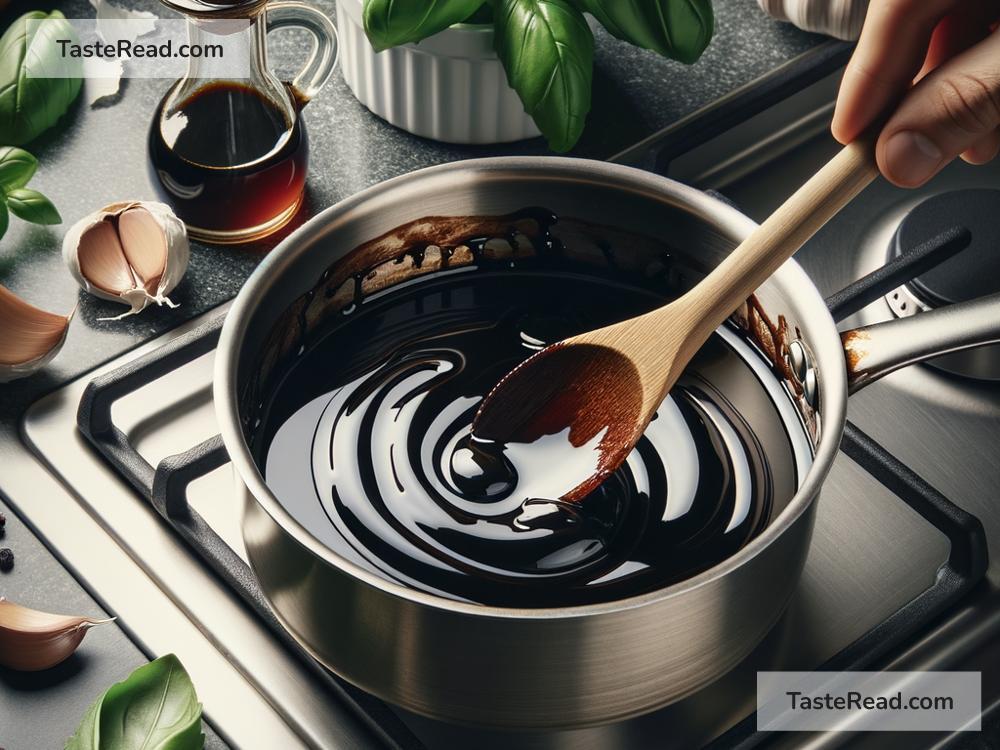
Step 4: Reduce the Heat and Simmer
Once the vinegar starts simmering, reduce the heat to low and allow it to cook slowly. This is where the magic happens—over time, the vinegar thickens and intensifies in flavor. Keep stirring occasionally to ensure even cooking.
Step 5: Watch for Consistency
After about 10–15 minutes, your balsamic vinegar will start to thicken. You’re looking for a syrupy texture. To test, dip a spoon into the glaze—if it coats the back of the spoon without being too runny, it’s ready! Remember, the glaze will continue to thicken slightly as it cools, so don’t let it overcook and become too sticky.
Step 6: Cool and Store
Once your balsamic glaze reaches the desired consistency, remove it from the heat and let it cool. Transfer it to a heat-proof container with a lid for storage. The glaze will keep in the refrigerator for up to two weeks. Just give it a gentle stir before using it.
Tips for Perfect Balsamic Glaze
- Don’t Rush the Process: Cooking over low heat ensures the vinegar doesn’t burn or become bitter. Patience is the key!
- Experiment with Flavors: You can infuse your glaze with additional flavors, such as garlic, rosemary, or even a touch of citrus zest. Add these ingredients during the simmering process and strain them out before cooling.
- Check the Labels: Some balsamic vinegars labeled “reduced” or “aged” are already thick and sweet. If you use one of these, you may not need to cook it down as much or add sweetener.
- Use Sparingly: A little balsamic glaze goes a long way, thanks to its intense flavor. Start with a drizzle and add more if needed.
Why Make It at Home?
Sure, you can buy premade balsamic glaze at the store, but homemade is fresher, tastier, and often less expensive. Making it yourself also allows you to control the sweetness and consistency, ensuring it’s perfectly tailored to your preferences. Plus, it’s surprisingly satisfying to whip up something that looks and tastes fancy with minimal effort.
How to Use Balsamic Glaze
Now that you’ve made your own balsamic glaze, it’s time to enjoy it! Here are some ideas:
– Drizzle over salads, like caprese or spinach with strawberries.
– Pair with roasted vegetables, grilled chicken, or seafood.
– Enhance cheese boards by drizzling over brie, goat cheese, or aged cheddar.
– Sweet Treats: Add a drizzle to fresh fruit, vanilla ice cream, or even chocolate desserts.
Creating a flavorful balsamic glaze at home is a fun and easy way to elevate your meals. With simple ingredients and a little patience, you’ll have a versatile sauce that adds elegance and bold flavor to almost any dish. Give it a try—you’ll love the results!