How to Create a Layered Cake: A Simple Step-by-Step Guide
Who doesn’t love a beautiful layered cake? It’s the perfect dessert for birthdays, celebrations, or just a sweet treat to share with friends and family. While making one might look challenging, creating a layered cake is easier than you think if you follow the steps carefully. This guide will walk you through it all in simple English. Let’s get started!
What Is a Layered Cake?
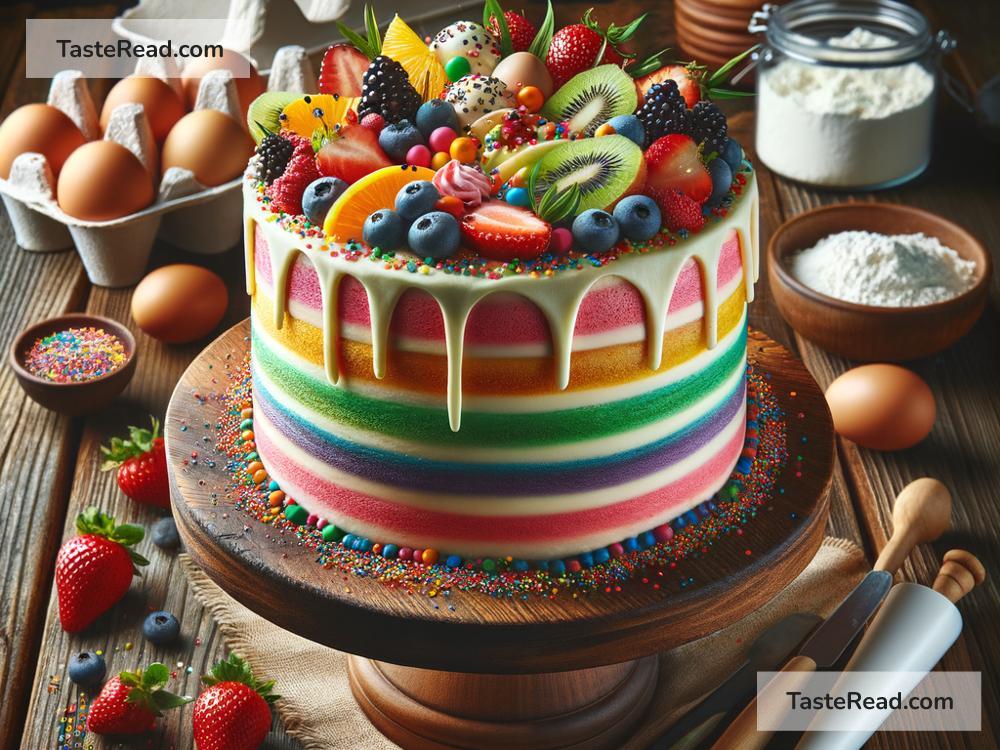
A layered cake is made up of multiple cake layers stacked on top of one another, with frosting or filling in between. The result is not only delicious but also visually charming. You can customize it with different flavors, colors, and decorations, making it perfect for any occasion.
What You’ll Need
Before you start baking, gather the tools and ingredients you’ll need. Here’s the checklist:
Tools:
- Mixing bowls
- Measuring cups and spoons
- Electric mixer or whisk
- Cake pans (choose pans that are the same size for even layers)
- Parchment paper or cooking spray
- Serrated knife or cake leveler
- Offset spatula (optional but helpful)
- Cake stand or flat surface
- Cooling rack
Ingredients:
- Cake mix or ingredients for your favorite cake recipe (flour, sugar, eggs, etc.)
- Butter or oil for greasing pans
- Frosting (store-bought or homemade)
- Optional fillings (jam, whipped cream, fruit, etc.)
- Decorations (sprinkles, chocolate shavings, candles, etc.)
Step-by-Step Instructions
Step 1: Prepare Your Cake Pans
Start by preheating your oven, usually to the temperature recommended in your cake recipe or box mix instructions (usually around 350°F or 175°C). Grease your cake pans with butter or cooking spray, and line the bottom with parchment paper to prevent the cake from sticking.
Step 2: Make the Cake Batter
Follow your recipe or cake mix instructions to make the batter. Be sure to measure out your ingredients properly to get the best results. Mix everything together until smooth and fluffy.
Pro tip: For colorful layers, divide the batter into separate bowls and add food coloring to each batch. This will create a fun rainbow effect in your finished cake.
Step 3: Divide the Batter Evenly
Pour the batter into your prepared cake pans. Try to divide it equally to ensure your layers are even. To make this easier, you can use a kitchen scale to measure each pan’s weight.
Step 4: Bake the Cakes
Place the pans in the oven and bake your layers according to the recipe instructions. Keep a close eye on them, as baking times can vary depending on your oven and cake thickness. When the cakes are done, a toothpick inserted into the center will come out clean.
Step 5: Cool the Cakes
Once baked, take the pans out of the oven and let the cakes cool in the pans for about 10 minutes. After that, gently remove them from the pans and place them on a cooling rack. Let them cool completely before adding any frosting. If your cakes are even slightly warm, the frosting can melt and become messy!
Step 6: Level the Layers (Optional)
If your cake layers aren’t flat on top (sometimes cakes can rise unevenly), use a serrated knife or cake leveler to trim off any domed tops. This will make your layers stack neatly and prevent wobbling.
Step 7: Assemble the Cake
Here’s where the magic happens:
-
Start with the Base Layer: Place the first cake layer on your cake stand or a flat surface. Use a small dollop of frosting underneath to “glue” it in place.
-
Add the Filling: Spread a generous layer of frosting, jam, or any filling of your choice on top of the first layer. Use an offset spatula or a knife to spread it evenly.
-
Stack the Layers: Place the next cake layer carefully on top of the first one. Repeat the frosting and stacking process until all the layers are in place.
Pro tip: Flip the last cake layer upside down so the bottom is on top. This gives you a flat surface for decorating.
Step 8: Frost the Outside
Now it’s time to cover the entire cake with frosting. Start with a thin layer called a “crumb coat” to seal in any loose crumbs. Chill the cake for 20–30 minutes to set the crumb coat, then add a thicker, smoother layer of frosting for a polished finish.
Step 9: Decorate Your Cake
This is the fun part! Add sprinkles, fruits, chocolate shavings, or any other decorations you like. You can use piping tips to create fancy designs with your frosting, or keep it simple.
Step 10: Slice and Enjoy!
Once your cake is decorated, it’s ready to wow your guests. Slice it up and enjoy the delicious layers you’ve worked so hard to create!
Tips for Success
- If you’re short on time, you can use store-bought cake mix or frosting instead of making everything from scratch.
- Chilling the cake layers in the fridge for 30 minutes before assembling can make them easier to handle.
- Be patient! Building a layered cake takes time, but the results are worth it.
Final Thoughts
Creating a layered cake doesn’t have to be complicated or intimidating. With the right tools, ingredients, and a bit of patience, you can make a stunning and delicious dessert that will impress everyone. Plus, you can always experiment with different flavors and designs to make it your own. So grab your apron and give it a try—you’ll be slicing into a masterpiece in no time!
Happy baking!