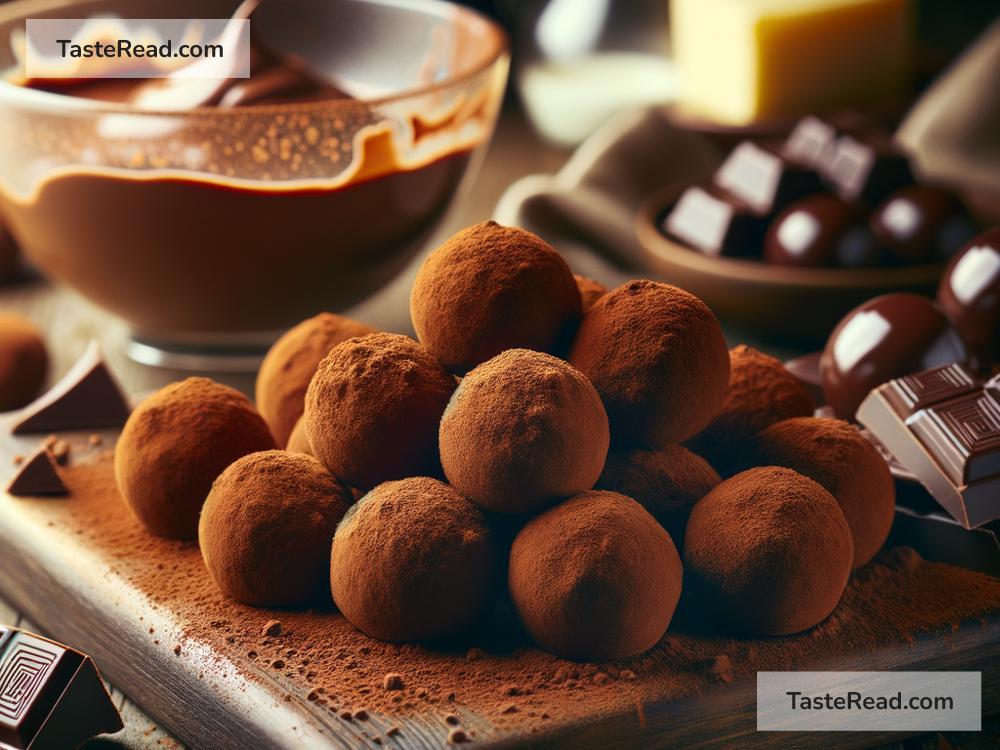
How to Create Decadent Chocolate Truffles
Chocolate truffles are rich, creamy, bite-sized treats that taste like they came straight out of a fancy bakery. The good news? You can make them at home! With just a few simple ingredients and easy steps, you’ll have these delicious goodies ready to enjoy or share with family and friends. Whether you are preparing them for a party, a gift, or just a sweet indulgence, chocolate truffles are an impressive yet surprisingly easy dessert recipe.
Let’s dive into the process of creating these decadent delights!
What Are Chocolate Truffles?
Chocolate truffles are small, round confections usually made from a mixture of melted chocolate and heavy cream. They get their name because the irregular, cocoa-dusted appearance of some truffles resembles truffles, the prized fungi found in nature. But don’t worry—these edible truffles are made entirely of sweet goodness!
Ingredients You Will Need
To make basic chocolate truffles, you’ll need just a few ingredients:
1. Chocolate: High-quality chocolate is key! You can use dark, semi-sweet, milk chocolate, or even white chocolate, depending on your taste.
2. Heavy Cream: This makes the truffles smooth and creamy.
3. Butter (optional): A small amount of butter adds richness.
4. Flavorings (optional): Examples include vanilla extract, liqueurs like Grand Marnier, or spices like cinnamon.
5. Coatings: You can roll your truffles in cocoa powder, powdered sugar, crushed nuts, shredded coconut, or melted chocolate for a fancy touch.
Tools You’ll Need
Making truffles doesn’t require anything fancy. Gather the following:
– A double boiler or microwave-safe bowl for melting chocolate
– A mixing bowl
– A whisk or spatula
– A baking sheet lined with parchment paper
– A small cookie scoop or a teaspoon for shaping the truffles
Step-by-Step Guide to Making Chocolate Truffles
Follow these simple steps, and you’ll have decadent chocolate truffles in no time.
Step 1: Prepare Ingredients
Chop your chocolate into small, even pieces so it melts easily. If you’re using flavorings like vanilla extract or liqueurs, set them aside to add later.
Step 2: Make the Ganache
Ganache is just a fancy term for the smooth chocolate-and-cream mixture that forms the base of your truffles. Here’s how:
- Heat the heavy cream in a small saucepan over medium heat until it begins to steam and is just about to simmer. Don’t let it boil!
- Pour the hot cream over your chopped chocolate. Let it sit for 2–3 minutes to give the chocolate time to melt.
- Stir the mixture gently with a whisk or spatula until the chocolate has fully melted and you have a smooth, shiny ganache. Add your flavorings now, if desired.
If the ganache looks grainy, you can heat it gently over a double boiler or microwave it in 10-second increments, stirring frequently, until smooth.
Step 3: Chill the Ganache
Transfer the ganache to the refrigerator and let it chill for 1–2 hours, or until it thickens enough to scoop but isn’t rock hard. Chilling is important because the ganache starts off too soft to shape into truffles. Patience pays off!
Step 4: Scoop and Shape
Once the ganache is firm but pliable, use a small cookie scoop or a teaspoon to scoop out small portions. Roll each portion into a ball using the palms of your hands. Don’t worry if the shapes aren’t perfect—this rustic look gives truffles their charm.
If the ganache starts melting while you roll, place it back in the fridge for a few minutes to firm up.
Step 5: Coat the Truffles
Time to make your truffles extra special! Roll each ball in your choice of coating. Some popular ideas include:
– Classic Cocoa Powder: Dust with unsweetened cocoa for a rich, earthy flavor.
– Crushed Nuts: Use pistachios, almonds, or hazelnuts for crunch and color.
– Powdered Sugar: Perfectly sweet and elegant.
– Shredded Coconut: Adds texture and tropical notes.
– Melted Chocolate: Dip the balls in melted chocolate for an extra indulgent shell.
Place your coated truffles on a parchment-lined baking sheet and let them set in the refrigerator.
Step 6: Serve or Store
Your truffles are ready! Serve them immediately, or transfer to an airtight container and store in the refrigerator for up to a week. For gifting, arrange them in a decorative box or wrap them in festive packaging.
Fun Variations to Try
Once you’ve mastered the basic recipe, experiment with flavors and textures!
– Add a pinch of sea salt to the ganache for a sweet-and-salty combo.
– Infuse the cream with tea leaves, coffee grounds, or citrus zest before heating. Strain before using.
– Replace the cocoa coating with crushed cookies or candy bits.
– Mix nut butter or caramel into the ganache for an extra burst of flavor.
Final Thoughts
Chocolate truffles are more than just candy—they’re little bites of luxury! Whether you’re making them for a special occasion or as a decadent treat for yourself, they’re sure to impress. The best part? You don’t need to be a professional chef to create them. Just follow these steps, be patient, and enjoy the process.
Now that you know how to make chocolate truffles, don’t wait—grab your ingredients, get creative, and start rolling! You’ll be surprised at how satisfying it is to create these homemade treasures.
Happy truffle-making!