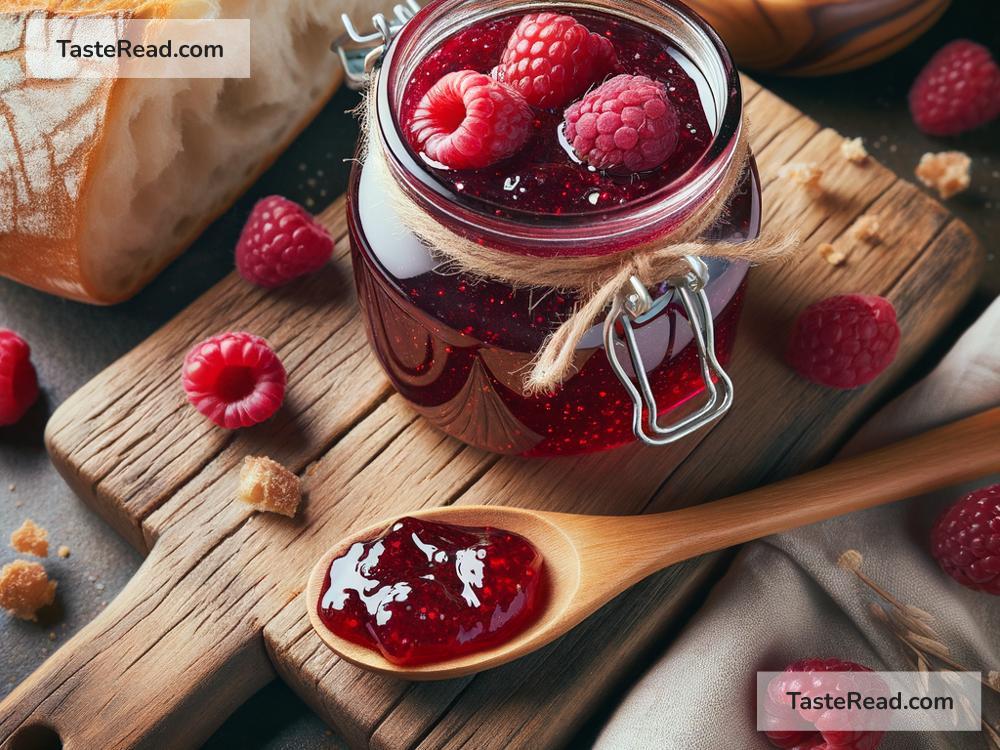
How to Make Delicious Raspberry Jam
Raspberry jam is a sweet and tangy treat that can brighten up your breakfast or give your desserts a flavorful boost. Making your own raspberry jam at home is simple and fun, and it doesn’t require many ingredients or fancy tools. Whether you’re a beginner or an experienced cook, you’ll love the satisfaction of preserving fresh raspberries into a jar of homemade goodness. Let’s dive into the step-by-step guide to making raspberry jam!
Why Make Raspberry Jam at Home?
Homemade raspberry jam is better than store-bought for so many reasons! First, you can control the sweetness and avoid added preservatives. Second, it’s a great way to use ripe raspberries before they go to waste. Lastly, it’s a fun and rewarding activity—and you’ll always have something delicious to spread on your toast or drizzle over ice cream.
What You’ll Need
Here are the ingredients and tools you’ll need to make raspberry jam. Most of them are probably already in your kitchen!
Ingredients:
- 4 cups of fresh raspberries (or frozen ones, if fresh are unavailable)
- 2 cups of sugar
- 1 tablespoon of lemon juice (helps with flavor and preserving)
Tools:
- A large pot or saucepan
- A wooden spoon or heatproof spatula
- A potato masher (or a fork for mashing)
- A clean jar or airtight container (for storing the jam)
- Ladle or funnel (optional but helpful for pouring jam into jars)
Step-by-Step Instructions to Make Raspberry Jam
Step 1: Prepare the Raspberries
If you’re using fresh raspberries, gently wash them under cold water and pat them dry. Examine them for any spoiled berries or leaves, and discard those. If using frozen raspberries, there’s no need to thaw them in advance—they can go straight into the pot.
Step 2: Combine Ingredients
In a large pot, combine the raspberries, sugar, and lemon juice. Stir everything together gently until the raspberries are somewhat coated in sugar and the mixture looks well combined.
Step 3: Cook the Mixture
Place the pot on the stove over medium heat. Let the raspberries cook slowly as they release their juices. Stir regularly to prevent the mixture from sticking to the bottom of the pot. As the heat softens the raspberries, you can lightly mash them with a potato masher or the back of a spoon. If you prefer jam with chunks of fruit, don’t mash them too much.
Step 4: Bring to a Boil
Once the sugar dissolves and the mixture becomes liquidy, increase the heat to medium-high and bring it to a gentle boil. Boiling helps the jam thicken. Start stirring more frequently at this point to prevent scorching.
Step 5: Test for Thickness
After about 15–20 minutes, your jam should start thickening. To check if it’s ready, place a small spoonful of jam on a cold plate or the back of a cold spoon and let it sit for 1–2 minutes. If it holds its shape and feels thick, it’s done! If it’s still runny, let the jam cook for another 5 minutes and test again.
Step 6: Remove from Heat
Once your jam has reached the perfect consistency, remove it from the heat. Let it cool for about 10 minutes in the pot before transferring it to jars or containers.
Step 7: Store Your Jam
Use a ladle or funnel to carefully pour the jam into clean jars. Leave a little space at the top of the jar (about 1/4 inch) to make room for the lid. If you plan to store the jam for a short time in the fridge, you don’t need to sterilize the jars. But if you want your jam to last for months, sterilize your jars and seal them tightly. Store your jam in the fridge or pantry, depending on the chosen storage method.
Tips for Perfect Raspberry Jam
- Choose fresh, ripe raspberries: The sweeter the raspberries, the better your jam will taste!
- Adjust the sugar: If you prefer less sweetness, you can reduce the sugar slightly. Just remember, sugar also helps the jam set properly.
- Experiment with flavors: Add a pinch of cinnamon or vanilla extract for an extra layer of flavor.
- Use sterilized jars for long-term storage: If you plan to preserve the jam for months, sterilize your jars by boiling them in water for 10 minutes before filling.
- Don’t panic if it’s runny: Homemade jams sometimes take time to fully set. If it’s still runny after cooling, you can recook it for a few minutes.
Enjoy Your Jam!
Congratulations—you’ve just made your own raspberry jam! You can enjoy it in all sorts of ways. Spread it on toast or pancakes, swirl it into yogurt, or even use it as a topping for cheesecake. Homemade jam also makes a thoughtful gift for friends and family, especially if you pair it with freshly baked bread or scones.
Now that you know how easy it is, you can experiment with other fruits like strawberries, blackberries, or peaches. No matter how you enjoy your jam, one thing is for sure: raspberries have never tasted so good!
Making raspberry jam is a simple pleasure that anyone can enjoy. So grab some berries, roll up your sleeves, and start cooking! It won’t take long before your kitchen smells like sweet raspberry heaven. Happy jam-making! 🍇