How to Make Freshly Baked Challah: A Step-by-Step Guide
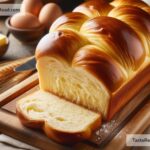
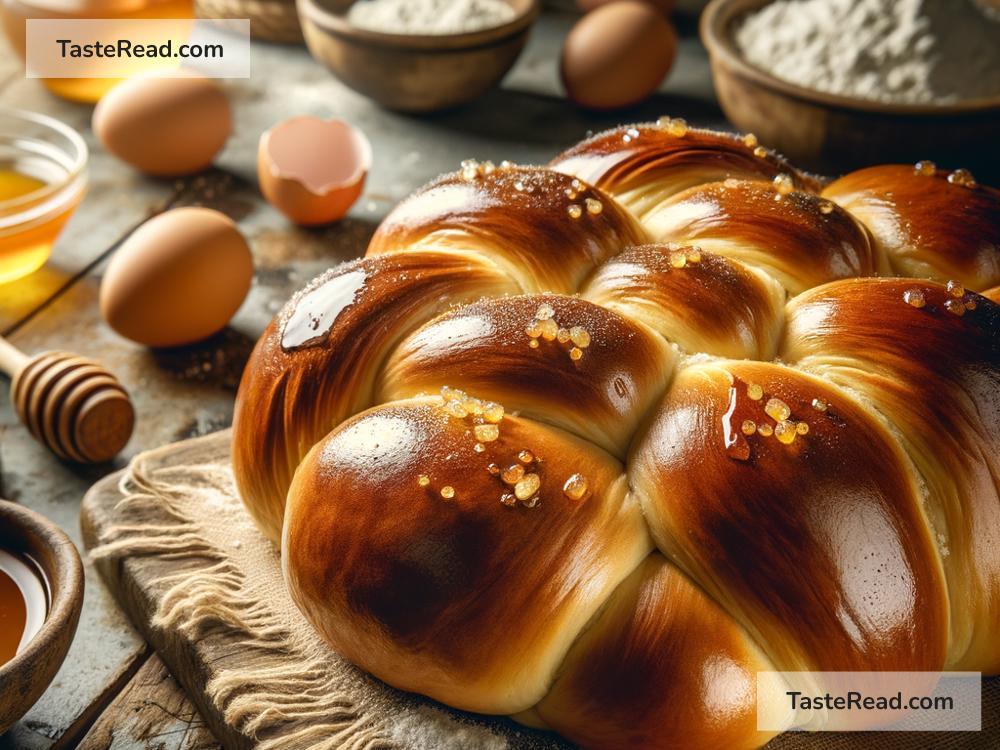
Challah is a delicious, soft, and slightly sweet bread that is often enjoyed in Jewish homes during the Sabbath and other holidays. It’s recognized by its beautiful braided shape and shiny golden crust. Baking your own challah at home isn’t as hard as you might think! With a few ingredients, a little time, and some patience, you can create a loaf that’s just as lovely and tasty as anything you’d find at a bakery. In this blog, we’ll break down the process so you can bake freshly homemade challah in your own kitchen.
What You’ll Need
Before you start, gather these ingredients:
- 4 cups of all-purpose flour (plus extra for dusting)
- 1 packet of instant yeast (about 2 1/4 teaspoons)
- 1/4 cup of sugar
- 1 teaspoon of salt
- 1/2 cup of warm water (like bath water—not too hot or too cold, around 110°F or 40°C)
- 1/2 cup of vegetable oil
- 2 large eggs (for the dough)
- 1 egg (for glazing the bread)
- Sesame seeds or poppy seeds (optional, for topping)
Step 1: Prepare the Dough
Start by mixing your dry ingredients. In a large bowl, combine the flour, sugar, salt, and yeast. Stir them together with a spoon to make sure everything is evenly blended.
Next, add your wet ingredients to the mix. Pour the warm water, vegetable oil, and two eggs into the bowl. Stir everything together until it starts to look like dough. If the dough feels too sticky, sprinkle a little extra flour until it becomes more manageable. If it feels too dry, add a tablespoon of water at a time to soften it.
Once the dough starts coming together, you’ll need to knead it. Pull the dough out of the bowl and place it on a clean, lightly floured surface. Using your hands, push and fold the dough for about 8–10 minutes. Kneading is important because it makes the bread soft and fluffy. You’ll know the dough is ready when it feels smooth and stretchy.
Step 2: Let the Dough Rise
After kneading, put the dough back into the large bowl. Cover the bowl with a clean towel or plastic wrap. Place it somewhere warm, like near your stove or a sunny window, and let it rise for about 1–2 hours. During this time, the yeast does its magic to make the dough puff up and double in size.
Step 3: Shape Your Challah
Once the dough has risen, punch it down gently to release some of the air. Take the dough out of the bowl and divide it into three equal pieces (or six pieces if you want to braid a fancier challah). Roll each piece into a long rope of equal thickness.
Now it’s time to braid your challah! Lay the ropes side by side. Pinch the ends of the ropes together at one end and start braiding them like you would braid hair. If you’re working with three ropes, cross the left rope over the middle, then the right rope over the middle, repeating until the braid is complete. Pinch the ends together to seal it.
Place the braided loaf on a baking sheet lined with parchment paper. Cover it again with the towel and let it rest for about 30 minutes. This final resting step helps the bread become extra soft and fluffy.
Step 4: Brush and Bake
After the dough has rested, preheat your oven to 350°F (175°C). While the oven gets warm, prepare an egg wash to give the bread its shiny finish. In a small bowl, beat the third egg and use a pastry brush (or a clean spoon) to spread the egg over the top of the braid. If you like, sprinkle sesame seeds or poppy seeds over the egg wash.
Place the baking sheet in the oven and bake for 25–30 minutes, or until the challah is a deep golden brown. Check on it occasionally; if the top starts to brown too quickly, you can cover it lightly with aluminum foil for the rest of the baking time.
Step 5: Cool and Enjoy
Once your challah is done baking, take it out of the oven and let it cool on a wire rack for 15–20 minutes. This cooling step lets the inside finish cooking and keeps the bread soft.
Now it’s time to enjoy your hard work. Slice the challah into thick pieces and serve it with butter, jam, or as part of your meal. Challah is great on its own or served alongside dishes like soups and salads. You can also use leftovers to make French toast—the possibilities are endless!
Final Thoughts
Baking freshly made challah is a rewarding experience. It may take a little time to let the dough rise, but the effort is worth it. Homemade bread tastes better, looks beautiful, and brings a sense of pride when you share it with family or friends.
Whether you’re making challah to celebrate a special holiday or just because you feel like baking, this recipe is perfect for beginners and experts alike. Give it a try, and you’ll see how easy (and delicious) freshly baked challah can be!