How to Make Homemade Nut Butter in Simple English
Nut butter is a delicious, creamy spread that can be used on toast, sandwiches, in smoothies, or simply enjoyed by the spoonful! While store-bought nut butter is convenient, making your own at home is super simple, cost-effective, and lets you control the flavors and ingredients. Plus, homemade nut butter tastes fresher and can cater to your dietary needs if you prefer it unsweetened, sugar-free, or the texture extra smooth.
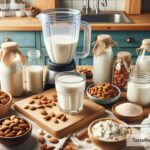
In this blog, we’ll walk you through the process of making homemade nut butter. Don’t worry—it doesn’t require fancy equipment or special skills. You just need some nuts, a good blender or food processor, and a little patience!
What You Need to Make Nut Butter
To make nut butter from scratch, you’ll only need a few basic ingredients:
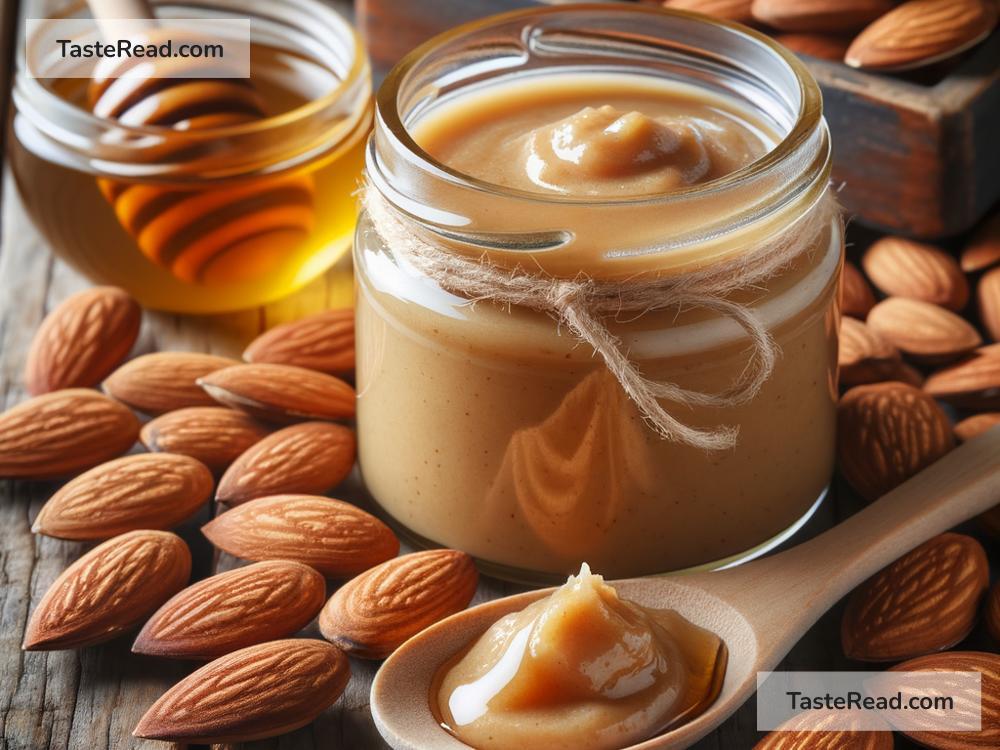
- Nuts: You can use any nut you love. Common choices include almonds, peanuts, cashews, hazelnuts, walnuts, or pecans. For mixed nut butter, feel free to combine multiple types.
- Oil (optional): Nuts have natural oils, but if your butter is too thick, a small amount of oil (like coconut oil or neutral-tasting vegetable oil) can help make it smoother.
- Salt or sweetener (optional): Add salt or a hint of sweetness with honey, maple syrup, or agave if you like.
- Seasonings (optional): You can personalize your nut butter with cinnamon, vanilla, or even cocoa powder for a chocolatey twist.
And don’t forget the equipment:
– A food processor or powerful blender is key. Make sure yours is sturdy enough to handle nuts without overheating.
Step-by-Step Guide to Making Homemade Nut Butter
Follow these simple steps to create your perfect batch of nut butter:
Step 1: Pick and Prepare the Nuts
Start by deciding what type of nut butter you want to make. Once you’ve picked your nuts, you’ll need to roast them. Roasting brings out their natural oils, makes them easier to blend, and gives your nut butter a deeper, richer flavor.
To roast your nuts:
– Preheat your oven to 350°F (175°C).
– Spread the nuts on a baking sheet in a single layer.
– Roast for 7–10 minutes, stirring occasionally, until lightly browned and fragrant.
– Let the nuts cool for a few minutes before blending them.
Tip: If you’re using pre-roasted nuts, skip this step entirely!
Step 2: Blend the Nuts
Once the nuts are ready, transfer them to your food processor or blender. Begin by blending at high speed. At first, the nuts will break down into small pieces. Then they’ll turn into a crumbly, dry mixture. Be patient—this is normal!
Keep blending, occasionally stopping to scrape down the sides of the bowl with a spatula. After a few minutes, the nuts will release their natural oils, and the mixture will gradually turn smooth and creamy. Depending on the type of nuts and the strength of your equipment, this can take 5–10 minutes.
Step 3: Customize the Flavor
After the nut butter becomes creamy, it’s time to add any extra ingredients. Here’s how to flavor it to your liking:
– For sweetness: Add 1–2 teaspoons of honey, maple syrup, or agave.
– For saltiness: Stir in a pinch of salt.
– For added flavor: Experiment with cinnamon, vanilla extract, or cocoa powder.
Blend briefly to combine the flavors. Taste and adjust as needed to suit your preferences.
Step 4: Check the Texture
The texture of your nut butter depends on how long you blend it. If you like it super smooth, keep blending until it reaches the desired consistency. If you prefer it chunky, you can stop sooner or pulse the mixture for a shorter time.
If your nut butter feels too thick, you can add a small tablespoon of oil while blending to loosen it up.
Step 5: Store Your Nut Butter
When your nut butter is perfectly smooth and flavored, transfer it to a clean, airtight container or jar. Store it in the refrigerator to keep it fresh. Homemade nut butter can last up to 2–3 weeks, but it’s so tasty that you might finish it much sooner!
Tips for Making Nut Butter
Here are a few tips to make your nut butter-making journey even better:
1. Be patient: Blending nuts can take time, but the creamy result is worth the wait.
2. Experiment: Feel free to mix types of nuts or try new flavors for unique spreads.
3. Use fresh nuts: Fresh nuts make better-tasting nut butter, so avoid nuts that have been sitting in the pantry for too long.
4. Start small: If you’re new to making nut butter, start with a small batch until you’re comfortable.
Why Make Nut Butter at Home?
Homemade nut butter lets you customize flavors and ingredients to suit your taste preferences and health goals. You can skip the added sugar, preservatives, and oils commonly found in store-bought versions. Plus, it’s often cheaper to make your own, especially if you buy your nuts in bulk.
Bottom Line
Making nut butter at home is simpler than you might think. It’s a fun and rewarding kitchen project with delicious results. Whether you love classic peanut butter, creamy almond butter, or a creative blend of flavors, you can easily whip up your ideal nut butter at home. So grab your favorite nuts, fire up your food processor, and give it a try—you’ll never look at store-bought nut butter the same way again!
Happy nut butter making! 🥜