How to Prepare Homemade Pickled Vegetables
Pickled vegetables are crunchy, tangy, and full of flavor. They are great for snacking, adding to sandwiches, or serving alongside meals as a zesty side dish. The good news is that pickling vegetables at home is an easy and fun process! You don’t need fancy equipment or complicated cooking skills—just a few simple ingredients, some jars, and the desire to make something delicious. In this blog, we’ll walk you through the basics of how to prepare homemade pickled vegetables.
Why Pickle Vegetables?
Pickling is a centuries-old method of preserving food by soaking it in a brine, which is typically made of vinegar, water, and salt. The acid in the vinegar prevents bacteria from growing, keeping the vegetables fresh for weeks or even months. Pickling also enhances the flavor of vegetables, turning them into tangy snack staples! It’s a great way to use up extra produce or experiment with new flavors.
What Vegetables Work Best?
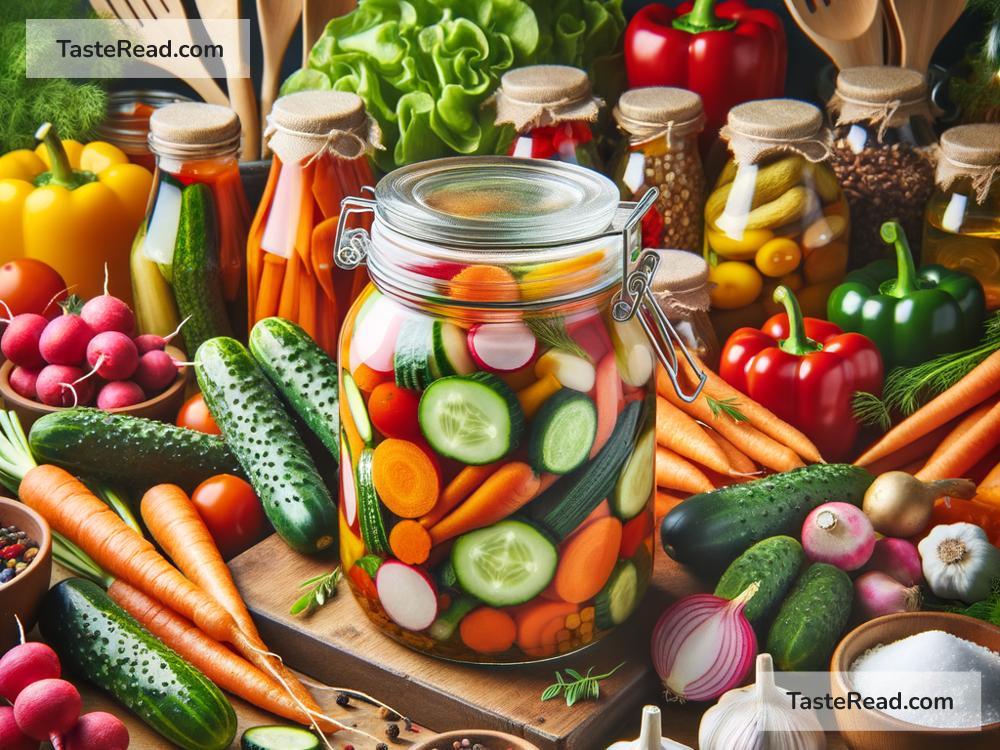
Almost any vegetable can be pickled! Some of the most popular options include:
– Cucumbers: Classic choice for making pickles.
– Carrots: Sweet and crunchy when pickled.
– Radishes: Spicy and tangy.
– Cauliflower: Mild with a great texture.
– Bell Peppers: A colorful and flavorful option.
– Green Beans: Crisp and snappy.
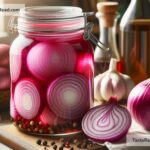
– Onions: Sweet or sharp, depending on the type.
– Zucchini: A softer vegetable that absorbs flavors well.
– Garlic cloves: Flavor-packed and delicious.
Feel free to mix and match vegetables, or stick to one kind—it’s completely up to you!
Ingredients You’ll Need
Here’s a simple list of ingredients to get you started:
– Fresh vegetables: Choose what you like! Wash and chop them into bite-sized pieces.
– Vinegar: White vinegar and apple cider vinegar are common choices, but you can experiment with others.
– Water: Typically mixed with vinegar to tone down the acidity.
– Salt: Use pickling salt or kosher salt, as table salt can contain additives that may affect the brine.
– Optional sweetener: Sugar or honey, for a sweet-tangy balance.
– Optional spices and herbs: Dill, garlic, mustard seeds, black peppercorns, chili flakes, bay leaves—this is where you can get creative and customize the flavor!
Equipment You’ll Need
- Mason jars or glass containers: These should have tight-fitting lids to keep the brine sealed.
- A saucepan: For heating the brine.
- A cutting board and knife: For chopping the vegetables.
- A funnel (optional): To easily pour the brine into jars without making a mess.
Step-by-Step Instructions
Step 1: Prepare Your Vegetables
Start by washing your vegetables thoroughly to remove any dirt. Peel them if needed, then slice or chop them into your desired shapes—spears, rounds, cubes, or sticks. Smaller pieces pickle faster, while larger pieces may take a bit longer. Pack the vegetables tightly into your jars.
Step 2: Make the Brine
The brine is the heart of pickling. In a saucepan, combine equal parts vinegar and water (for example, 1 cup of vinegar and 1 cup of water). Add 1 tablespoon of salt per cup of liquid, and, if you prefer sweet pickles, add 1-2 tablespoons of sugar or honey. Heat the mixture over medium heat and stir until the salt and sugar are dissolved. Once dissolved, remove the brine from heat and let it cool slightly.
Step 3: Add Spices and Herbs (Optional)
If you want to add more flavor to your pickles, toss some spices and herbs directly into the jar with the vegetables. Popular choices include dill sprigs, garlic cloves, mustard seeds, black peppercorns, chili flakes, or bay leaves. You can mix and match according to your taste preferences. These extras will infuse your pickles with bold and unique flavors.
Step 4: Pour the Brine Over the Vegetables
Carefully pour the brine into each jar, making sure to cover all the vegetables completely. Leave about half an inch of space at the top of the jar. Seal the jar tightly with its lid.
Step 5: Store the Pickles
Let the jars cool to room temperature before placing them in the refrigerator. While you can eat your pickled vegetables right away, their flavor will be much better if you wait at least 24-48 hours. This gives the brine time to soak into the vegetables and fully develop their tangy taste. For maximum flavor, let them pickle for a few days.
Enjoy Your Homemade Pickled Vegetables!
Homemade pickled vegetables are incredibly versatile. Try them as a snack, serve them as an appetizer, or use them to add crunch and zing to sandwiches, salads, tacos, or burgers. They last for several weeks in the refrigerator, so you’ll always have something tasty on hand.
Pickling vegetables at home is a simple and satisfying way to experiment with flavors and get creative in the kitchen. Plus, it’s a great way to avoid food waste—you can pickle leftover veggies before they spoil!
Final Thoughts
Making homemade pickled vegetables is easier than you might think, and once you get the hang of it, you can try your own unique combinations of vegetables, spices, and brines. Whether you like them sweet, spicy, or garlicky, there’s a pickling recipe out there for everyone. So, grab some fresh veggies, your favorite ingredients, and start pickling. Your friends and family will be impressed with your new skill—and you’ll love the delicious results! Happy pickling!