How to Preserve Seasonal Jams: A Beginner’s Guide
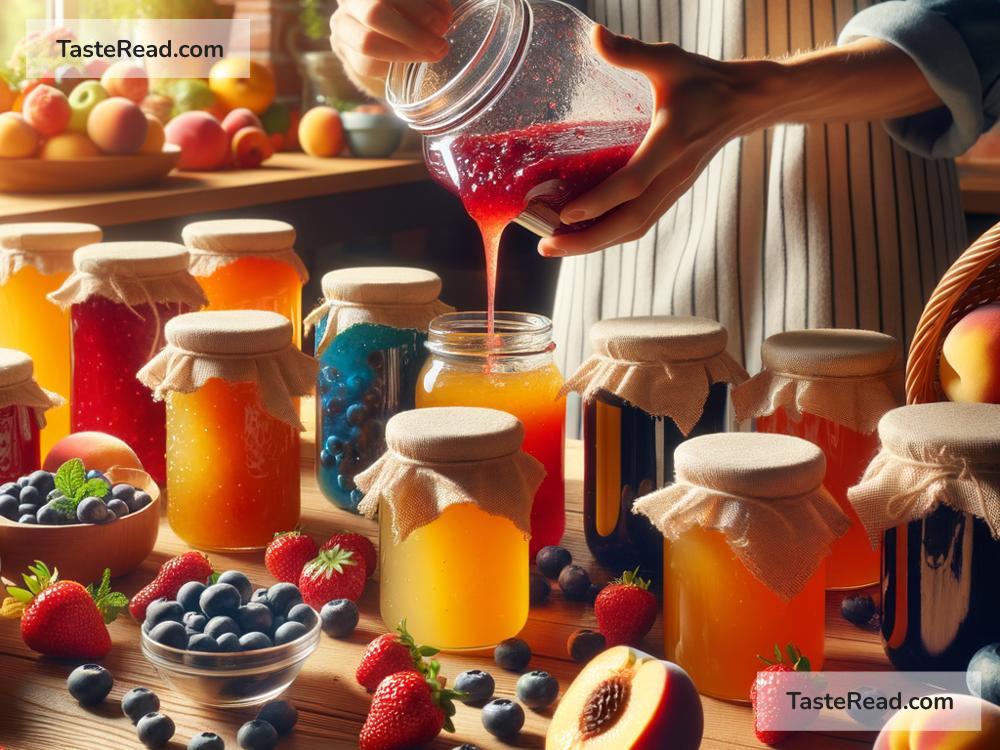
Making seasonal jam is one of the best ways to enjoy fruits all year round. Fresh fruits like strawberries, peaches, blueberries, and more can be turned into sweet, spreadable jams that delight your taste buds even when their season has passed. But, how do you make sure your lovingly made jams don’t spoil? Preserving jams is a simple process, allowing you to stock them up and enjoy the flavors of summer or fall whenever you choose.
In this blog post, we’ll walk you through the basics of preserving seasonal jams in easy-to-understand steps so you can make sure your creations stay fresh for months to come.
Why Preserve Jams?
Fresh fruits don’t last forever, and without proper preservation, jams can spoil quickly because they’re made of natural ingredients. Preserving jams ensures that you can enjoy the taste of your favorite seasonal fruits for longer. Plus, homemade jams are free of artificial preservatives, so properly storing them allows you to keep things natural and delicious.
The Basics of Jam Preservation
Preserving jams is not difficult, but it requires attention to detail to prevent bacteria or mold from ruining your jars. The key steps include sterilizing jars, sealing them properly, and storing them in the right conditions.
Below, we’ll break down each step.
Step 1: Sterilize Your Jars
Sterilization is one of the most important steps in preserving jams. Jars that aren’t properly cleaned can introduce bacteria into your jam, causing it to spoil.
Follow these steps to sterilize your jars:
1. Wash the jars and lids in warm soapy water. Rinse them thoroughly.
2. Place the jars and lids in a large pot of boiling water for about 10 minutes. Make sure the boiling water completely covers the jars.
3. Carefully remove the jars and lids using tongs. Place them upside down on a clean towel to dry.
Sterilized jars give your jam a safe and clean place to stay fresh.
Step 2: Fill the Jars Properly
Once your jars are sterilized, it’s time to fill them with your delicious jam. Here are a few tips for filling your jars safely:
- Let the jam cool slightly. While it should still be warm, jam that is too hot may create condensation inside the jar, leading to spoilage.
- Using a ladle or a funnel, spoon the jam into the jars. Leave about ¼ inch (6 mm) of space at the top of the jar to prevent overflow and allow for sealing.
- Wipe the rim of the jar with a clean, damp cloth to remove any jam residue. This ensures the lids seal properly.
Step 3: Seal the Jars
Proper sealing is vital to preserving jams. If the jars aren’t sealed tightly, air can enter and ruin your jam.
Here’s how to seal your jars:
1. Place the lids on the jars. Screw the bands tightly but not too forcefully; you don’t need to over-tighten.
2. Place the filled jars in a large pot of boiling water (a process called water bath canning). Make sure the jars are fully covered with water.
3. Bring the water to a boil and let the jars sit for 10-15 minutes.
4. Carefully remove the jars from the pot and let them cool completely. As the jars cool, you’ll hear a popping sound—that’s the lids sealing shut.
To check if the jar is properly sealed, press on the center of the lid once it has cooled. If the lid doesn’t move or pop back, it’s sealed properly.
Step 4: Store Your Jars
Once the jars are sealed, it’s time to store them. Here are some tips for keeping your jam fresh:
- Room temperature storage: If your jars are tightly sealed, you can store them in a cool, dark place like a pantry. Properly preserved jams can last up to a year when stored correctly.
- Refrigeration: Once you open a jar, always store it in the fridge and use it within a few weeks.
- Label your jars: Write the date and type of jam on a label so you remember how long they’ve been stored and which flavor is inside.
Tips for Success
- Use fresh fruit: The quality of your jam depends on the quality of your fruit. Always use ripe, seasonal fruits.
- Follow recipes closely: Homemade jam recipes are often tested for proper sugar, acidity, and cooking times. These factors help preserve your jam and keep it safe.
- Avoid shortcuts: While preserving jams can feel time-consuming, each step is there for a reason. Skipping steps may lead to spoilage.
Enjoy Your Homemade Jam!
Preserving seasonal jam is a wonderful way to savor the taste of summer strawberries or fall apples long after the season has ended. By sterilizing your jars, filling them properly, sealing them tightly, and storing them in the right conditions, you can make sure your jams stay fresh and ready to enjoy whenever you want.
So, next time you’re surrounded by an abundance of fruits, grab your jars, and turn them into something you can enjoy year-round. Happy jam-making!


