The Science of Cooking with Chemical Pluck: Techniques and Tips
Cooking is truly an incredible blend of art and science. While it’s fun to follow a recipe and let creativity flow, understanding the scientific mechanisms behind cooking can transform the way you approach meals in the kitchen. This is where “chemical pluck” comes into play—a term used to describe the brave spirit of using chemistry to create magical dishes! In this blog, we’ll break down some key cooking techniques based on science, explain the chemistry behind them, and share tips to take your meals to the next level.
What Is the Science of Cooking?
Cooking isn’t just about tossing ingredients together and hoping for the best. Every flavor you experience, texture you enjoy, or aroma you savor stems from chemical reactions happening during food preparation. Heat alters molecular structures, pH levels affect taste, and enzymes are at work transforming raw ingredients into delectable dishes. Once you understand the science behind these transformations, you’ll be able to control and predict your results.
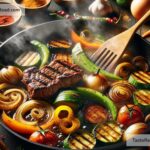
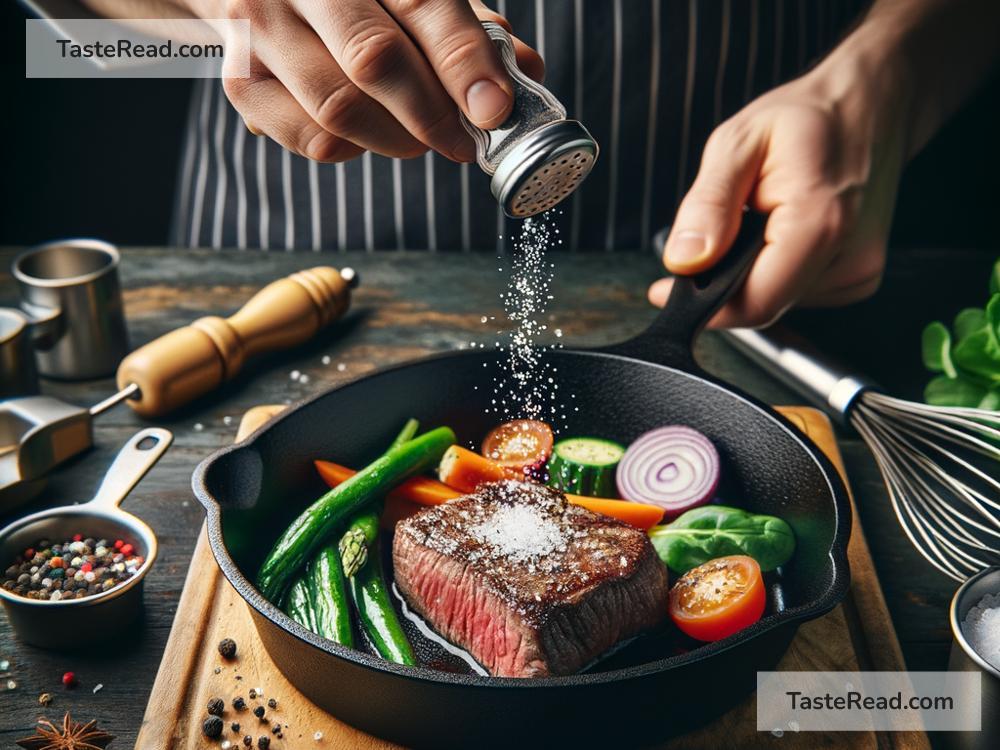
Technique 1: Searing—The Maillard Reaction
Have you ever wondered why a perfectly seared steak smells and tastes so good? The secret lies in a magical chemistry trick called the Maillard reaction. When food is exposed to high heat, proteins (amino acids) and sugars interact to form hundreds of new flavorful compounds. It’s this reaction that gives seared meat, roasted coffee, and toasted bread their mouthwatering browns and deep, savory tastes.
Tip:
– Searing requires high temperatures, so make sure your pan or grill is preheated before you add the food. Don’t overcrowd the pan, as this traps moisture and prevents browning.
– Always pat your meat dry with a paper towel before cooking to encourage the Maillard reaction. Less moisture means more flavor!
Technique 2: Emulsification—Mixing Oil and Water
Ever made mayonnaise, salad dressing, or hollandaise sauce? Then you’ve worked with emulsification—a process where water and oil, two elements that typically repel each other, are forced to mix. This is done using an emulsifier such as egg yolks, mustard, or lecithin, which stabilizes the mixture and prevents it from separating.
Tip:
– For smooth emulsions, add oil very slowly and whisk constantly to avoid breaking the mixture. Start with just a few drops and gradually increase the amount.
– If your emulsion breaks (separates), don’t panic! Add a small amount of water or another egg yolk and whisk vigorously to rescue it.
Technique 3: Fermentation—Friendly Microbes at Work
Fermentation is the wild card of cooking! It’s a process where yeast, bacteria, or other microbes break down sugars and starches, producing acid or alcohol. Foods like bread, yogurt, kimchi, and sourdough rely on fermentation for their distinct flavors and textures. Scientifically, fermentation is all about chemical reactions caused by microbial activity—turning simple ingredients into something extraordinary.
Tip:
– Temperature matters: Keep ferments at the right temperature (typically around 70°F-75°F) to encourage healthy microbial growth.
– Use clean tools and jars to prevent unwanted bacteria from spoiling the ferment.
– For beginners, start with easy ferments like homemade yogurt or pickles!
Technique 4: Baking—Rising to the Occasion
Have you ever marveled at how cake batter transforms into a fluffy masterpiece? Baking is controlled chemistry in action! In baked goods, leaveners like baking soda, baking powder, or yeast release gas (carbon dioxide) during the baking process, creating air pockets that make your dough rise. Heat solidifies the proteins and starches, locking in that fluffy texture.
Tip:
– Measure leavening agents carefully—too much can cause baked goods to rise unevenly or collapse.
– Don’t skip steps like sifting flour! Air incorporated in the dry ingredients creates a light texture.
– Avoid opening the oven door frequently while baking. Steam and trapped gasses need stable heat to do their work.
Technique 5: Acid and Base Balancing—The pH Factor
The acidity or alkalinity (pH level) of food can dramatically affect its flavor, texture, and even color. Acids like citrus juice, vinegar, or buttermilk add brightness to a dish, while alkaline substances like baking soda enhance browning and tenderize certain foods. Balancing these flavors is key to creating dishes with depth.
Tip:
– Use acids to marinate tough cuts of meat—the acid breaks down proteins, tenderizing them.
– Baking recipes often call for a combination of an acidic liquid and an alkaline leavener (like buttermilk and baking soda). This chemical reaction helps baked goods rise.
Technique 6: Gelatinization—Thickening with Starch
Sauces, puddings, and soups often rely on gelatinization to achieve their smooth, thick texture. When starch (like flour, cornstarch, or potato starch) is heated in a liquid, its molecules swell, absorb water, and create a thickened consistency. This process is responsible for silky gravies and rich custards.
Tip:
– Avoid adding starch directly to hot liquids—it can clump. Instead, mix it with a small amount of cold water to create a slurry before adding it to the dish.
– Cook starchy sauces slowly and stir constantly to prevent lumps.
Why Chemistry Is Your Cooking Ally
Understanding the science of cooking doesn’t mean you have to turn your kitchen into a lab. Instead, it empowers you to cook more confidently, troubleshoot when problems arise, and even experiment with new techniques. Chemical pluck is all about embracing these principles and using them to elevate your cooking skills!
So, the next time you’re in the kitchen, remember that your food is more than just ingredients—it’s a symphony of chemical reactions waiting to delight your senses. Happy cooking!