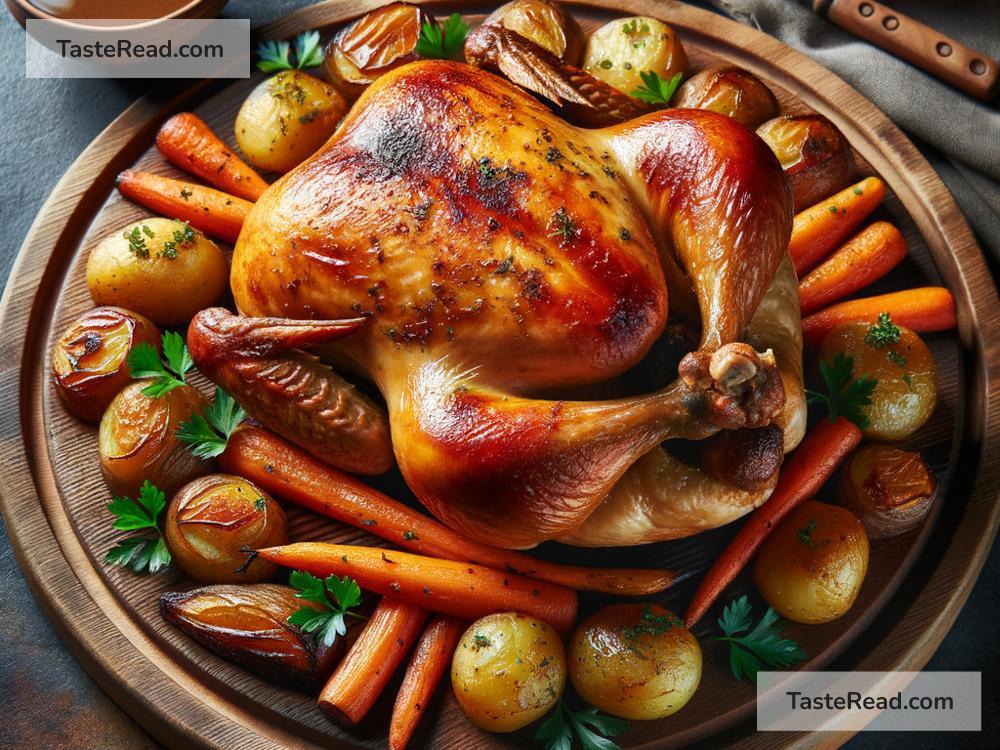
How to Create a Classic Roast Chicken
There’s something truly special about a roast chicken: golden skin, juicy meat, and comforting flavors. It’s the kind of dish that makes a family meal feel like a celebration. The best part? It’s much easier to make than you might think. With just a few simple steps and some basic ingredients, you can master the art of creating a classic roast chicken at home. In this blog post, we’ll guide you through everything you need to know, from preparation to cooking, so you can serve up this timeless favorite with confidence.
Why Roast Chicken?
Roast chicken is a versatile dish that works for both fancy dinners and casual meals. It pairs well with almost any side, from mashed potatoes to roasted vegetables and fresh salads. Plus, the leftovers are perfect for sandwiches, soups, or chicken salads the next day. It’s budget-friendly, wholesome, and packed with flavor.
Let’s dive into the simple steps to make a perfect roast chicken.
Ingredients You’ll Need
Before you start, gather these basic ingredients:
- 1 whole chicken (about 4–5 pounds)
- Olive oil or melted butter (about 2–3 tablespoons)
- Salt (about 1 teaspoon)
- Black pepper (about ½ teaspoon)
- Your choice of seasonings: garlic powder, paprika, thyme, rosemary, or any herbs/spices you enjoy
- 1 lemon (optional, for stuffing)
- 3–4 garlic cloves (optional, for stuffing)
- Fresh herbs like parsley, thyme, or rosemary (optional, for stuffing)
Tools You’ll Need
You don’t need professional equipment to roast a chicken, but these kitchen tools will make the process easy:
- A roasting pan or large oven-safe dish
- A wire rack (optional, for the pan)
- A meat thermometer (highly recommended)
- Kitchen twine (optional, for tying the legs)
- Aluminum foil (optional, for covering)
Step 1: Prepare the Chicken
Start by rinsing the chicken under cold water and patting it dry with paper towels. Dry meat helps the skin crisp up beautifully in the oven. Once the chicken is dry, remove any visible fat or giblets inside the cavity (these are often included but may not be used in this recipe).
If you plan to add extra flavor, stuff the cavity with half a lemon, peeled garlic cloves, and fresh herbs. These ingredients infuse the meat with a subtle, aromatic taste as it cooks. Stuffing is optional, though—the chicken will still be delicious without it!
Step 2: Season Generously
Place the chicken on your roasting pan or wire rack. Drizzle olive oil or melted butter all over the chicken, making sure to coat every part evenly. The oil or butter helps the skin crisp up and adds richness to the flavor.
Next, sprinkle salt, pepper, and your chosen seasonings over the chicken. Be generous—you want every bite to be flavorful! Popular choices include garlic powder, paprika, and dried or fresh herbs. For extra color, rub the seasonings into the skin with your hands.
If you’re feeling creative, you can experiment with seasoning blends. For a classic flavor, stick to thyme, rosemary, and garlic.
Step 3: Tie the Legs (Optional)
If you want your chicken to cook evenly and look neat, you can tie the legs together using kitchen twine. This step isn’t required, but it helps the meat stay juicy and ensures even cooking. Simply wrap a piece of twine around the legs and knot it securely.
Step 4: Roast the Chicken
Preheat your oven to 425°F (220°C). A high temperature at the start helps crisp up the skin. Place your chicken in the oven and roast for about 20 minutes.
After 20 minutes, lower the temperature to 375°F (190°C) and continue roasting. The chicken will take about 60–90 minutes total to cook, depending on its size. A good rule of thumb is to cook it for about 15 minutes per pound.
Use a meat thermometer to check for doneness. Insert the thermometer into the thickest part of the chicken (usually the thigh) without touching the bone. The chicken is fully cooked when the temperature reaches 165°F (74°C).
If the skin starts browning too quickly, loosely cover the chicken with aluminum foil.
Step 5: Let It Rest
When the chicken is done, take it out of the oven and let it rest for about 10–15 minutes before carving. This step is crucial because it allows the juices to settle, making the meat tender and flavorful. Skipping this step can leave you with dry chicken, so be patient!
Step 6: Carve and Serve
Once rested, you can start carving the chicken. Use a sharp knife to separate the legs, wings, and breasts. Serve the pieces with your favorite sides or enjoy them as they are.
Bonus Tips
- Save the pan drippings: The flavorful juices left in the pan can be turned into a simple gravy. Just whisk in a bit of flour or cornstarch and some chicken broth, then heat until thickened.
- Make it your own: Basting the chicken with honey, lemon juice, or mustard during roasting adds a unique twist.
Creating a classic roast chicken is easier than it seems and guaranteed to impress anyone at your table. Whether it’s a quiet night in or a festive gathering, this dish is sure to be a crowd-pleaser. Give it a try!


