How to Bake a Fluffy Angel Food Cake: A Simple Guide
Angel food cake is known for its light, airy texture and sweet flavor. It’s the perfect dessert to enjoy on its own, or topped with fresh berries and whipped cream. While some people might think making this cake is complicated, it’s actually easy when you follow the right steps. In this blog post, I’ll share how you can bake a fluffy angel food cake using simple ingredients and straightforward instructions.
What Makes Angel Food Cake Special?
Angel food cake is unique because it doesn’t use butter, oil, or egg yolks. It’s made with egg whites, sugar, and flour, which gives it a soft, fluffy texture. The secret to its airy consistency is whipped egg whites. These trap air and help the cake rise while baking. You’ll also need a special pan—the tube pan—because it allows the cake to bake evenly and gives it a tall, beautiful shape.
Ingredients You’ll Need
Here are the simple ingredients required for an angel food cake:
- Egg whites: Use 12 large egg whites, which is approximately 1 ½ cups.
- Sugar: 1 cup of granulated sugar for sweetness.
- Cake flour: ¾ cup (not all-purpose flour—it’s too heavy for this cake).
- Powdered sugar: ½ cup (helps with the texture).
- Cream of tartar: 1 ½ teaspoons (this keeps the egg whites stable).
- Vanilla extract: 1 ½ teaspoons for flavor.
- Salt: ½ teaspoon to balance the sweetness.
Tools You’ll Need
- Tube pan (with a removable bottom is best)
- Electric mixer (a handheld or stand mixer)
- Large mixing bowl
- Spatula
- Fine mesh sieve or sifter
Steps to Make the Fluffiest Angel Food Cake
Step 1: Preheat Your Oven
Preheat your oven to 350°F (175°C). Angel food cake doesn’t need a hot oven—it bakes slowly to achieve its soft texture.
Step 2: Separate the Eggs
Carefully separate 12 egg whites from the yolks. Make sure there’s no trace of yolk in the whites, as even a little bit of fat can prevent the egg whites from whipping properly. Let the egg whites sit at room temperature for about 30 minutes. Room-temperature egg whites whip up fuller and fluffy.
Step 3: Sift the Dry Ingredients
Using a fine sieve or sifter, sift the cake flour and powdered sugar together in a small bowl. This will help keep the dry ingredients light and prevent lumps in your batter.
Step 4: Whip the Egg Whites
Using an electric mixer, beat the room-temperature egg whites in a large bowl until frothy. Add the cream of tartar and salt, and continue beating until soft peaks form. A “soft peak” means the egg whites curl over slightly when you lift the beater—they shouldn’t be stiff yet.
Gradually add the granulated sugar, a little at a time, while whipping the egg whites. This helps the sugar dissolve and stabilizes the meringue. Keep beating until the egg whites form stiff peaks. When you lift the beaters, the mixture will stand up straight without drooping.
Be careful not to overbeat the egg whites! Once stiff peaks have formed, stop mixing—otherwise, the egg whites can break down.
Step 5: Add Flavor
Gently mix in the vanilla extract to the whipped egg whites using a spatula. Fold it in—don’t stir or overmix, as this can deflate the egg whites.
Step 6: Combine Dry Ingredients
Using the same spatula, gradually fold the sifted flour and powdered sugar into the egg whites. Add the dry ingredients a little bit at a time, folding gently after each addition. Folding is key to keeping the batter light and airy. Don’t rush—take your time to avoid squishing the batter.
Step 7: Transfer Batter to a Tube Pan
Pour the batter into an ungreased tube pan. Yes, you read that right—ungreased! Angel food cake needs to “climb” the sides of the pan as it bakes to achieve its tall shape. Smooth the top with your spatula.
Step 8: Bake the Cake
Place the tube pan in your preheated oven and bake for 35–40 minutes. The cake is done when the top is golden brown and springs back gently when you press it with your finger.
Step 9: Cool Upside Down
Remove the cake from the oven and immediately cool it upside down. Most tube pans have little legs that make this easy. If your pan doesn’t, place the hollow center of the pan over the neck of a glass bottle. Cooling upside down prevents the cake from collapsing as it cools.
Let the cake cool completely to room temperature—this can take an hour or two. Don’t rush this step!
Step 10: Remove from the Pan
Once cooled, use a knife to loosen the edges of the cake from the sides of the pan. Then, gently remove the cake from the pan and transfer it to a serving plate.
Enjoy Your Cake!
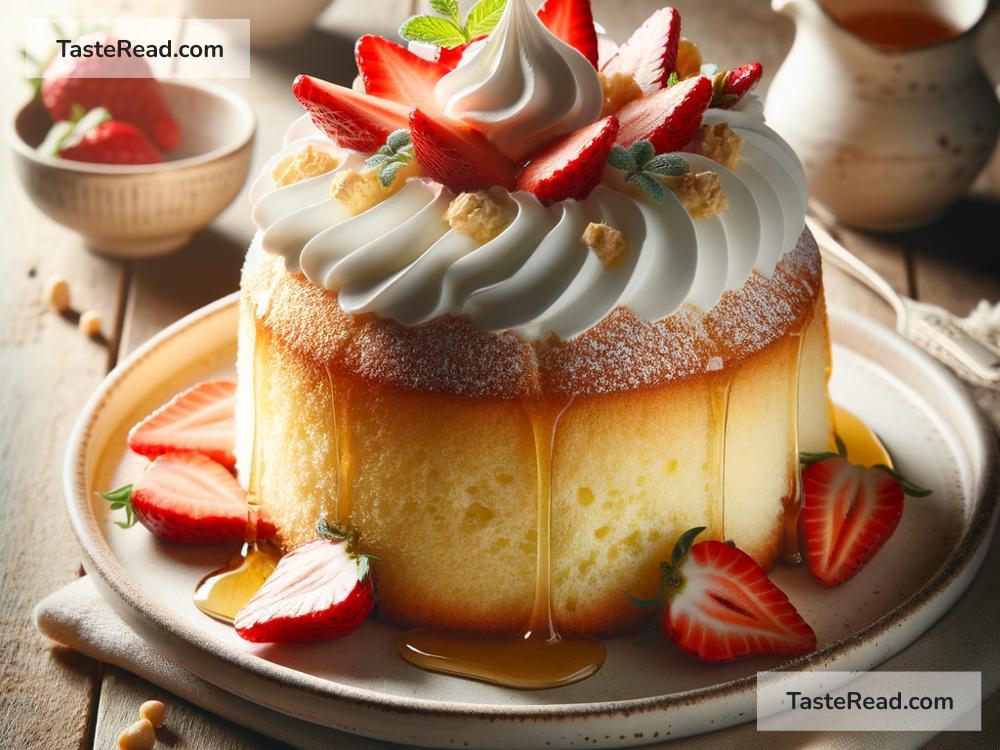
Your angel food cake is ready to enjoy! Serve it plain, or add toppings like fresh strawberries, blueberries, or whipped cream for an extra treat. You can also drizzle it with chocolate or fruit sauces for a decadent dessert.
Tips for Success
- Don’t grease the pan: This is critical for the cake to hold its shape.
- Be gentle: Whether you’re folding the batter or removing the cake from the pan, treat it carefully to keep its airy texture intact.
- Use the right flour: Cake flour is essential for the lightest results—don’t substitute.
Making an angel food cake may sound tricky, but it’s really a matter of following these steps carefully. Once you slice into that fluffy, dreamy cake, you’ll see that your efforts were worth it! Happy baking!