How to Make Crispy Baked Chickpea Snacks at Home
If you’re looking for a healthy, crunchy snack that’s easy to make, baked chickpeas are the answer! These bite-sized treats are packed with protein, fiber, and flavor, making them the perfect alternative to potato chips or other less healthy snacks. Plus, they’re super versatile—you can season them any way you like! In this blog post, we’ll walk you through how to make crispy baked chickpea snacks, step by step, in simple English.
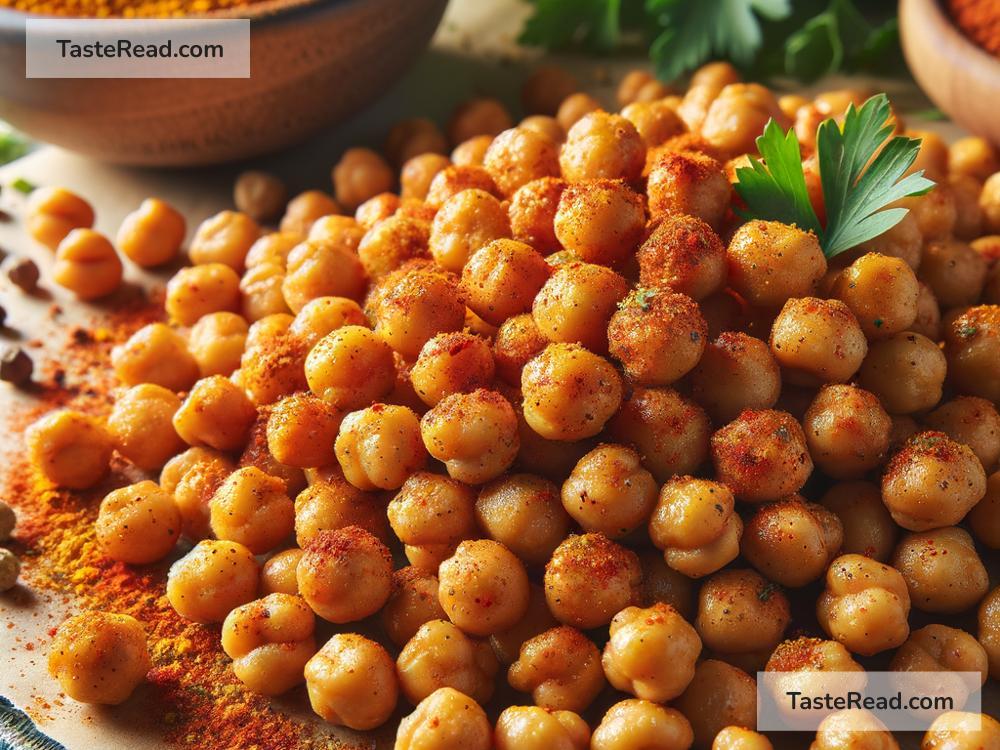
Why Crispy Chickpeas?
Chickpeas, also known as garbanzo beans, are incredibly nutritious. They’re full of plant-based protein, vitamins, and minerals, which keeps you feeling energized and full longer. When baked, chickpeas become crispy and crunchy, turning into a snack that’s satisfying and guilt-free. Best of all, they’re quick and easy to make in your own kitchen!
What You’ll Need
Here’s what you need to make crispy baked chickpeas. The list is short, and you probably already have most of these items at home:
– 1 can of chickpeas (or cooked chickpeas, about 1½ cups)
– 1–2 tablespoons olive oil
– Salt to taste
– Your favorite seasonings (paprika, garlic powder, curry powder, chili powder, or Italian herbs—all great options!)
– A baking sheet
– Parchment paper (optional)
Step-by-Step Instructions
Follow these easy steps, and in no time, you’ll have a bowl of crispy chickpeas fresh from the oven.
Step 1: Prep the Chickpeas
Start by preheating your oven to 400°F (200°C). While your oven heats up, drain and rinse your chickpeas if you’re using canned ones. Rinsing removes the salty brine they’re stored in.
Once rinsed, pat them dry with a clean kitchen towel or paper towels. This step is super important! Excess water can make the chickpeas steam instead of becoming crispy in the oven. The dryer they are, the crispier they’ll get!
Step 2: Remove Loose Skins (Optional)
Chickpeas have thin, papery skins that sometimes separate during the drying process. You can rub the chickpeas gently with a towel to loosen these skins and pick them off. Removing the skins can make your chickpeas even crispier, but if you’re short on time, you can skip this step.
Step 3: Season the Chickpeas
Place the dried chickpeas in a bowl, then drizzle them with 1–2 tablespoons of olive oil. Toss until every chickpea is coated with oil.
Now it’s time for the flavor! Sprinkle your salt and favorite seasonings onto the chickpeas. You can keep it simple with just a pinch of salt and pepper, or get creative with blends like spicy chili powder, smoky paprika, or a mix of garlic powder and Italian herbs. Toss again to evenly coat the chickpeas with the seasoning.
Step 4: Spread Them Out
Line your baking sheet with parchment paper if you want easy cleanup. Spread the seasoned chickpeas out in a single layer on the baking sheet. Make sure they’re not crowded or stacked on top of each other—space allows them to crisp up evenly.
Step 5: Bake to Perfection
Place the baking sheet in the oven and bake the chickpeas for 25–35 minutes. Stir or shake the baking sheet every 10 minutes so the chickpeas cook evenly.
Keep an eye on them toward the end of the baking time. They should be golden brown and crunchy, but not burnt. Test one after 25 minutes—if it’s not crispy yet, bake for another 5–10 minutes as needed.
Step 6: Cool and Enjoy
Once the chickpeas are done, remove them from the oven and let them cool on the baking sheet for about 10 minutes. They’ll continue to crisp up as they cool.
Once cooled, transfer them to a bowl and enjoy! Crispy chickpeas are great on their own or as a topping for salads, soups, or grain bowls.
Tips for Success
- Dry Chickpeas Thoroughly: The drier your chickpeas are, the better they’ll crisp up. Don’t skip this step!
- Experiment with Seasons: Try sweet flavors like cinnamon and sugar or savory options like ranch seasoning. The possibilities are endless!
- Store Them Right: Crispy chickpeas are best eaten the same day, but you can store leftovers in an airtight container at room temperature. They might lose some crispness overnight, but popping them back in the oven for a few minutes will refresh them.
Final Thoughts
Crispy baked chickpeas are the ultimate homemade snack. They’re healthy, low-cost, and endlessly customizable to suit your taste buds. Once you’ve mastered this simple recipe, you’ll find yourself making them again and again! So next time you’re craving something crunchy, skip the chips—grab some chickpeas instead and enjoy snacking smarter.
Happy snacking!