How to Create Crispy Baked Coconut Shrimp: A Simple Step-by-Step Guide
Are you a lover of crunchy seafood with a touch of tropical flavor? Then coconut shrimp is a dish you absolutely need to try! Instead of frying, we’ll use the oven to make them crispy, healthier, and equally delicious. It’s easy, fun, and a perfect option for lunch, dinner, or even as an appetizer. In this blog, I’ll walk you through how to create crispy baked coconut shrimp in simple steps.
Why Choose Baked Over Fried Coconut Shrimp?
Shrimp can be fried to achieve the golden crunch most people love, but frying adds a lot of oil and calories. Baking coconut shrimp in the oven is a fantastic alternative because it’s healthier and less messy. Plus, baking doesn’t compromise the crispy texture – the shrimp come out just as mouthwatering!
Ingredients You’ll Need
For this recipe, you don’t need fancy ingredients. Most of these are easy to find, and you may already have them at home. Here’s what you’ll need:
- 1 pound of large shrimp: Peeled and deveined, but leave the tails on for easy handling and presentation.
- 1/2 cup of all-purpose flour
- 2 large eggs
- 1 cup of shredded unsweetened coconut
- 1/2 cup of breadcrumbs: Panko breadcrumbs work best because they provide extra crispiness.
- 1 teaspoon of garlic powder
- 1/2 teaspoon of paprika
- 1/2 teaspoon of salt
- Non-stick cooking spray
Note: You can also add a little black pepper or cayenne pepper if you enjoy a hint of spice.
Equipment You’ll Need
Here’s what you’ll need to prepare your crispy baked coconut shrimp:
– Baking sheet
– Wire rack (optional, but gives extra crispiness)
– Bowls for dredging
– Tongs or fork for handling the shrimp
Step-by-Step Instructions
1. Preheat Your Oven
Start by preheating your oven to 425°F (220°C). A hot oven is essential for making the shrimp crispy.
2. Prepare the Breading Stations
Set up three bowls for the breading process:
– Bowl 1: Add the all-purpose flour, garlic powder, paprika, and salt. Mix them together well.
– Bowl 2: Whisk the eggs until the yolks and whites are fully combined.
– Bowl 3: Combine the shredded coconut and breadcrumbs. Stir them together so the mixture is evenly distributed.
3. Prepare the Shrimp
Make sure your shrimp are cleaned, peeled, and deveined, with the tails still on. The tails are helpful for dipping and also look great when serving.
4. Coat the Shrimp
Take one shrimp at a time and follow this three-step coating process:
– Dip the shrimp into the flour mixture first. Shake off any excess flour.
– Next, dip it into the whisked eggs. Make sure the shrimp is fully coated.
– Finally, press the shrimp into the coconut and breadcrumb mixture, ensuring it’s covered completely. The coconut is what gives the shrimp its delicious tropical crunch!
Repeat the process for all the shrimp, placing them on a plate or tray as you finish.
5. Set Up Your Baking Sheet
Place a wire rack on top of a baking sheet. The wire rack helps air circulate around the shrimp, making them extra crispy. If you don’t have a rack, you can place the shrimp directly on the baking sheet lined with parchment paper. Spray the rack (or parchment) with non-stick cooking spray to prevent sticking.
6. Place the Shrimp on the Baking Sheet
Arrange the shrimp in a single layer on the rack or baking sheet. Be sure not to overcrowd them. If needed, bake them in batches.
7. Bake to Golden Perfection
Put the shrimp into the oven and bake for 10-12 minutes, flipping them halfway through. You’ll know they’re ready when the coconut is golden brown and the shrimp are cooked through.
Tip: If you’re using a wire rack, the flipping step may not be necessary since the heat gets both sides.
8. Finish with Some Extra Crisping (Optional)
For an even crispier texture, switch the oven to broil in the last 1-2 minutes of baking. Keep a close eye on the shrimp during this step to prevent burning.
Serve and Enjoy!
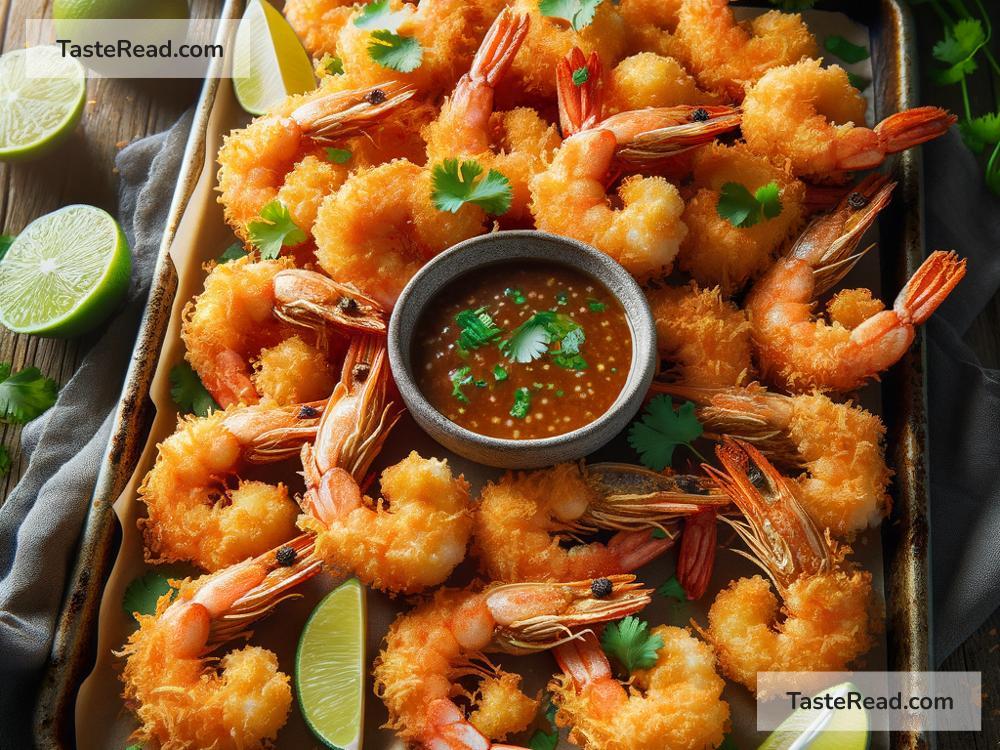
Once baked, remove the shrimp from the oven and let them cool for a minute or two. Transfer them to a serving plate and add any garnishes you’d like, such as chopped parsley or lime slices for extra flavor.
Pair your coconut shrimp with a dipping sauce, like sweet chili sauce, garlic mayo, or even a tangy pineapple salsa. It’s guaranteed to be a crowd-pleaser!
Helpful Tips
- Don’t skip the coating: The flour layer helps the egg stick well, and the egg helps the coconut breadcrumb coating stay on. Follow all three steps to avoid peeling or loose breading.
- Choose large shrimp: Larger shrimp are easier to handle and look better when served.
- Keep things crispy: Serve immediately after baking for maximum crunch. Coconut shrimp are best enjoyed fresh out of the oven!
Conclusion
Making crispy baked coconut shrimp at home is easier than you think, and the result is sure to impress your friends and family. By using simple ingredients and baking instead of frying, you’ll create a delightful dish that’s healthier and less greasy. Whether you’re hosting a party, preparing a quick meal, or just treating yourself, baked coconut shrimp promises a flavorful journey that’s hard to resist.
So why wait? Grab your shrimp, fire up your oven, and get ready to enjoy a tropical twist in your very own kitchen!