How to Make Crispy Baked Kale Crisps: A Simple Recipe
Kale crisps (or kale chips) are a delicious and healthy snack that’s easy to make at home. Packed with nutrients and bursting with flavor, these crunchy treats are perfect for satisfying cravings without guilt. The best part? You don’t need fancy tools or tricky techniques to create kale crisps. Let’s dive into this simple and fun recipe, step by step!
Why Kale Crisps Are Amazing
Kale is a superfood loaded with vitamins, minerals, and antioxidants. It’s low in calories but high in fiber, making it a great snack option. When baked to perfection, kale leaves turn crispy and light, creating a texture similar to potato chips—without the unnecessary fat or additives. Kale crisps are versatile too; you can make them salty, cheesy, spicy, or even sweet, depending on your preferences.
What You’ll Need
To make crispy baked kale crisps, you’ll need a few basic ingredients and tools:
Ingredients:
- Fresh kale: One large bunch (about 6-8 cups of leaves). Curly kale works best.
- Olive oil: 1-2 tablespoons for coating.
- Salt: About ½ teaspoon, or to taste.
- Seasonings (optional): Garlic powder, paprika, nutritional yeast for a cheesy flavor, or other spices you love.
Tools:
- A baking tray
- Parchment paper or a silicone baking mat
- A large bowl
- A salad spinner or clean kitchen towel to dry the kale
Step-by-Step Instructions
1. Preheat Your Oven
Set your oven to 300°F (150°C). This lower temperature ensures the kale crisps evenly without burning.
2. Prepare the Kale
- Wash the kale thoroughly under running water to remove dirt or grit.
- After washing, dry the leaves completely. Wet kale won’t crisp up! Use a salad spinner to spin the leaves dry or pat them gently with a clean kitchen towel.
- Remove the thick stems. The stems are tough and don’t crisp well, so you only want the leafy parts. Tear the kale into bite-sized pieces—roughly 2-3 inches each.
3. Season the Kale
- Place the dried kale pieces into a large bowl.
- Drizzle olive oil over the leaves—start with 1 tablespoon and add more if needed. You want just enough oil to lightly coat the leaves. Using too much oil can make your crisps soggy instead of crunchy.
- Sprinkle salt over the kale. If you’re using additional seasonings, add them now. For example, you can toss in garlic powder, smoked paprika, or nutritional yeast.
- Gently massage the kale with your hands. This helps distribute the oil and seasonings evenly while softening the leaves a bit.
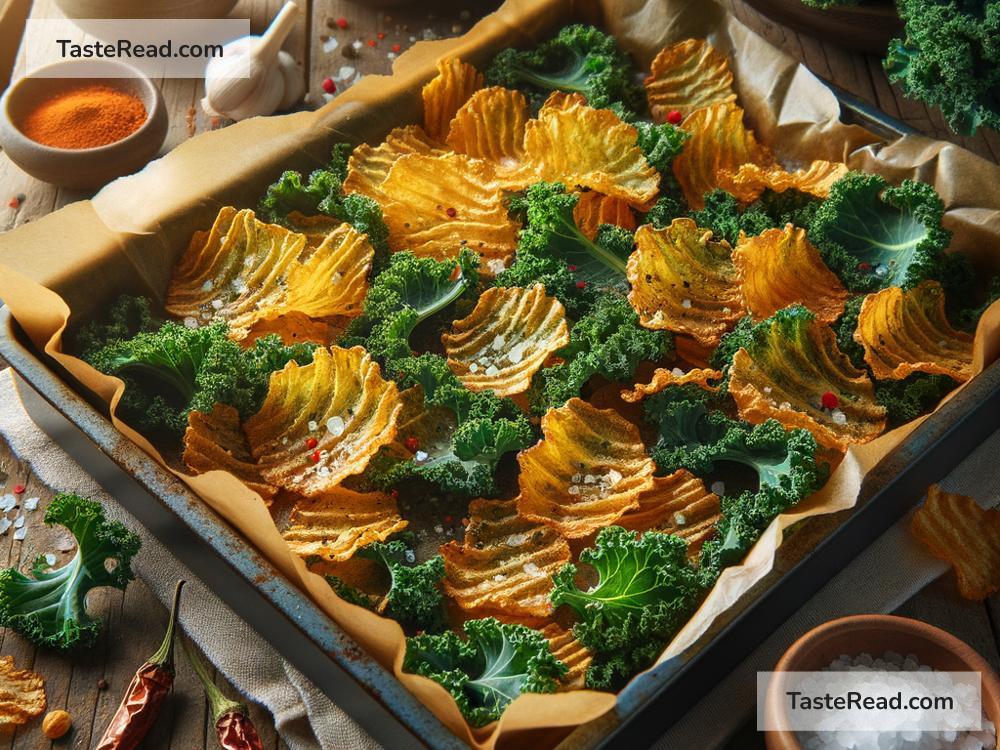
4. Arrange on the Baking Tray
- Line your baking tray with parchment paper or a silicone mat to prevent sticking.
- Spread the kale pieces out in a single layer on the tray. Make sure they don’t overlap or crowd together—this allows them to bake evenly and crisp up nicely.
5. Bake Your Kale Crisps
- Place the tray in the oven and bake for 20-25 minutes, checking occasionally.
- About halfway through baking (10 minutes in), rotate the tray for even cooking. If some smaller pieces start to crisp faster, remove them early to prevent burning.
- The kale is done when it’s dry, crispy, and slightly browned around the edges.
Tips for the Perfect Crispy Kale Crisps
- Dry Kale Thoroughly: Excess water prevents crispiness, so make sure your kale is completely dry before seasoning.
- Spread Leaves Evenly: Crowded kale leaves won’t bake evenly. Use multiple trays if needed.
- Keep an Eye on the Oven: Kale crisps can burn quickly once they’re dry, so monitor them during the last few minutes.
- Small Batches Work Best: If you’re making lots of crisps, bake them in smaller batches instead of piling them onto one tray.
Flavor Ideas for Your Kale Crisps
One of the best things about kale crisps is how customizable they are. Here are a few flavor ideas to try:
– Classic Salt and Pepper: Perfect for a simple and savory snack.
– Cheesy: Add nutritional yeast for a cheesy, nutty flavor. Parmesan cheese also works well!
– Spicy Kick: Toss with chili powder, smoked paprika, or cayenne pepper.
– Garlic Lover’s Dream: Sprinkle garlic powder or minced garlic for a bold, aromatic taste.
How to Store Kale Crisps
Kale crisps taste best fresh out of the oven, but you can store leftovers if needed. Allow the crisps to cool completely, then place them in an airtight container or zip-lock bag. They’ll stay crispy for 1-2 days at room temperature. To re-crisp them, pop them in the oven for a few minutes.
Final Thoughts
Making crispy baked kale crisps is quick, easy, and rewarding. They’re a wholesome alternative to store-bought chips and a great way to use up kale from your fridge. Whether you’re snacking, serving them as a party appetizer, or packing them in your lunch, kale crisps are sure to become a favorite in your home.
So grab some kale, fire up your oven, and start baking! You’ll soon have a batch of crunchy, flavorful snacks that everyone will love.