How to Create Crispy Baked Onion Rings in Simple English
Onion rings are a classic snack that many people love. They are crunchy, tasty, and perfect for a movie night, party, or a side dish to your favorite meal. While traditional onion rings are usually deep-fried, you can create delicious and crispy baked onion rings at home without using all that oil. Baking is a healthier option, but with the right technique, you can still achieve that golden, crunchy texture everyone enjoys. Plus, it’s simple and fun to make!
In this blog, we’ll walk you through easy steps to make crispy baked onion rings in your kitchen. Even if you’re not a professional chef, you can pull this off! Let’s get started.
Ingredients You’ll Need:
Here’s what you’ll need to create your crunchy baked onion rings:
– 2 large onions (yellow or white onions work best)
– 1 cup of all-purpose flour
– 2 large eggs
– 3 tablespoons milk (any type of milk is fine – regular, almond, oat, etc.)
– 1 cup breadcrumbs (Panko breadcrumbs are excellent for extra crunch)
– 1 teaspoon paprika
– 1 teaspoon garlic powder
– Salt and pepper (to taste)
– Cooking spray or oil for greasing the baking tray
Tools Required:
- Knives and a cutting board
- Bowls for mixing
- A baking tray
- Whisk or fork
Steps to Make Crispy Baked Onion Rings:
Follow these simple steps to make your baked onion rings crispy and delicious:
Step 1: Prepare the Onions
- Peel the onions and cut them into thick slices, about ½ inch wide.
- Separate the rings so that each slice becomes individual onion circles of different sizes. Tip: Smaller rings tend to cook faster than larger ones.
Step 2: Preheat the Oven
- Set your oven to 450°F (232°C) so it’s nice and hot when the onion rings are ready to bake.
Step 3: Set Up Your Breading Stations
Prepare three bowls for breading your onion rings:
1. First bowl: Add flour, paparika, garlic powder, a pinch of salt, and pepper. Mix it well. The flour will help the egg stick to the onion rings.
2. Second bowl: Crack the eggs into the bowl, add the milk, and whisk until combined. We’ll call this the “wet bowl.”
3. Third bowl: Add breadcrumbs. If you like extra flavor, sprinkle a little bit of paprika or grated cheese into the breadcrumbs.
Step 4: Coat the Onion Rings
Now you’re ready to coat the onion rings in three steps:
1. Take one onion ring and dip it into the flour mixture. Make sure it’s coated evenly. Shake off any excess flour.
2. Next, dunk the floured onion ring into the egg mixture, allowing it to soak up enough egg.
3. Finally, press the onion ring into the breadcrumb bowl, making sure breadcrumbs stick to every part of it. Tip: Use your fingers to gently press the breadcrumbs onto the onion ring.
Repeat the process for all your onion rings.
Step 5: Prepare the Baking Tray
Take a baking tray and spray it lightly with cooking spray (or brush it with a bit of oil). This prevents the onion rings from sticking and helps them crisp up.
Step 6: Arrange the Onion Rings
Place the coated onion rings on the baking tray in a single layer. Don’t overcrowd them – leave some space between each ring for even cooking.
Step 7: Bake the Onion Rings
- Put the tray into the preheated oven and bake the onion rings for 15-20 minutes, flipping them halfway through (around the 10-minute mark). Use tongs or a spatula for flipping, and make sure both sides cook evenly.
- Keep an eye on them – they’re done when they turn golden brown and crispy!
Tips for Extra Crunch:
- Use Panko breadcrumbs: These breadcrumbs are lighter and crispier than regular ones, giving your onion rings a more crunchy texture.
- Double coat: If you want thicker breading, dip the onion rings back into the egg mixture and breadcrumbs one more time.
- High heat: Baking at a high temperature ensures the onion rings crisp up nicely.
Serving Suggestions:
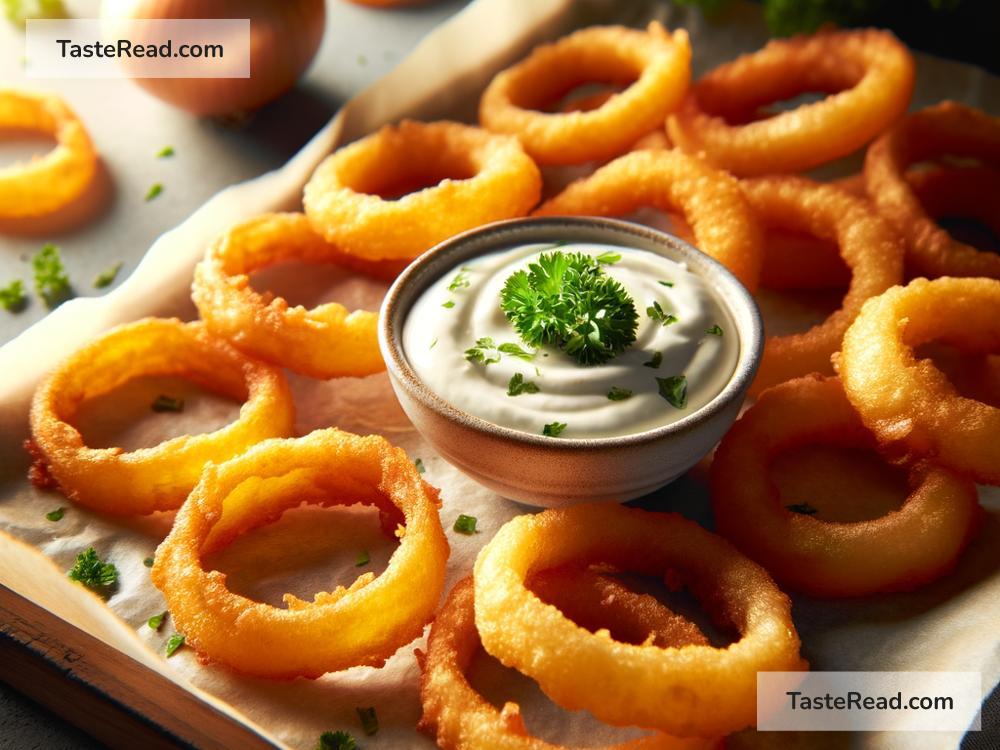
Serve your baked onion rings hot for the best crunch. You can pair them with your favorite dipping sauces, like ketchup, ranch dressing, barbecue sauce, or spicy mayo. They also make a great side for burgers, sandwiches, or grilled dishes.
Why Choose Baked Onion Rings?
Baking onion rings uses less oil, which makes them a healthier alternative to frying. You still get the same satisfying crunch and flavor without the greasy mess. Plus, cleanup is much easier!
Conclusion:
Making crispy baked onion rings is simple and fun, and it’s a great way to enjoy a healthier version of this classic snack. With just a few ingredients and steps, you can impress your friends and family with homemade onion rings that rival restaurant versions.
So grab your onions, preheat your oven, and start cooking! Whether it’s for a party or a cozy night in, crispy baked onion rings are sure to be a hit.
Enjoy your delicious treat!