How to Create Flaky Homemade Pie Crust: A Beginner’s Guide
If you’ve ever enjoyed a slice of pie, it’s likely the crust played a big role in your experience. A flaky, buttery homemade pie crust is the foundation of any great pie, whether you’re baking apple pie, pumpkin pie, or even a savory quiche. The good news? Making pie crust from scratch is easier than you might think. With a few simple ingredients and the right technique, you can create a pie crust that tastes incredible and has that perfect flaky texture—no store-bought dough required! Let’s walk through it step by step.
Ingredients You’ll Need
Pie crust uses simple ingredients you probably already have in your kitchen. Here’s what you’ll need:
- 2 ½ cups of all-purpose flour (plus extra for rolling)
- 1 teaspoon of salt
- 1 tablespoon of sugar (optional, if making a sweet pie)
- 1 cup (2 sticks) of unsalted butter, very cold
- 6-8 tablespoons of ice water
That’s it! The key to a flaky crust lies in how you mix these ingredients and handle the dough.
Step 1: Start with Cold Ingredients
One of the secrets of flaky pie crust is using cold butter and ice-cold water. When butter stays cold during the process, it creates little pockets in the dough as it bakes, resulting in that delicious flakiness we all love. To ensure your butter is cold, cut it into small cubes and put it in the freezer for about 10-15 minutes before you start.
Step 2: Mix the Dry Ingredients
Grab a large mixing bowl. Add your flour, salt, and sugar (if using) and mix them together. The salt adds flavor, and sugar is optional if you’re making a dessert pie (skip it for savory pies). Stir with a fork to make sure everything is evenly combined.
Step 3: Cut in the Butter
Take your cold, cubed butter and add it to the bowl with the dry ingredients. Now, you’ll need to mix the butter with the flour. You can do this using a pastry cutter, two forks, or even your fingers. The goal is to break the butter into small pieces until it resembles coarse crumbs or pea-sized bits mixed into the flour. Be careful not to overdo it—you don’t want the butter to soften! Seeing bits of butter in the mixture is a good thing; these will melt during baking to form flaky layers.
Step 4: Add Ice Water Gradually
Sprinkle a few tablespoons of ice water over the butter-flour mixture (start with 4 tablespoons). Use a fork or your hands to gently toss the mixture together. You want the dough to come together, but it shouldn’t be wet or sticky. Add more water, one tablespoon at a time, until the dough begins to hold together when squeezed. Avoid adding too much water—your dough should be moist enough to stick together but not overly wet.
Step 5: Form the Dough
Once the dough comes together, turn it out onto a clean surface. Gently shape it into a ball without over-kneading (overworking the dough can make it tough and ruin the flaky texture). Divide the dough into two equal parts if you’re making a double crust. Flatten each half into a disc, wrap them tightly in plastic wrap, and refrigerate for at least 1 hour. Chilling the dough relaxes the gluten in the flour, making it easier to roll out, and keeps the butter cold.
Step 6: Roll Out the Dough
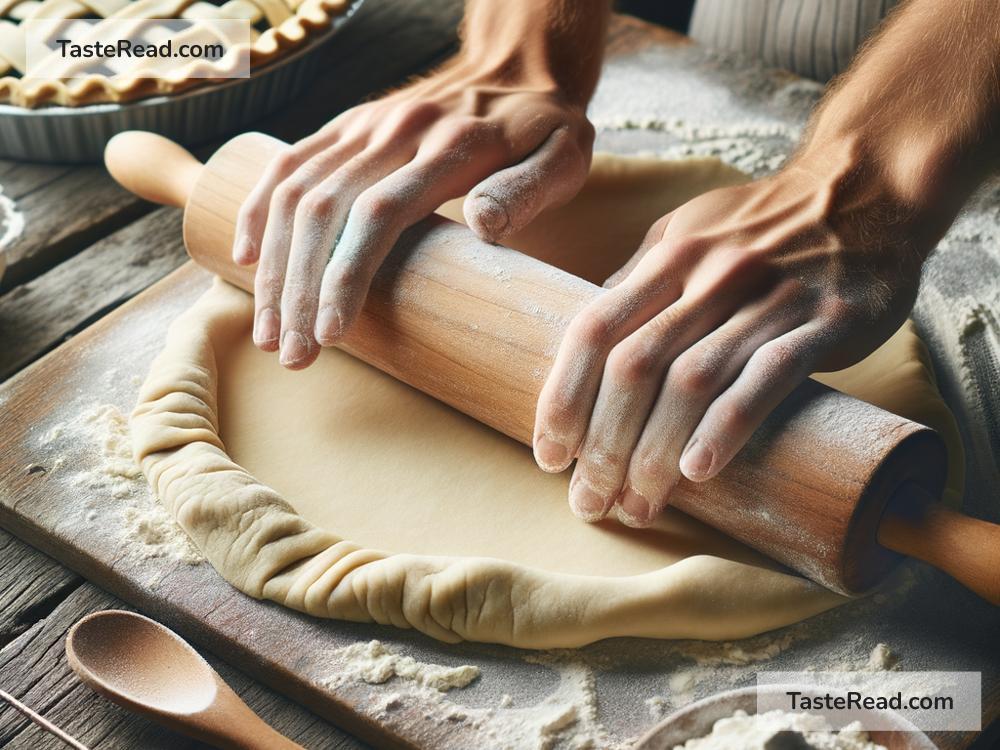
When you’re ready to assemble your pie, take one disc of dough out of the fridge. Lightly flour your work surface and rolling pin to prevent sticking. Roll the dough into a circle about 12 inches in diameter for a standard 9-inch pie pan. Keep turning the dough as you roll to make sure it doesn’t stick and stay evenly shaped.
Step 7: Transfer to the Pie Pan
Carefully lift the rolled-out dough and place it in your pie pan. Press the dough gently into the pan, making sure it fits snugly against the sides and bottom. Trim any excess dough hanging over the edges, leaving about 1 inch extra if you’re planning to crimp or decorate the edges later.
Step 8: Fill and Bake
Add your pie filling of choice (fruit mixtures, custard, etc.). If you’re using a double crust, roll out the second disc of dough and place it over the filling, pinching the edges together to seal. Don’t forget to cut slits in the top crust for ventilation. Bake your pie according to the recipe instructions.
Bonus Tips
- If the edges of your crust brown too quickly, cover them with strips of foil while baking.
- Brushing the crust with an egg wash (a mix of beaten egg and water) before baking will give it a beautiful golden color.
Final Thoughts
Making homemade pie crust might feel intimidating at first, but with practice, it becomes second nature. The key to success is keeping your ingredients cold, working the dough gently, and trusting the process. Once you master it, you’ll never want to go back to store-bought pie crust again. Your homemade pies will impress everyone with their flaky, buttery goodness. So roll up your sleeves, grab some flour, and start baking—you’ve got this!


