How to Create Flaky Homemade Puff Pastry (Easy Guide)
Who doesn’t love the delicate, buttery layers of puff pastry? Whether you’re baking croissants, turnovers, or a savory pie, puff pastry makes everything taste better. While store-bought puff pastry is convenient, making it at home is surprisingly satisfying—and a lot tastier! If you’ve ever wondered how to create flaky homemade puff pastry without feeling overwhelmed, you’re in the right place. In this simple guide, we’ll walk you through everything step-by-step.
What Is Puff Pastry?
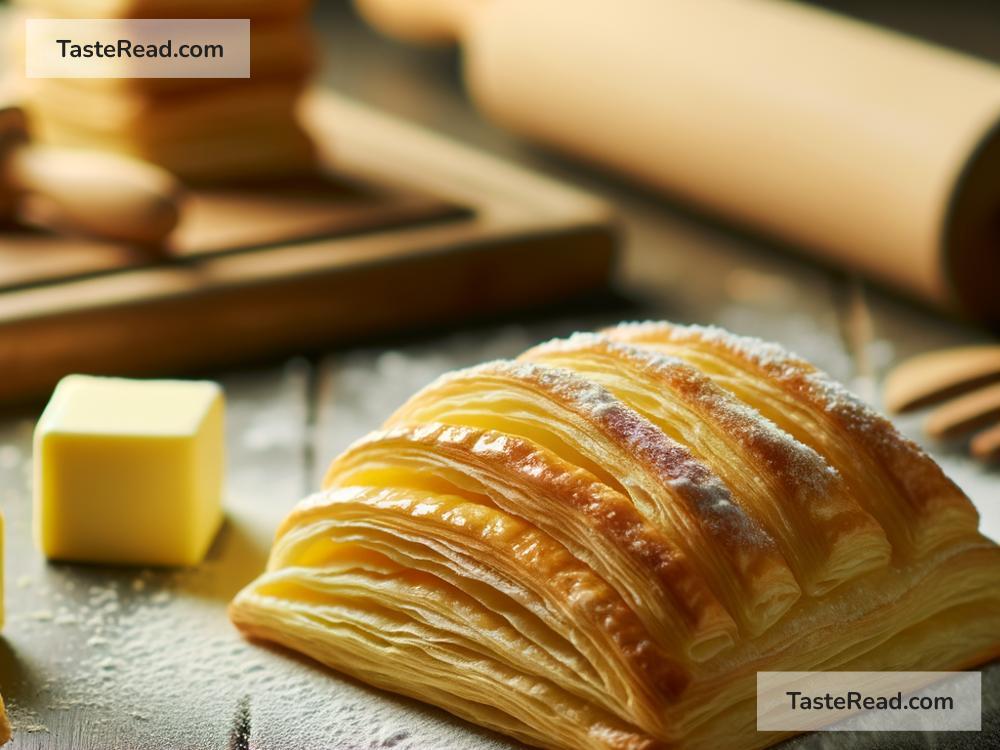
Puff pastry is a light, flaky dough made by layering butter and dough together. When baked, those layers puff up, creating an airy texture. It’s a pastry chef’s magic trick, but the good news is that you can make it at home without special equipment or years of culinary training—all it requires is a little patience.
The key to puff pastry is folding and rolling the dough to create ultra-thin layers. There’s no yeast or baking powder involved; the steam from the butter is what makes it rise. Cool, huh?
Ingredients
You don’t need a long list of fancy ingredients to make puff pastry—just four simple ones:
- Flour – All-purpose flour works perfectly, as it’s versatile and readily available.
- Butter – Stick with unsalted, high-quality butter for rich flavor. Avoid margarine or low-fat spreads.
- Water – Cold water keeps the butter firm and the dough easy to handle.
- Salt – A pinch of salt enhances the flavor.
Step-by-Step Guide
Let’s get started with the process. It might take some time, but the results are worth it!
Step 1: Chill Your Ingredients
Cold butter is the secret to success with puff pastry. Dice your butter into small cubes and let it chill in the fridge before starting the recipe. You’ll also want your water to be ice-cold. The colder your ingredients, the easier your dough will be to work with.
Step 2: Make the Dough (Detrempe)
Begin by mixing the flour, salt, and cold water in a large bowl. Stir until the ingredients come together to form a rough dough. Once it’s combined, transfer it onto a lightly floured surface and knead gently. Aim for a smooth, pliable dough—not too sticky. Wrap your dough in plastic wrap and refrigerate it for 20 minutes to let it rest.
Step 3: Prepare the Butter Block (Beurrage)
Take your chilled butter and arrange the cubes on a piece of parchment paper. Sprinkle a little flour over the butter to prevent sticking, then use a rolling pin to flatten the butter into a square slab (about 5×5 inches). Try to keep the thickness even. Chill the butter again if it starts getting soft—it needs to stay firm.
Step 4: Combine Dough and Butter
Roll out your dough into a square that is slightly larger than your butter block. Place the butter block in the center of the dough. Fold the edges of the dough over the butter like a gift package, fully enclosing the butter. Seal all edges tightly to trap the butter inside the dough.
Step 5: Rolling and Folding (Lamination)
Now the fun part—the key to creating layers!
- Roll Out the Dough – Roll the dough into a rectangle, making sure you don’t press too hard (you want to keep the butter layers intact).
- First Fold – Fold the dough into thirds, like a letter. This creates layers.
- Chill – Wrap the folded dough in plastic wrap and refrigerate for 20-30 minutes to keep the butter firm.
Repeat this rolling and folding process five to six times, chilling the dough after each fold. Each time you roll and fold, you’re creating more layers of butter and dough.
Step 6: Rest and Prepare
Once you’ve completed all the folds, wrap your dough tightly and leave it in the fridge for at least an hour. You can even refrigerate it overnight or freeze it for future use.
When you’re ready to bake, roll out the dough into your desired shape (rectangle or circle), depending on your recipe. Then, assemble your dish, whether you’re making pastries, tarts, pies, or appetizers.
Tips for Flaky Success
- Keep It Cold – Always chill the dough and butter at every step. This prevents the butter from melting into the dough. Cold butter creates steam during baking, which makes the pastry puff.
- Don’t Rush – Be patient. If the butter starts melting or the dough feels sticky, pop it back in the fridge until it firms up again.
- Dust with Flour – Lightly flour your surface and rolling pin to prevent sticking, but don’t overdo it—too much flour can dry out the dough.
Storing Your Puff Pastry
Homemade puff pastry can be stored in the fridge for up to 3 days or in the freezer for up to a month. If freezing, wrap the dough tightly in plastic wrap and place it in a freezer-safe bag. When you’re ready to use it, thaw in the fridge overnight.
Why Make Puff Pastry at Home?
Homemade puff pastry is fresher and more flavorful than anything store-bought. You can control the ingredients, ensuring there’s no artificial stuff added. Plus, there’s a sense of satisfaction in seeing those beautiful flaky layers that YOU created!
Don’t let the process scare you—it’s all about rolling, folding, and chilling. Once you master it, you can use your puff pastry to make countless delicious dishes that will impress friends and family.
So, get ready to roll, fold, and bake. With a little prep and patience, you’ll soon be enjoying the unbeatable taste of flaky homemade puff pastry. Happy baking!