How to Make Golden Roasted Garlic Bread: A Step-by-Step Guide
Who doesn’t love garlic bread? It’s warm, buttery, savory, and the perfect side dish for pasta, soup, or a simple salad. Making garlic bread at home is super easy, and freshly roasted garlic brings out an amazing, sweet flavor that takes your bread to a whole new level. Whether you’re hosting a dinner party or just craving delicious homemade comfort food, golden roasted garlic bread is always a winner.
In this blog, I’ll show you how to make golden roasted garlic bread from scratch in simple steps. You don’t need any fancy tools or skills—the recipe is straightforward and beginner-friendly. Let’s dive in!
Ingredients
Here’s what you’ll need:
– 1 whole garlic bulb
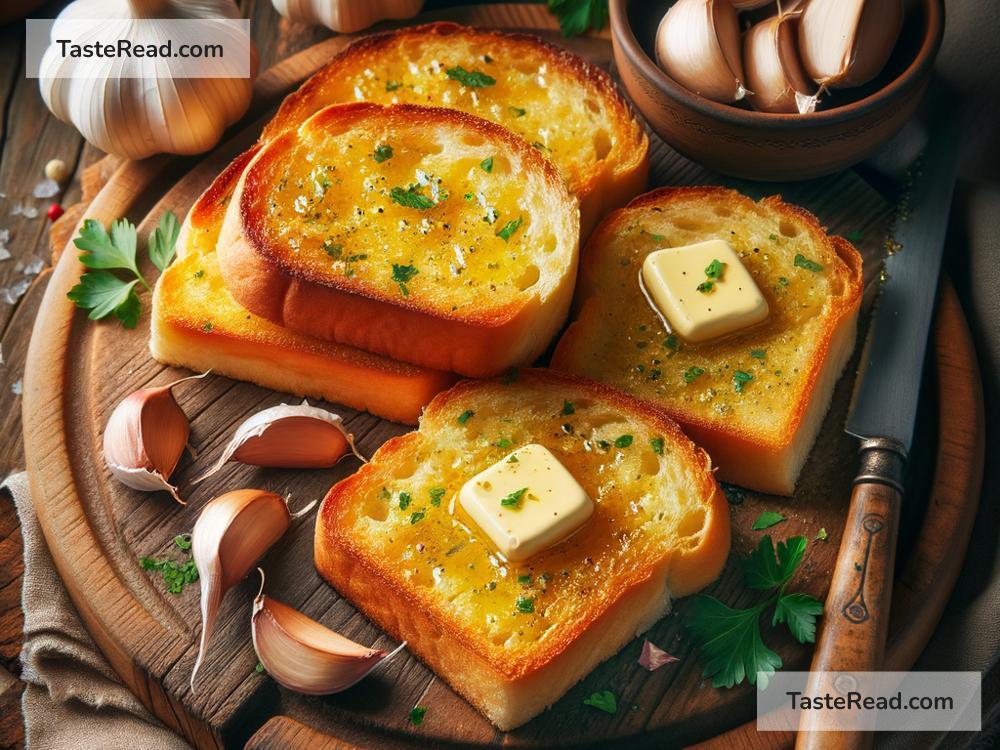
– 1 loaf of bread (French or Italian works best)
– 4 tablespoons of butter (softened, at room temperature)
– 1–2 tablespoons of olive oil
– Salt and pepper (to taste)
– Optional: fresh parsley or herbs for garnish
Step 1: Roast Your Garlic
The secret to golden roasted garlic bread is roasted garlic. Roasting brings out a sweet, mild flavor that is softer and less sharp than raw garlic.
-
Prep the Garlic: Take one whole garlic bulb and remove any loose outer skins, but leave the bulb intact. Use a knife to slice off the top of the bulb, exposing the tops of the cloves.
-
Add Olive Oil: Place the garlic bulb on a small piece of aluminum foil. Drizzle about one tablespoon of olive oil over the exposed garlic cloves. Sprinkle a pinch of salt and pepper for added flavor.
-
Wrap It Up: Wrap the garlic bulb tightly in the foil to create a little packet. This will keep the garlic moist and allow it to caramelize evenly.
-
Bake: Preheat your oven to 400°F (200°C). Place the foil-wrapped garlic bulb on a baking tray and bake for 30–40 minutes. You’ll know it’s ready when the cloves are soft and golden brown.
Step 2: Prepare Your Bread
Garlic bread starts with the right kind of bread. A crusty French baguette or Italian loaf is ideal, but you can use any bread you like.
-
Slice the Bread: Cut the loaf into slices or split it in half lengthwise. Don’t make the slices too thin—about 1 inch thick is perfect for holding the butter and garlic mixture.
-
Preheat Oven Again: Reduce your oven temperature slightly to 375°F (190°C) if you roasted the garlic earlier at a higher temperature.
Step 3: Make the Garlic Butter
Roasted garlic is the star of the show, but you need butter to bring the flavors together and create golden, toasty perfection.
-
Mash the Garlic: Let the roasted garlic bulb cool for a few minutes until it’s safe to handle. Then, squeeze the soft cloves out of their skins into a small bowl. Use a fork to mash them into a smooth paste.
-
Mix Garlic Butter: Combine the mashed roasted garlic with softened butter in the bowl. Add a pinch of salt and pepper to taste. If you want extra flavor, stir in some chopped parsley or your favorite herbs. Mix until smooth.
Step 4: Spread the Garlic Butter
Here’s the fun part: turning your plain bread into irresistible garlic bread!
-
Spread Generously: Using a knife or spatula, spread a thick, even layer of the garlic butter mixture onto each slice or half of the bread. Be generous—no skimping on the butter!
-
Optional Cheese: If you’re a cheese lover, sprinkle some shredded Parmesan or mozzarella on top of the buttery bread. The cheese will melt and make the bread even more delicious.
Step 5: Bake to Perfection
To get that golden, crispy texture, it’s time to bake the bread.
-
Arrange on Baking Tray: Line a baking sheet with parchment paper or simply use the tray itself. Place the garlic-buttered bread, butter side up, on the tray.
-
Bake: Bake the bread in the preheated oven at 375°F (190°C) for about 10–12 minutes, or until the edges are golden and the butter is melted.
-
Broil for Extra Crunch: If you want a crispier edge, turn on your oven’s broiler function for 1–2 minutes at the end. Keep an eye on it so it doesn’t burn.
Step 6: Serve and Enjoy
Your golden roasted garlic bread is ready to serve! Remove the bread from the oven and let it cool slightly before digging in.
-
Garnish: Sprinkle some fresh parsley or other chopped herbs on top for a colorful finishing touch.
-
Pair It: Serve the garlic bread alongside your favorite dishes—spaghetti, lasagna, soup, or even as a snack on its own.
Final Tips
- If you have leftover garlic butter, store it in the fridge in an airtight container. It’s great for making more garlic bread or adding to vegetables and meats.
- Try experimenting with toppings like grated cheese, chili flakes, or a drizzle of balsamic glaze.
- For a vegan option, use plant-based butter instead of regular butter.
Making golden roasted garlic bread is simple, and the result is absolutely delicious. With roasted garlic’s rich flavor and a buttery, crisp texture, this homemade treat is sure to impress friends and family. Once you taste it, you may never go back to store-bought garlic bread again! Happy cooking!